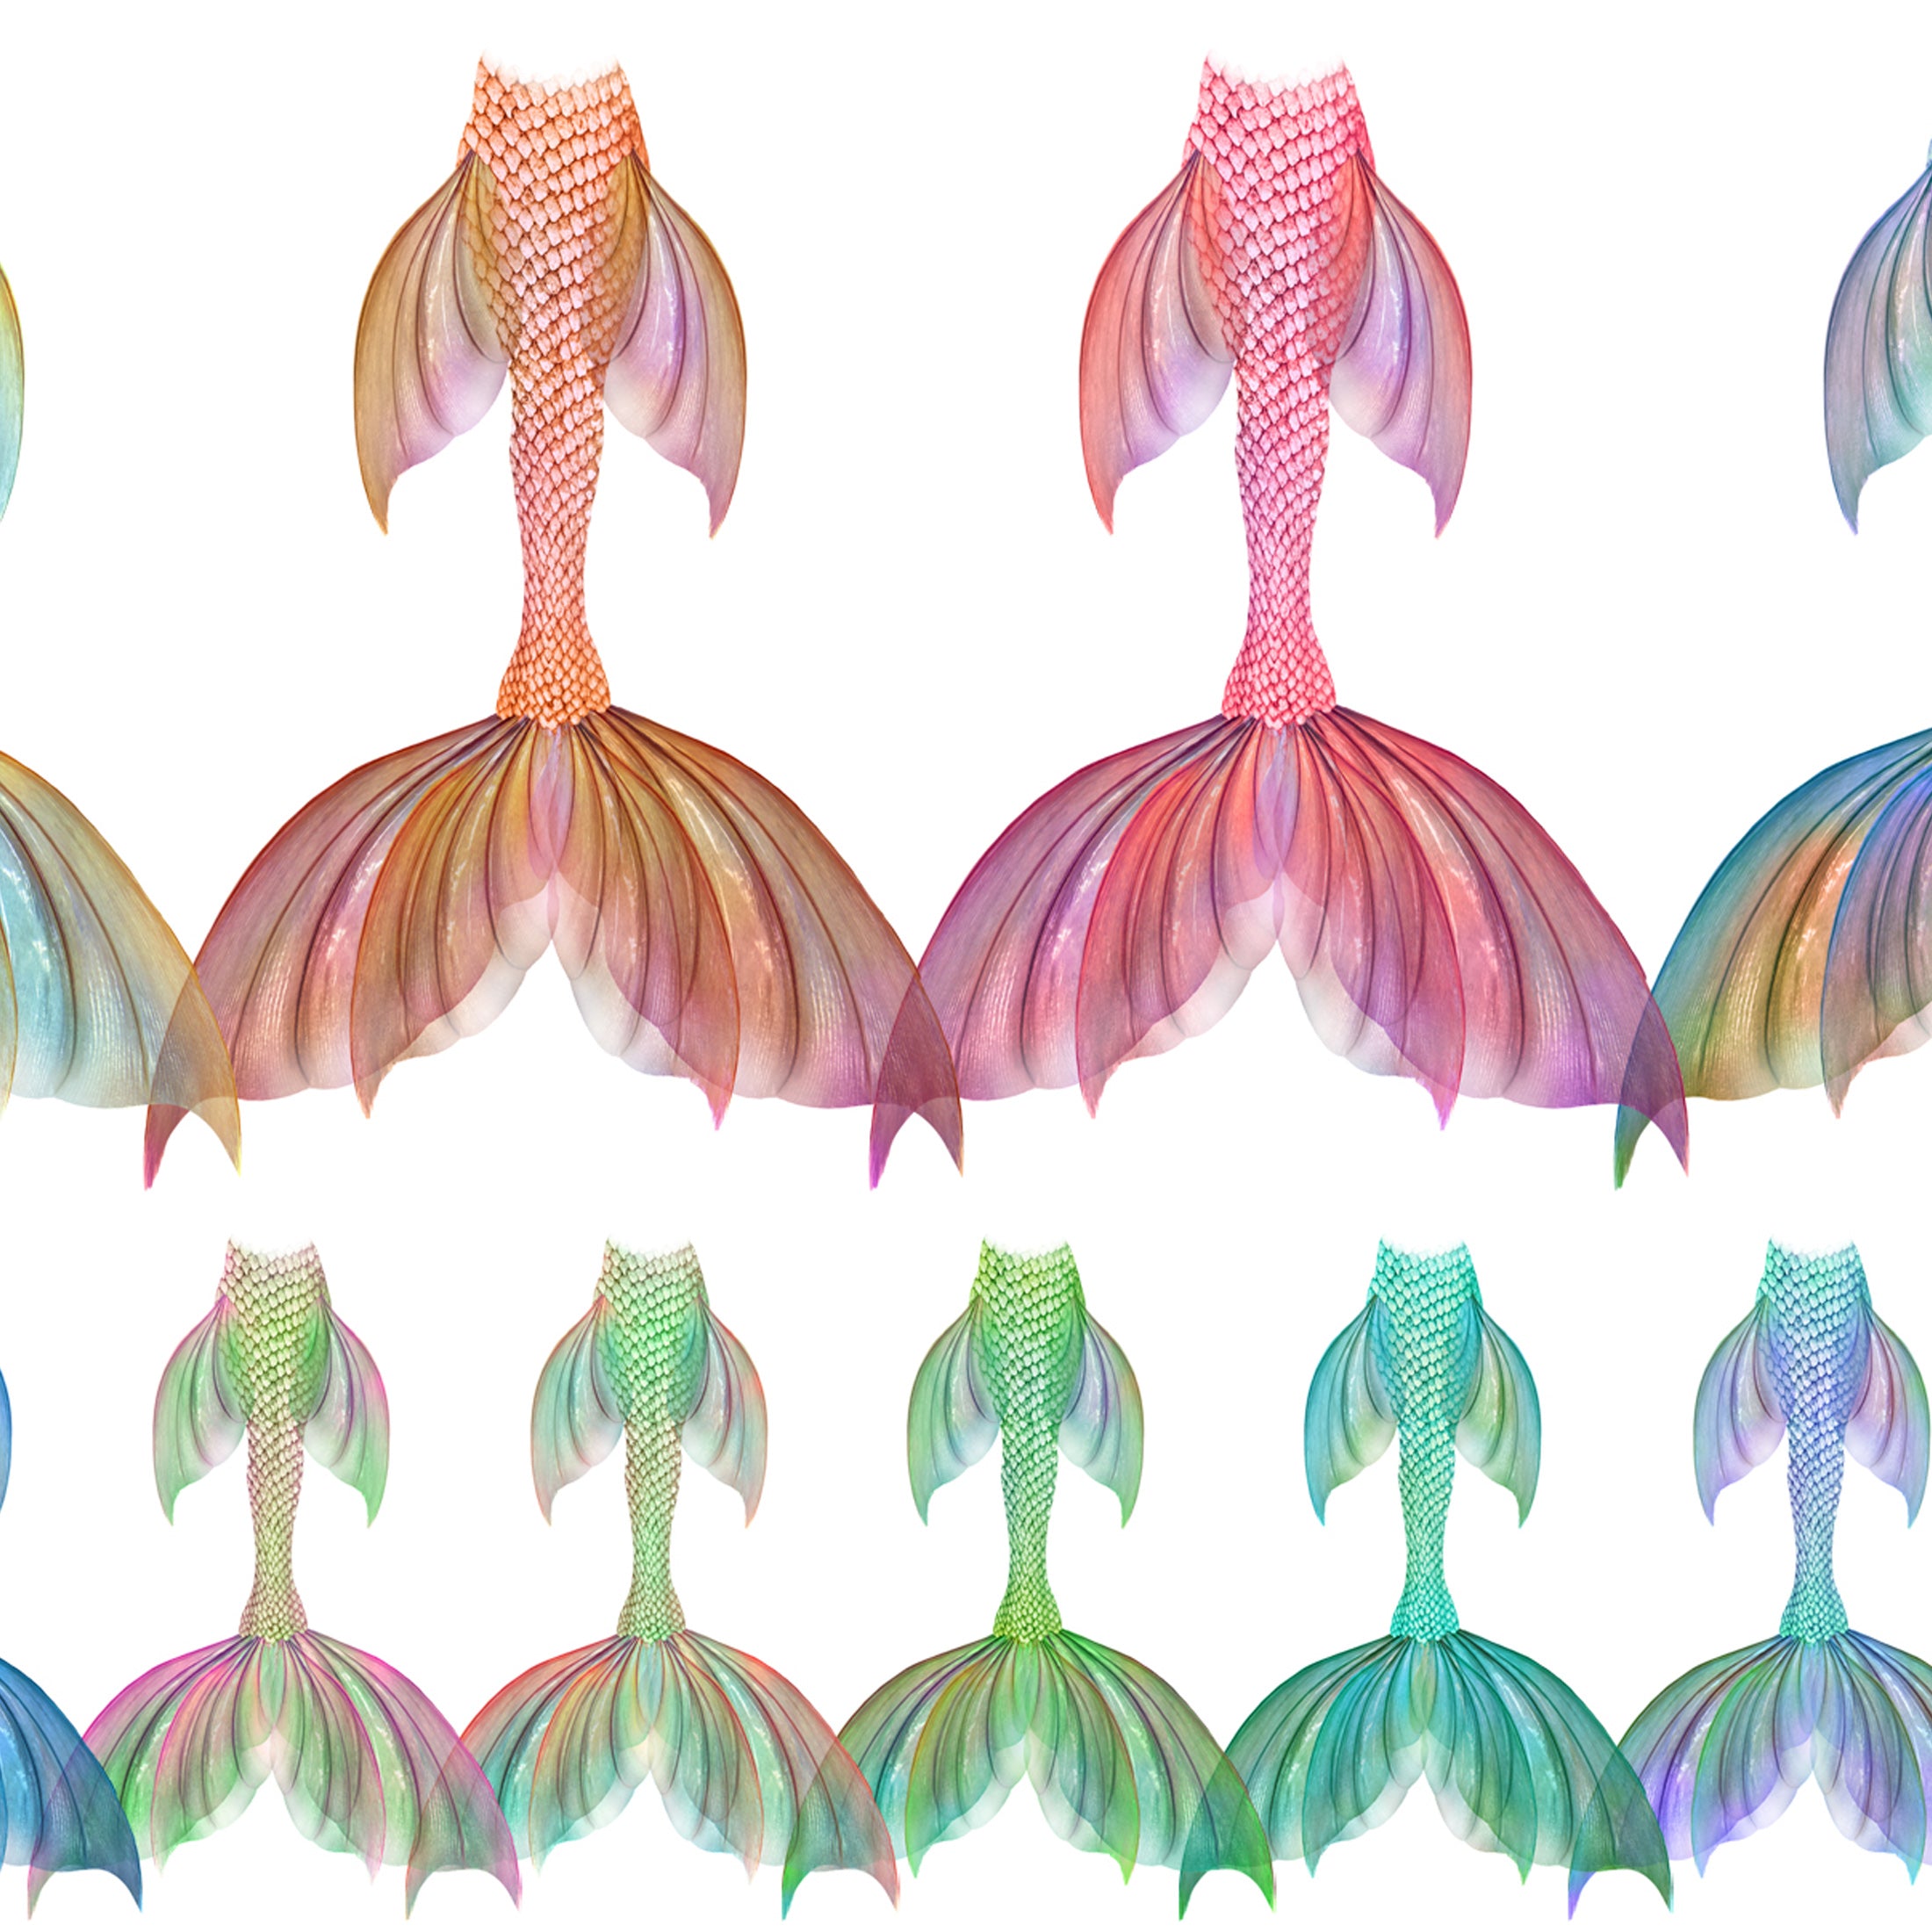
Occasionally I will find people asking why their png or svg file is completely black and they cannot see any files.
My png and svg files have NO background. It is transparent. But sometimes it can appear as though it has a black background.
Don't worry! Even if they appear to have a black background, they will still print with a transparent background ( on acetate ) or white background. ( If you are using paper. )
This happens because windows 10 photo viewer has changed the background in their latest update.
This guide has been copied from this awesome and helpful site called GUIDING TECH.
The full tutorial can be found here... https://www.guidingtech.com/change-background-color-windows-10-photos-app-black-white/
I have taken the liberty of copying and pasting some of their info here.
Transparent PNG images that possess black or white elements can completely merge with the background and look just ridiculous on your screen. Another inconvenient scenario occurs with image borders, where it’s often impossible to discern colours when the Photos app displays a darker background.
Transparent PNG images that possess black or white elements can completely merge with the background.
Microsoft could have alleviated this issue by employing a lighter shade of blue as in the older Windows Photo Viewer. But all you can do now is manually change the background color depending on the image that you want to view. Or perhaps it’s merely a matter of aesthetics — your choice.
CHANGE BACKGROUND COLOUR DIRECTLY
By default, the Photos app displays the colour mode (Light or Dark) as specified by the operating system. But rather than changing the system colour (which we’ll look at further below) and impacting other native Windows 10 apps in the process, the Photos app includes its built-in toggles that you can use to switch between both modes swiftly.
Step 1: Launch the Photos app, and then click the horizontal Ellipsis (three dots) icon to the upper right corner of the window. On the drop-down menu, click Settings.
Step 2: On the Settings screen, scroll all the way down to the section labeled Mode. By default, the colour mode is set to Use System Setting, and that’s why the app picks up the system colour scheme.
To apply the change, you need to exit the Photos app. Just close the window to proceed.
Step 3: Relaunch the Photos app, and you should see the change in theme and background colour reflected immediately.
And you guessed it right — you need to go through the same process whenever you want a change of background color. A simple switch on the user interface itself would’ve worked wonders, and here’s hoping that Microsoft implements that or something similar in the future.
Despite its many faults, the Photos app provides many useful tools that you can utilize to edit and spice up images. However, the Edit & Create mode that you need to switch to features a completely dark background. And sadly, that won’t change regardless of whatever modification you do to either the Photos app or the system color settings.
And that is pretty absurd. Especially when editing transparent images comprising solely of black colors since you can’t see anything in the first place. Meanwhile, consider using alternate image editors for instances where the Photos app gives you grief.


