


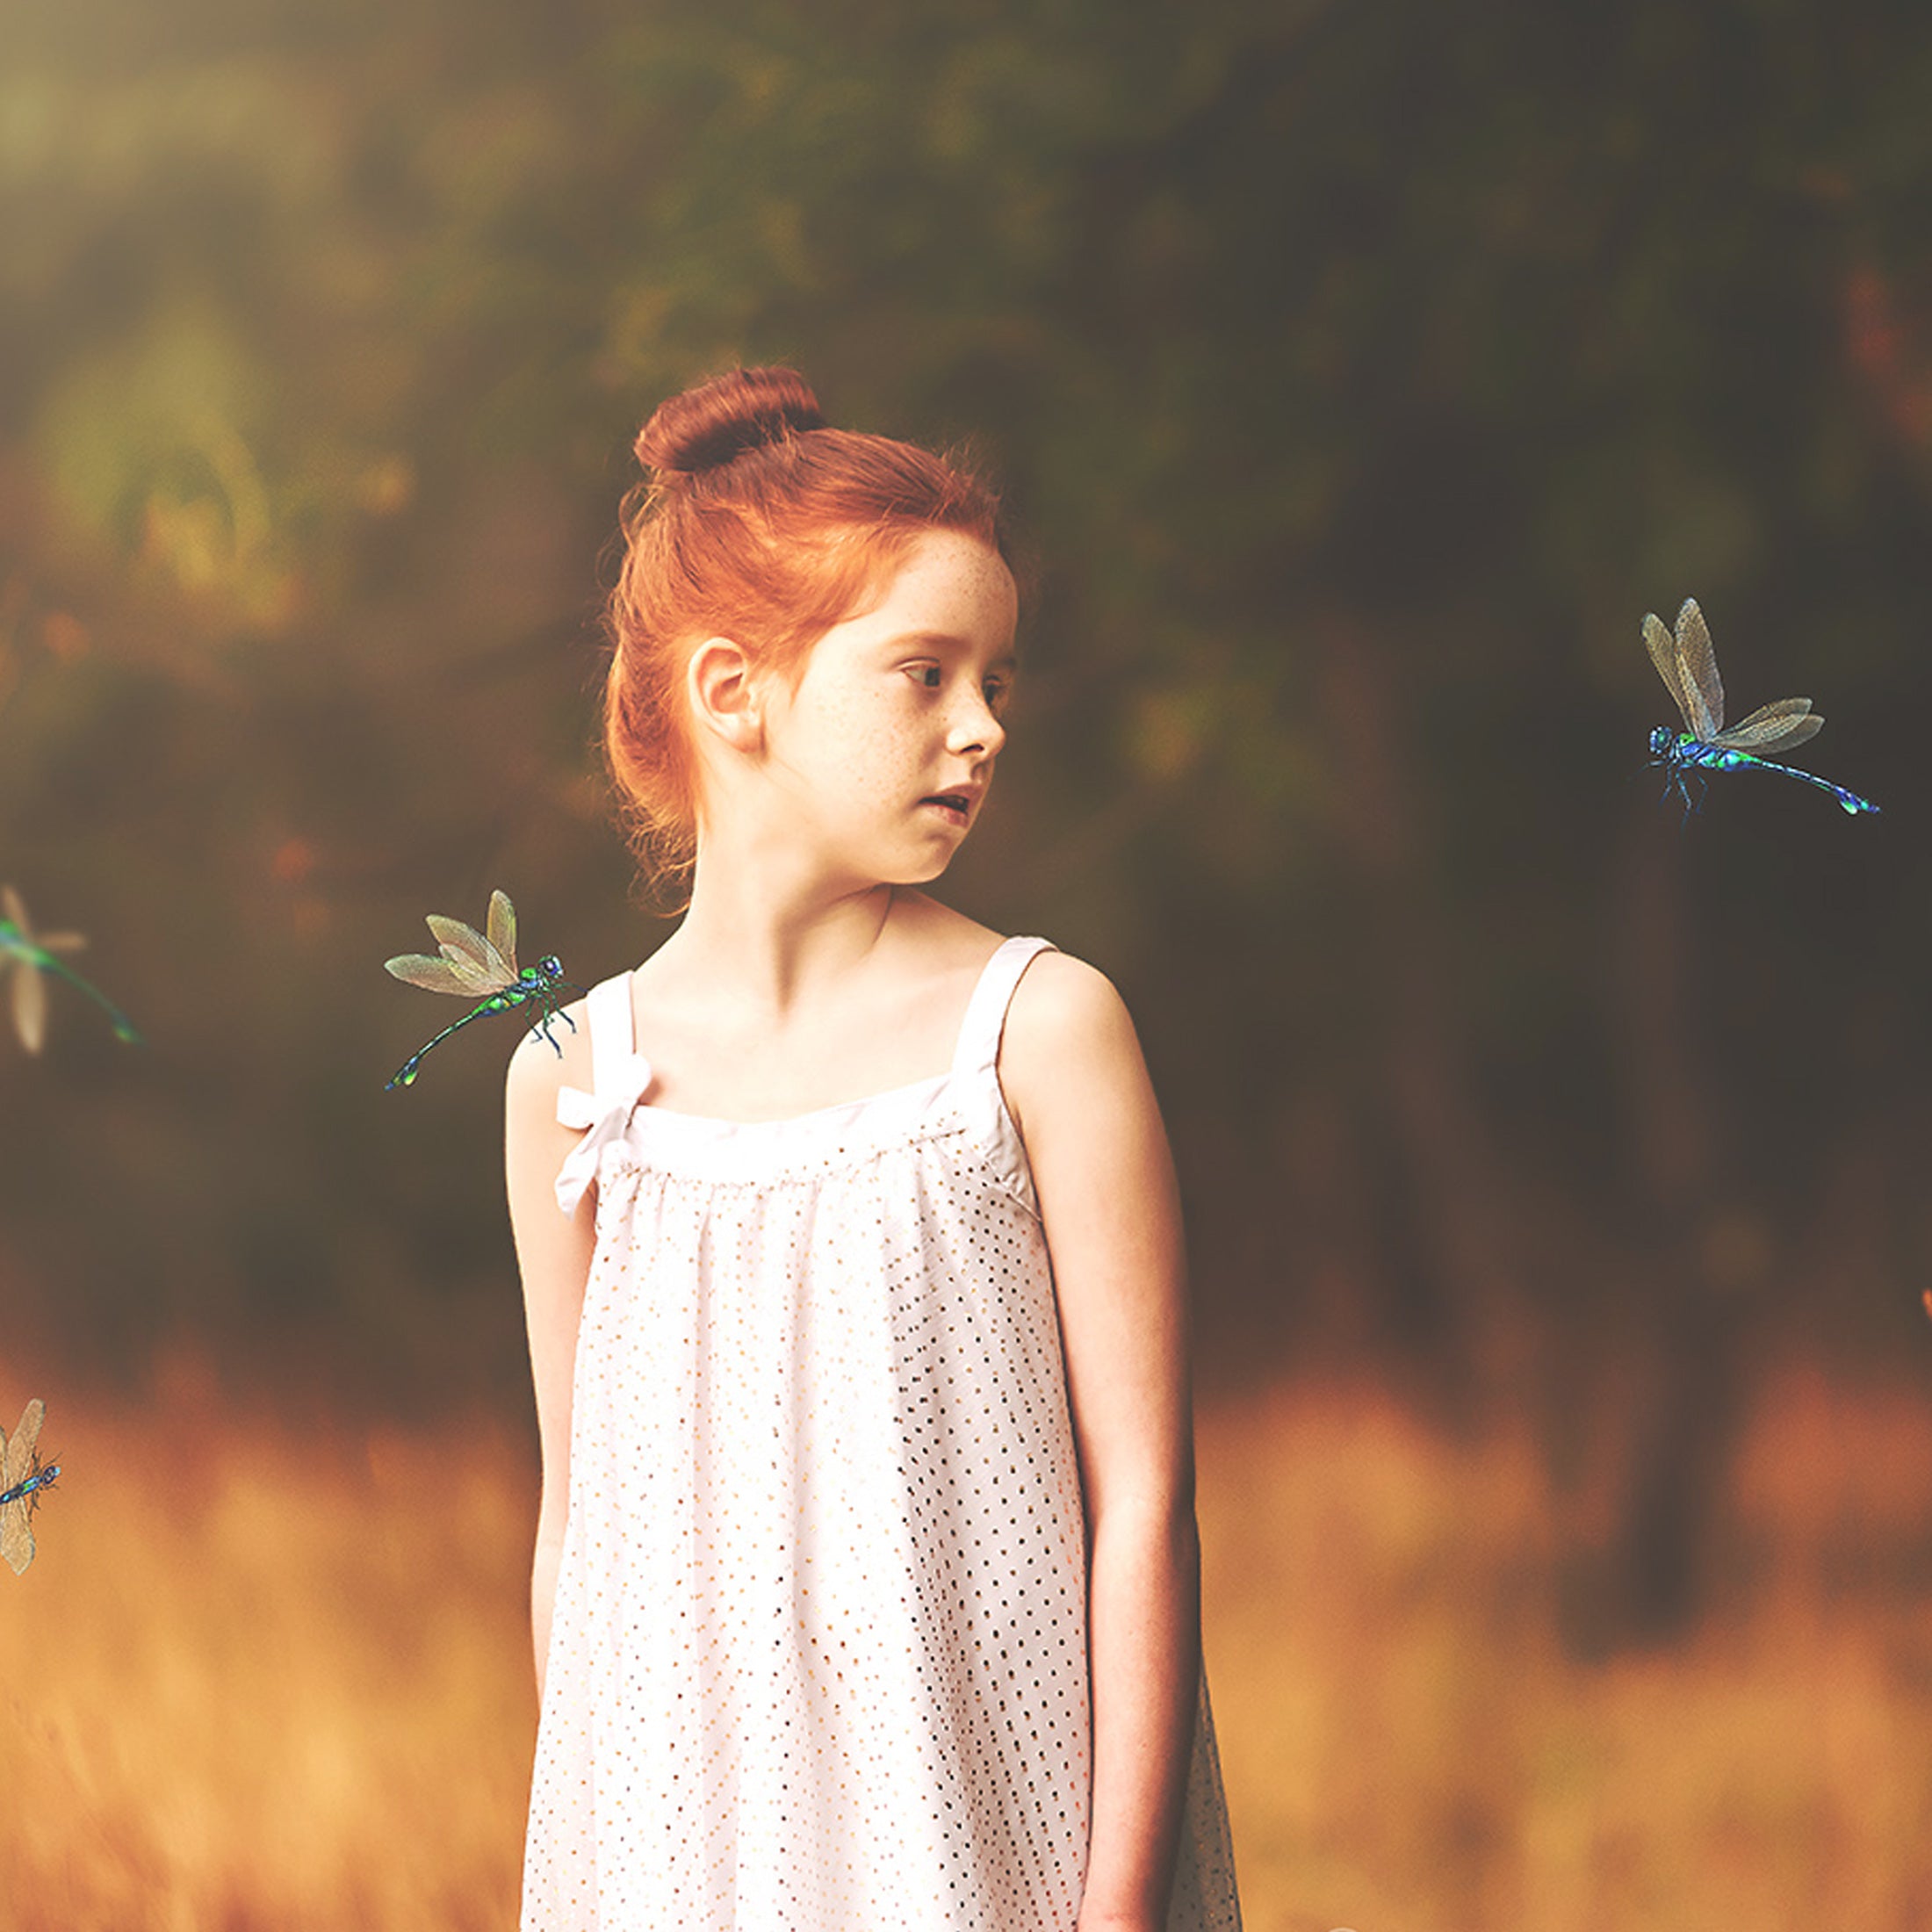
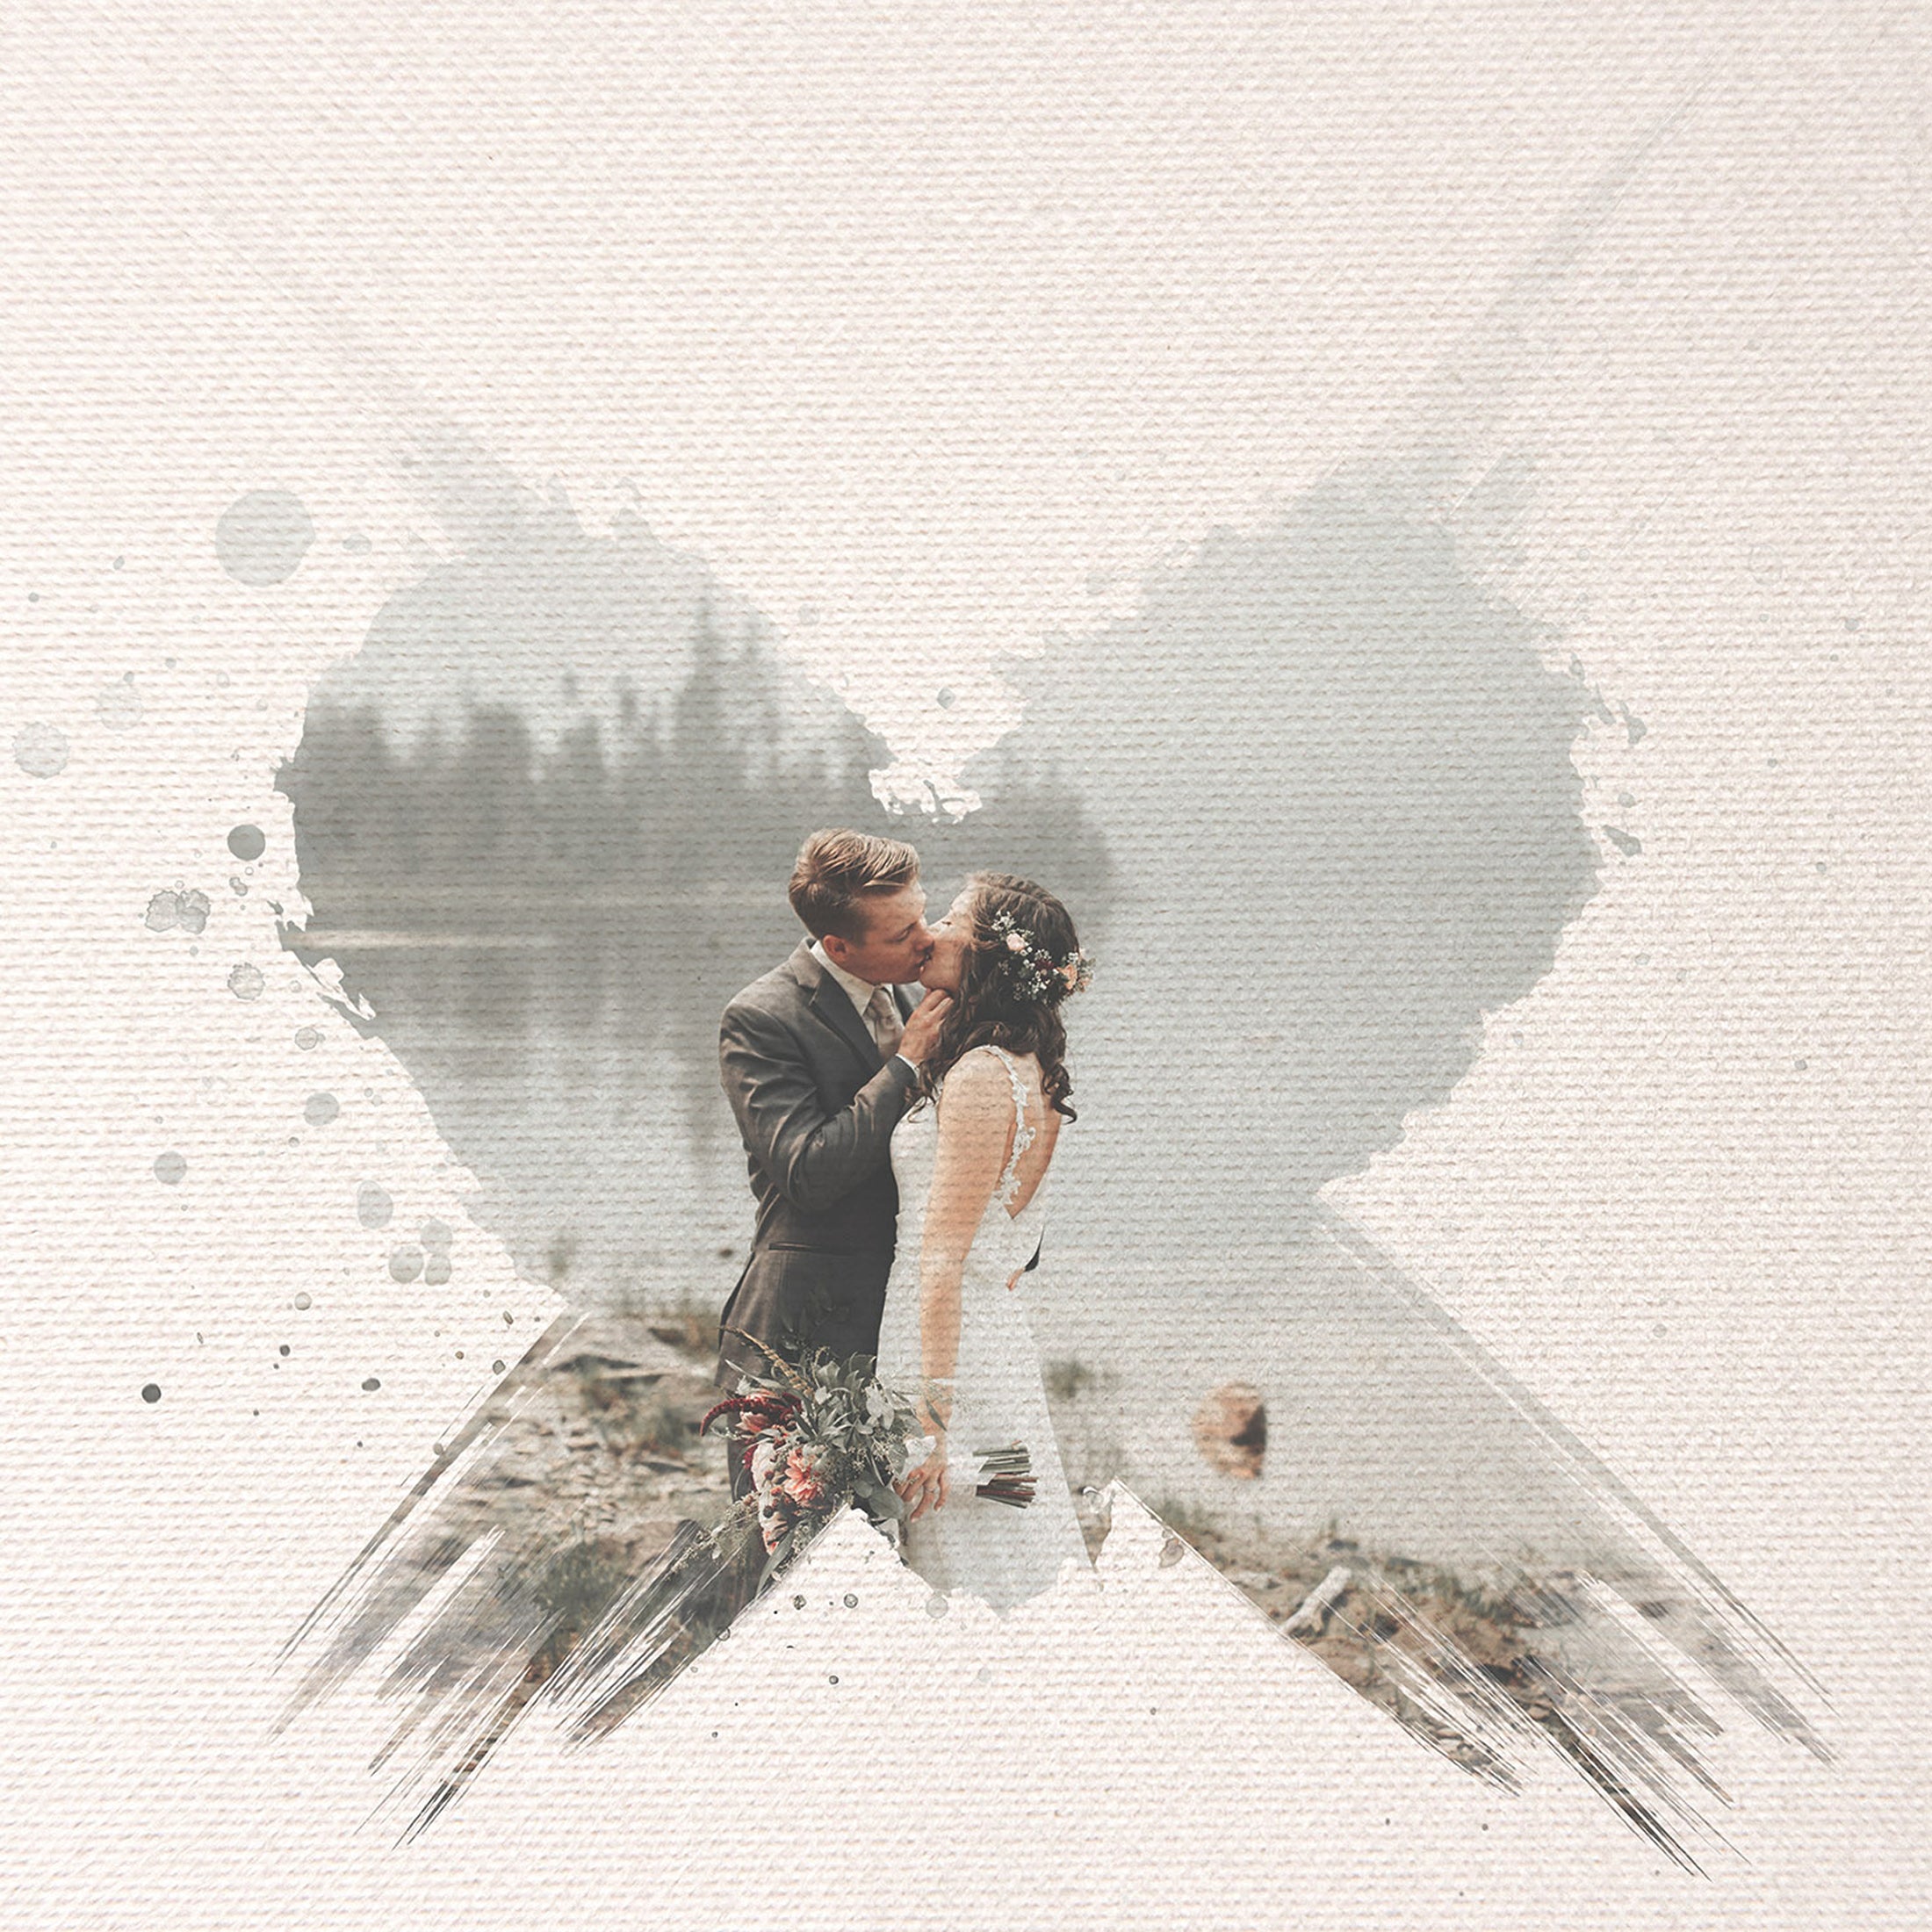
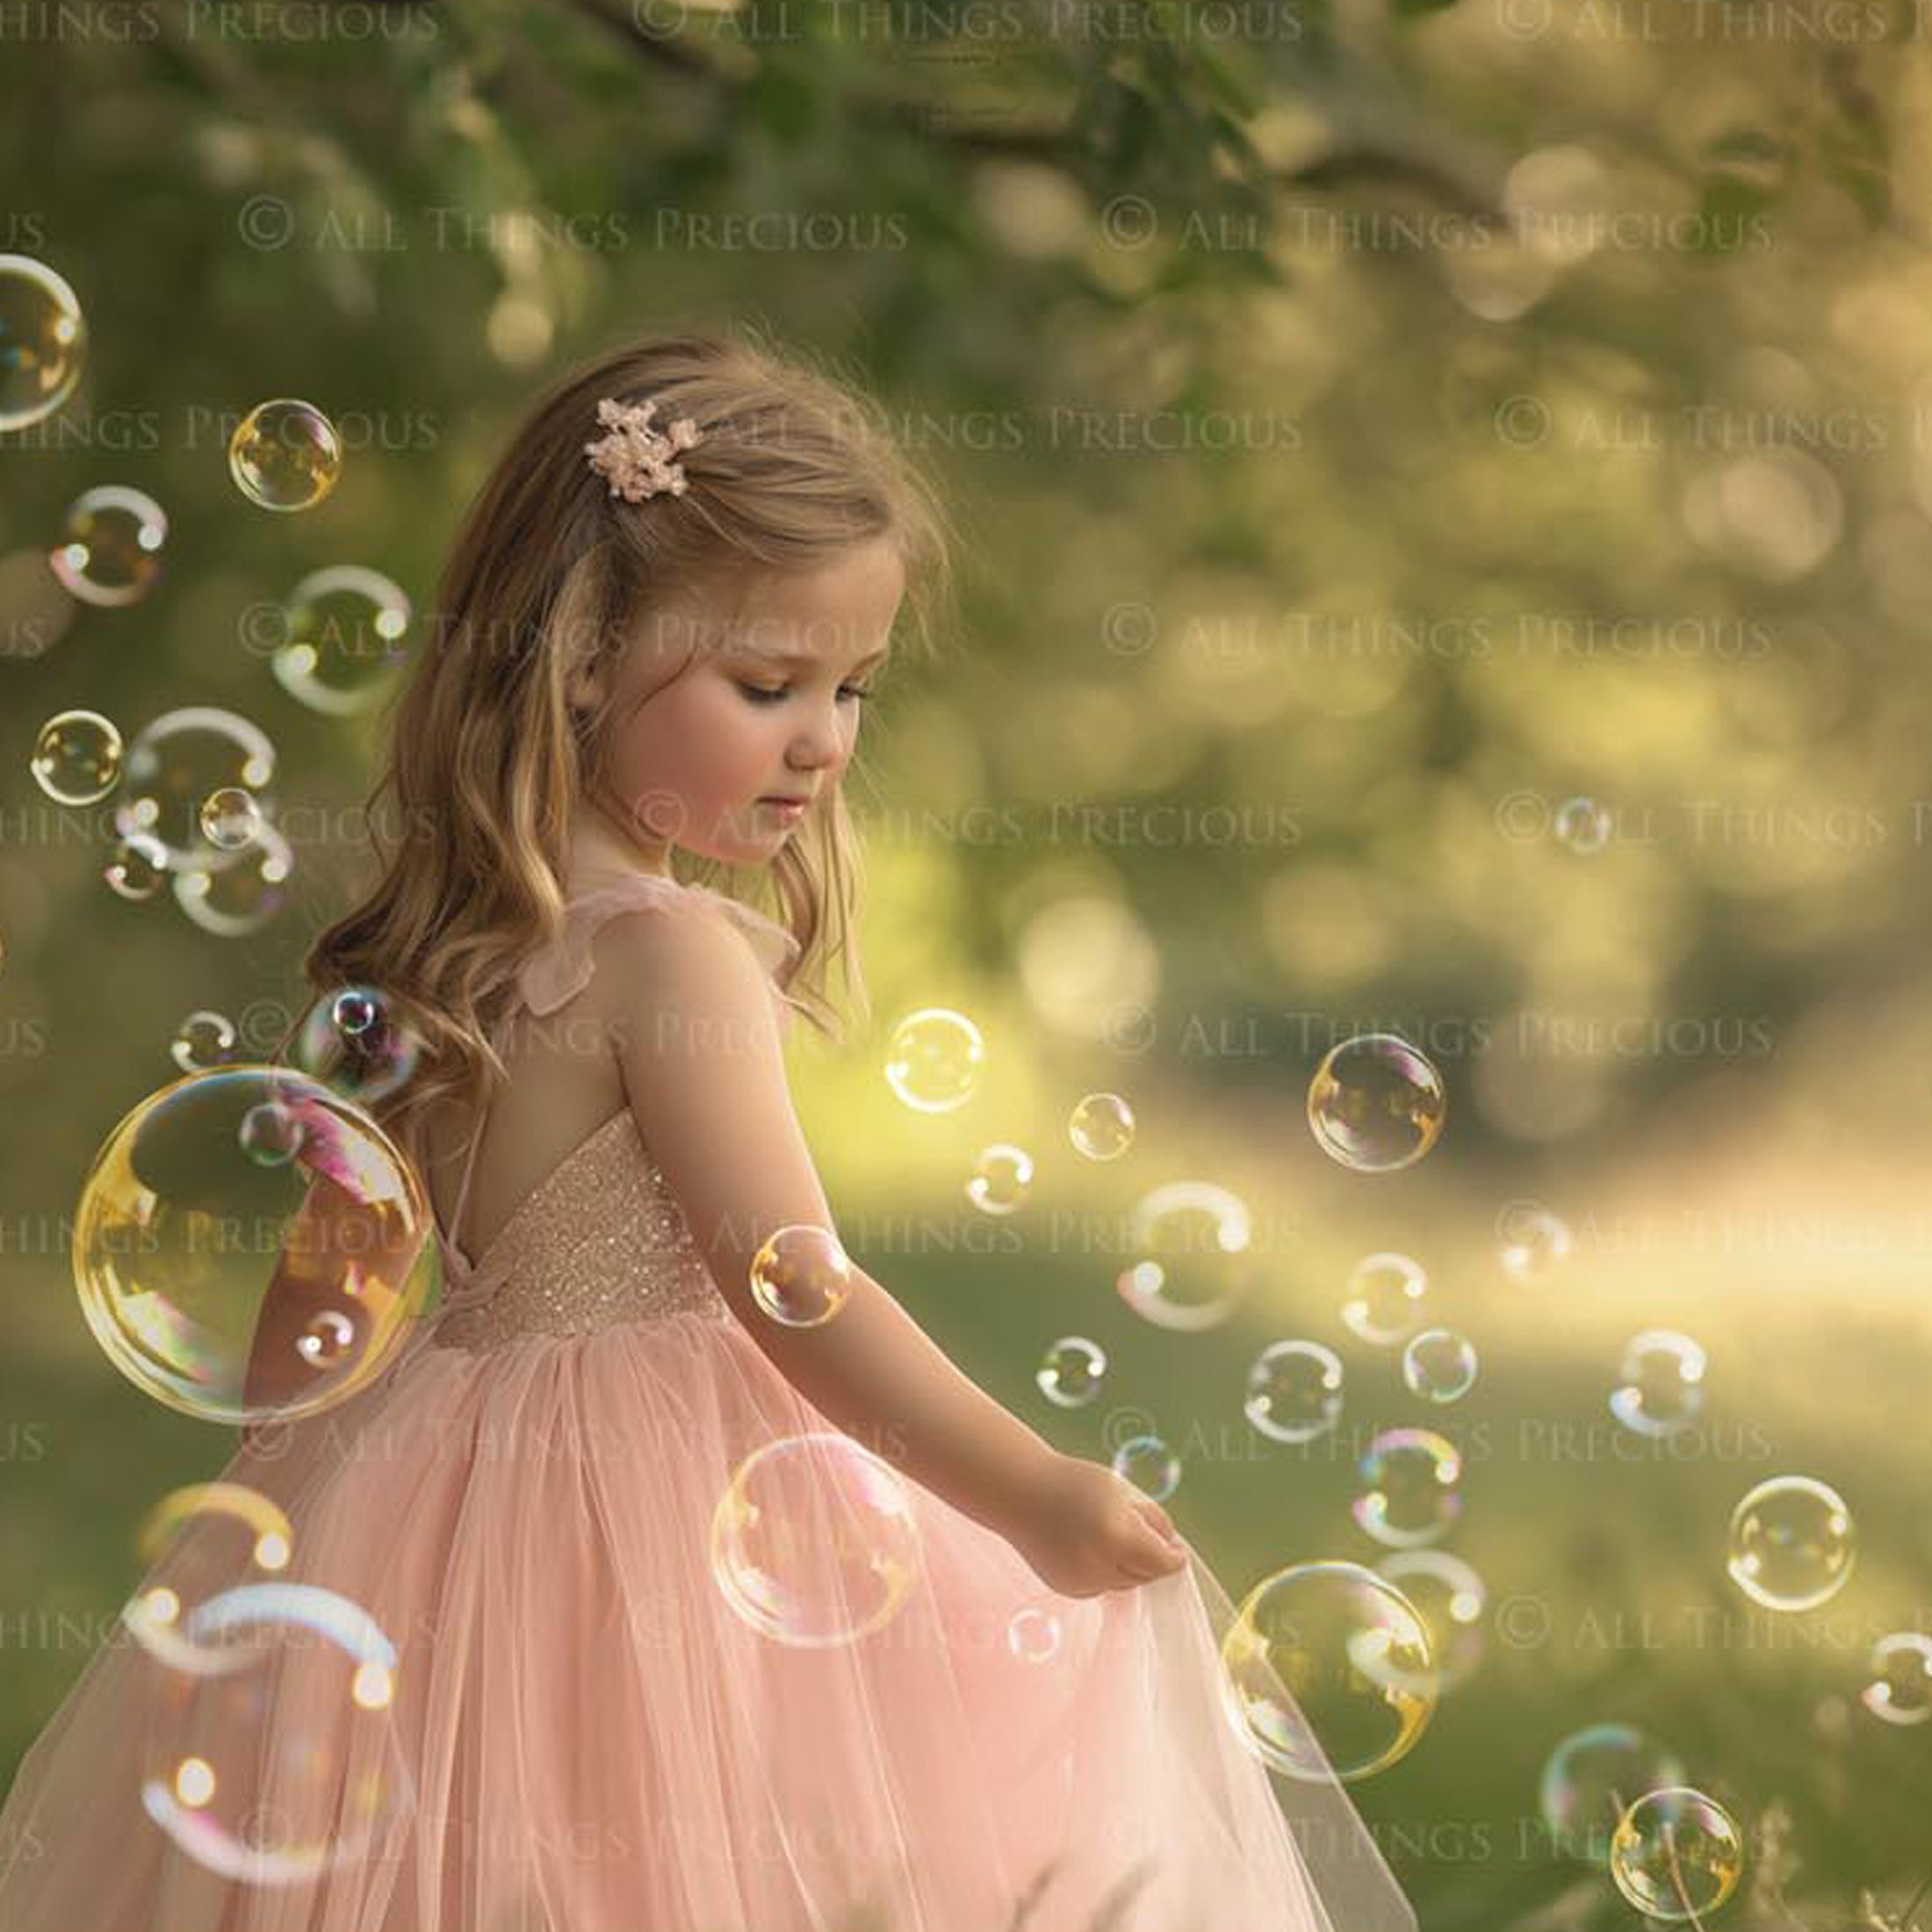


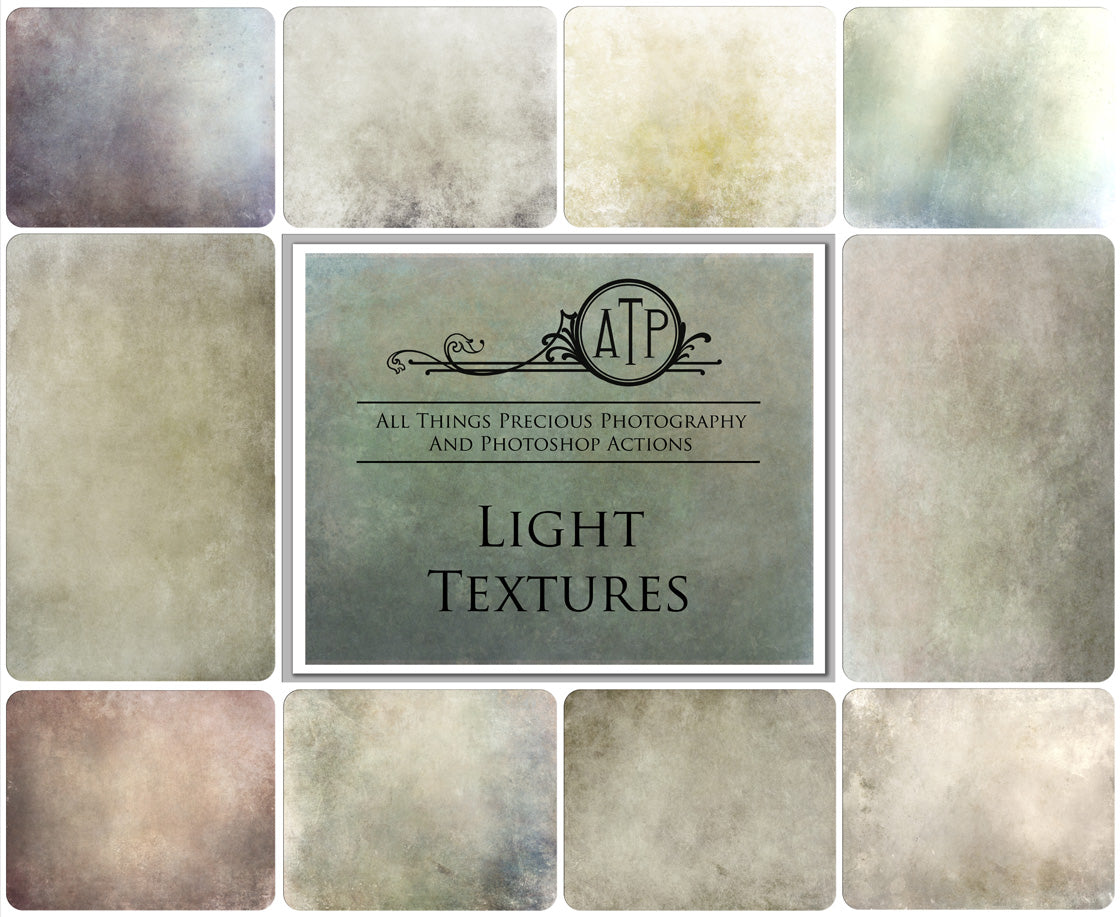
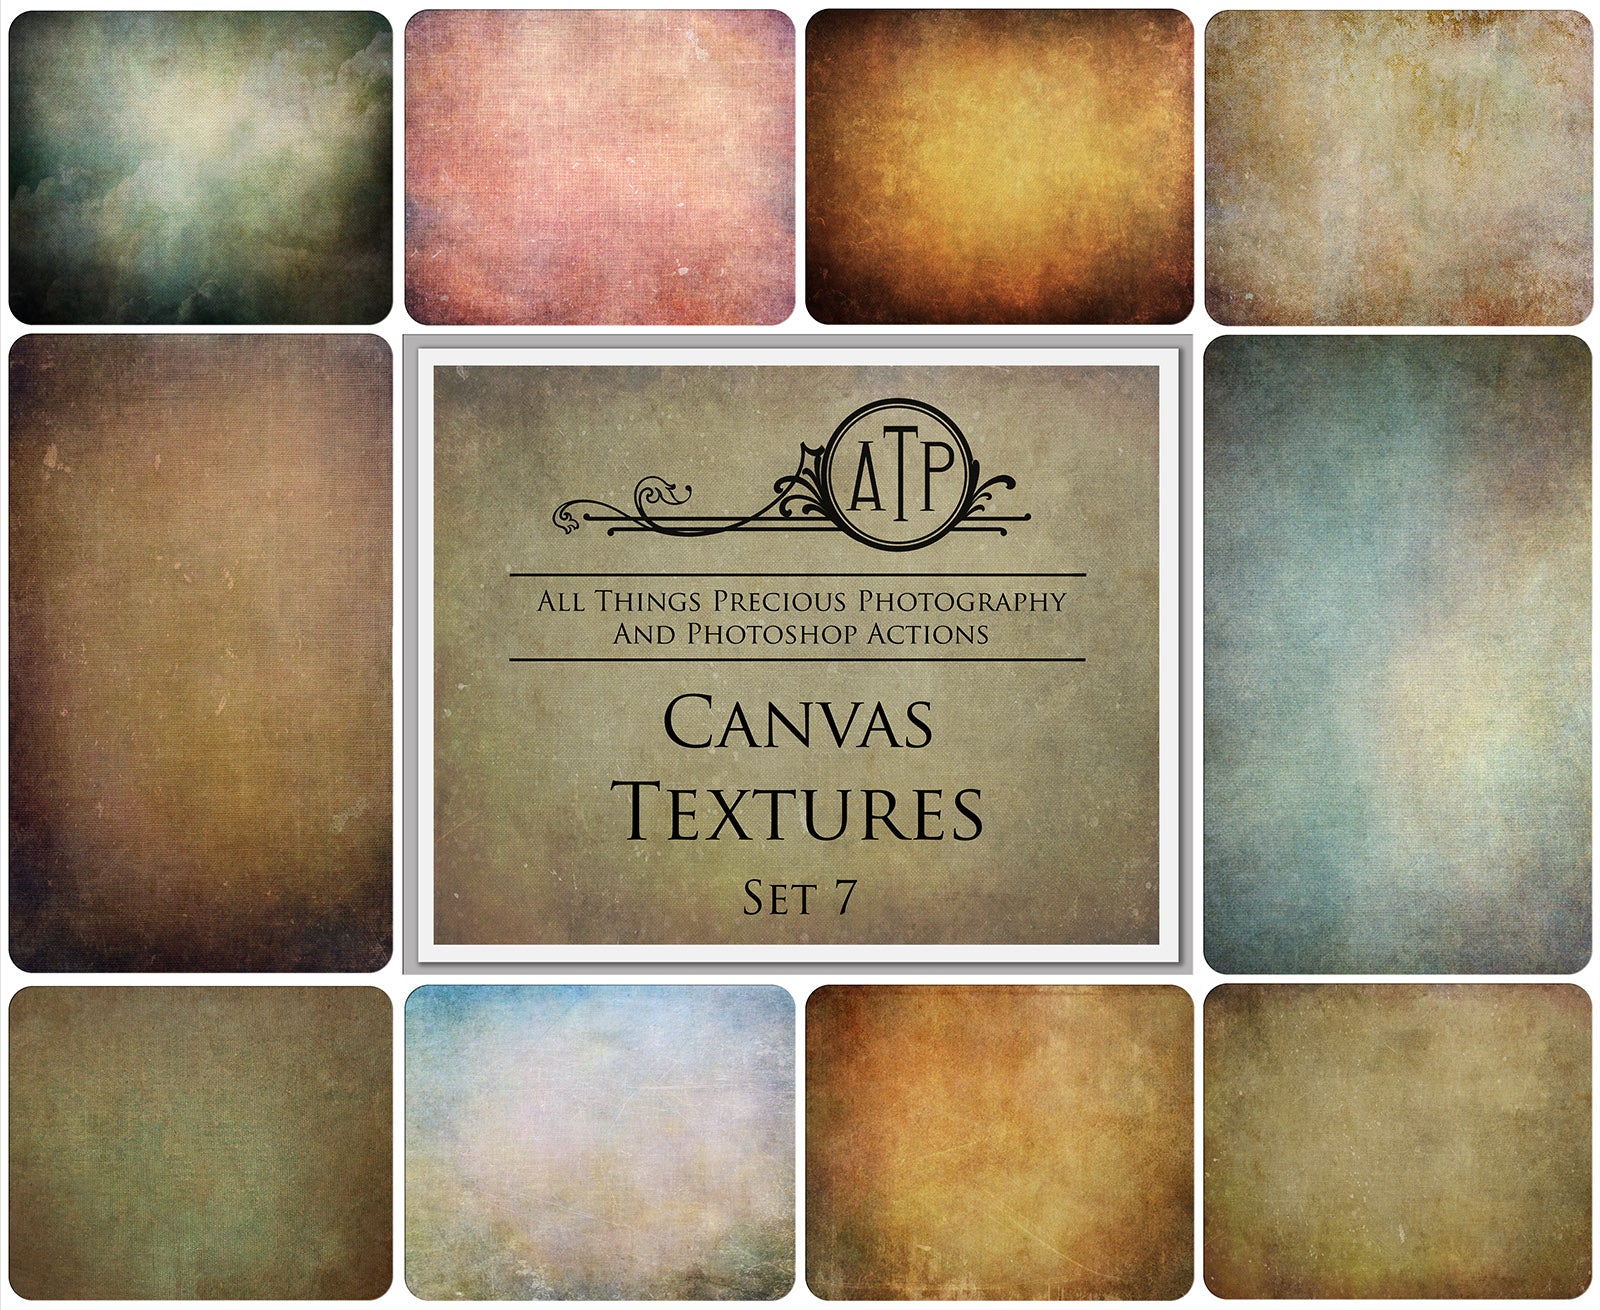
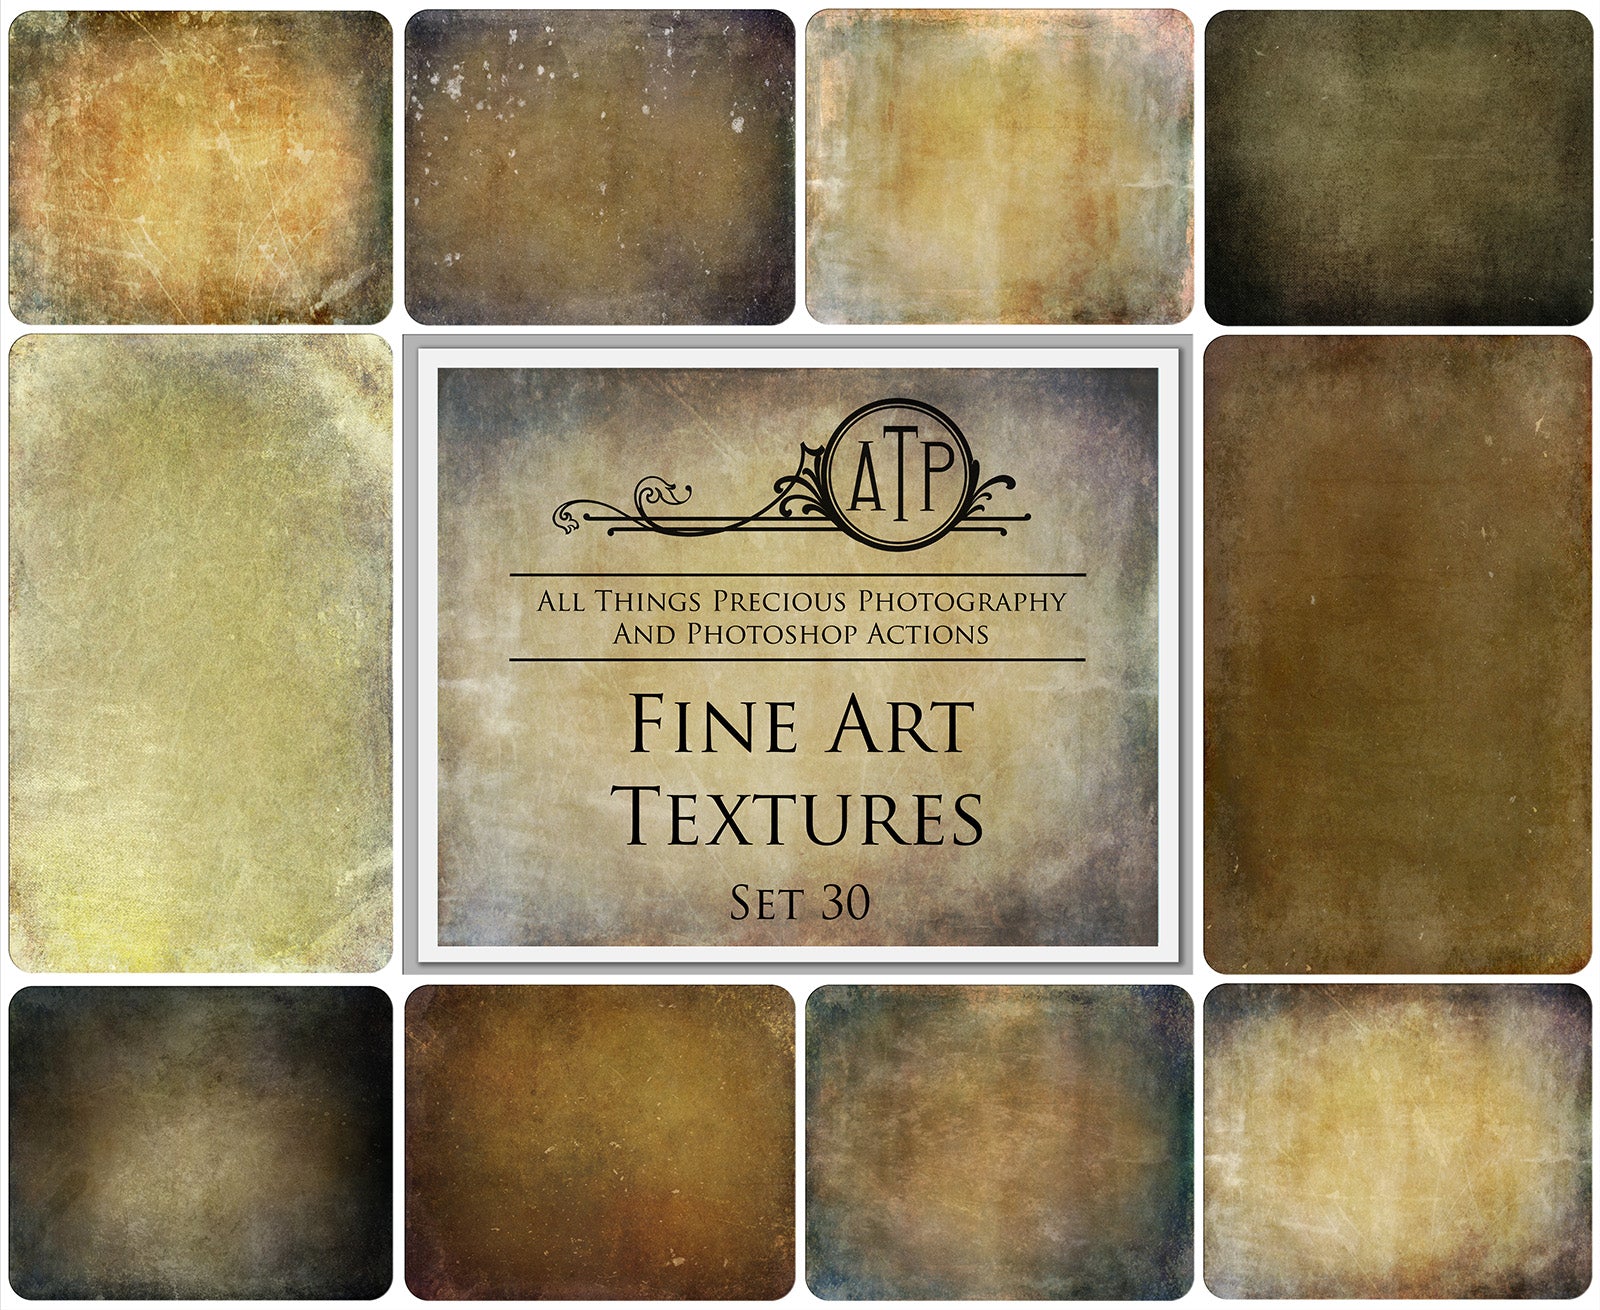
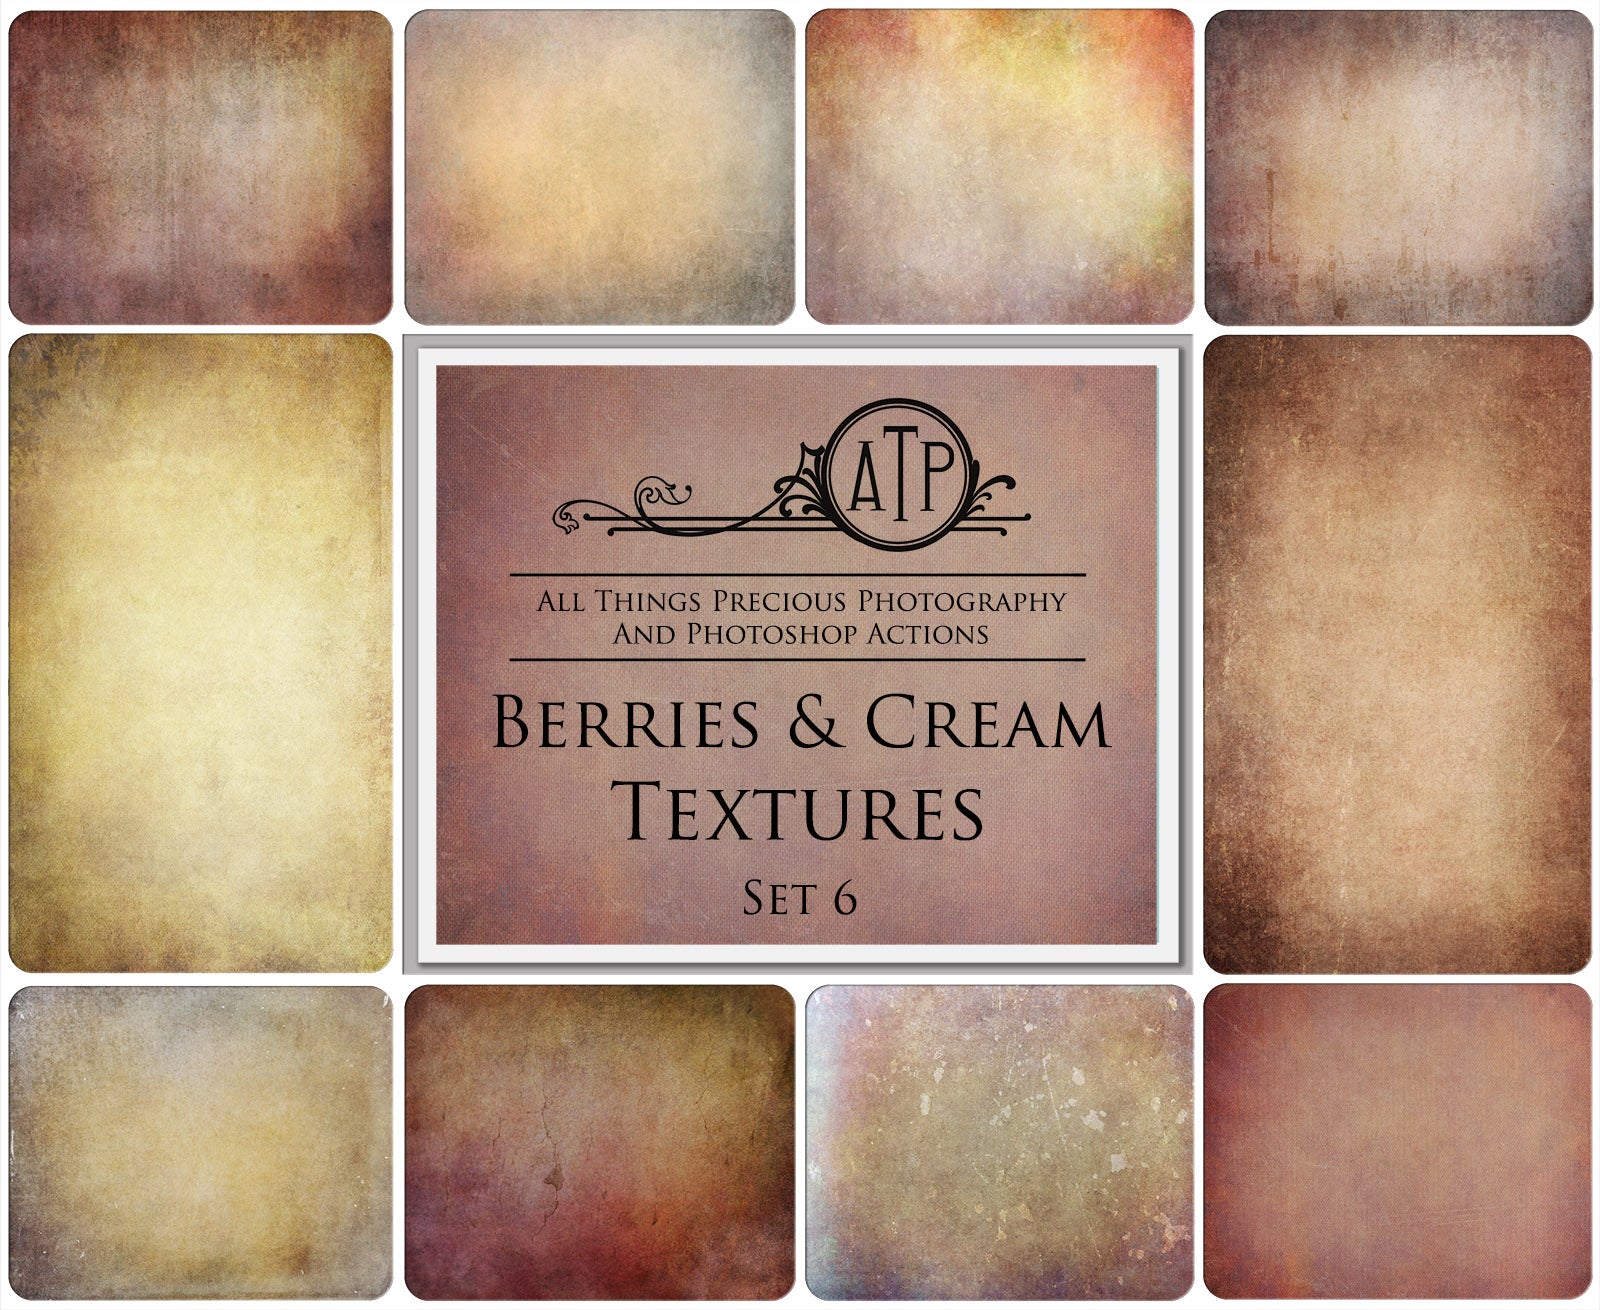
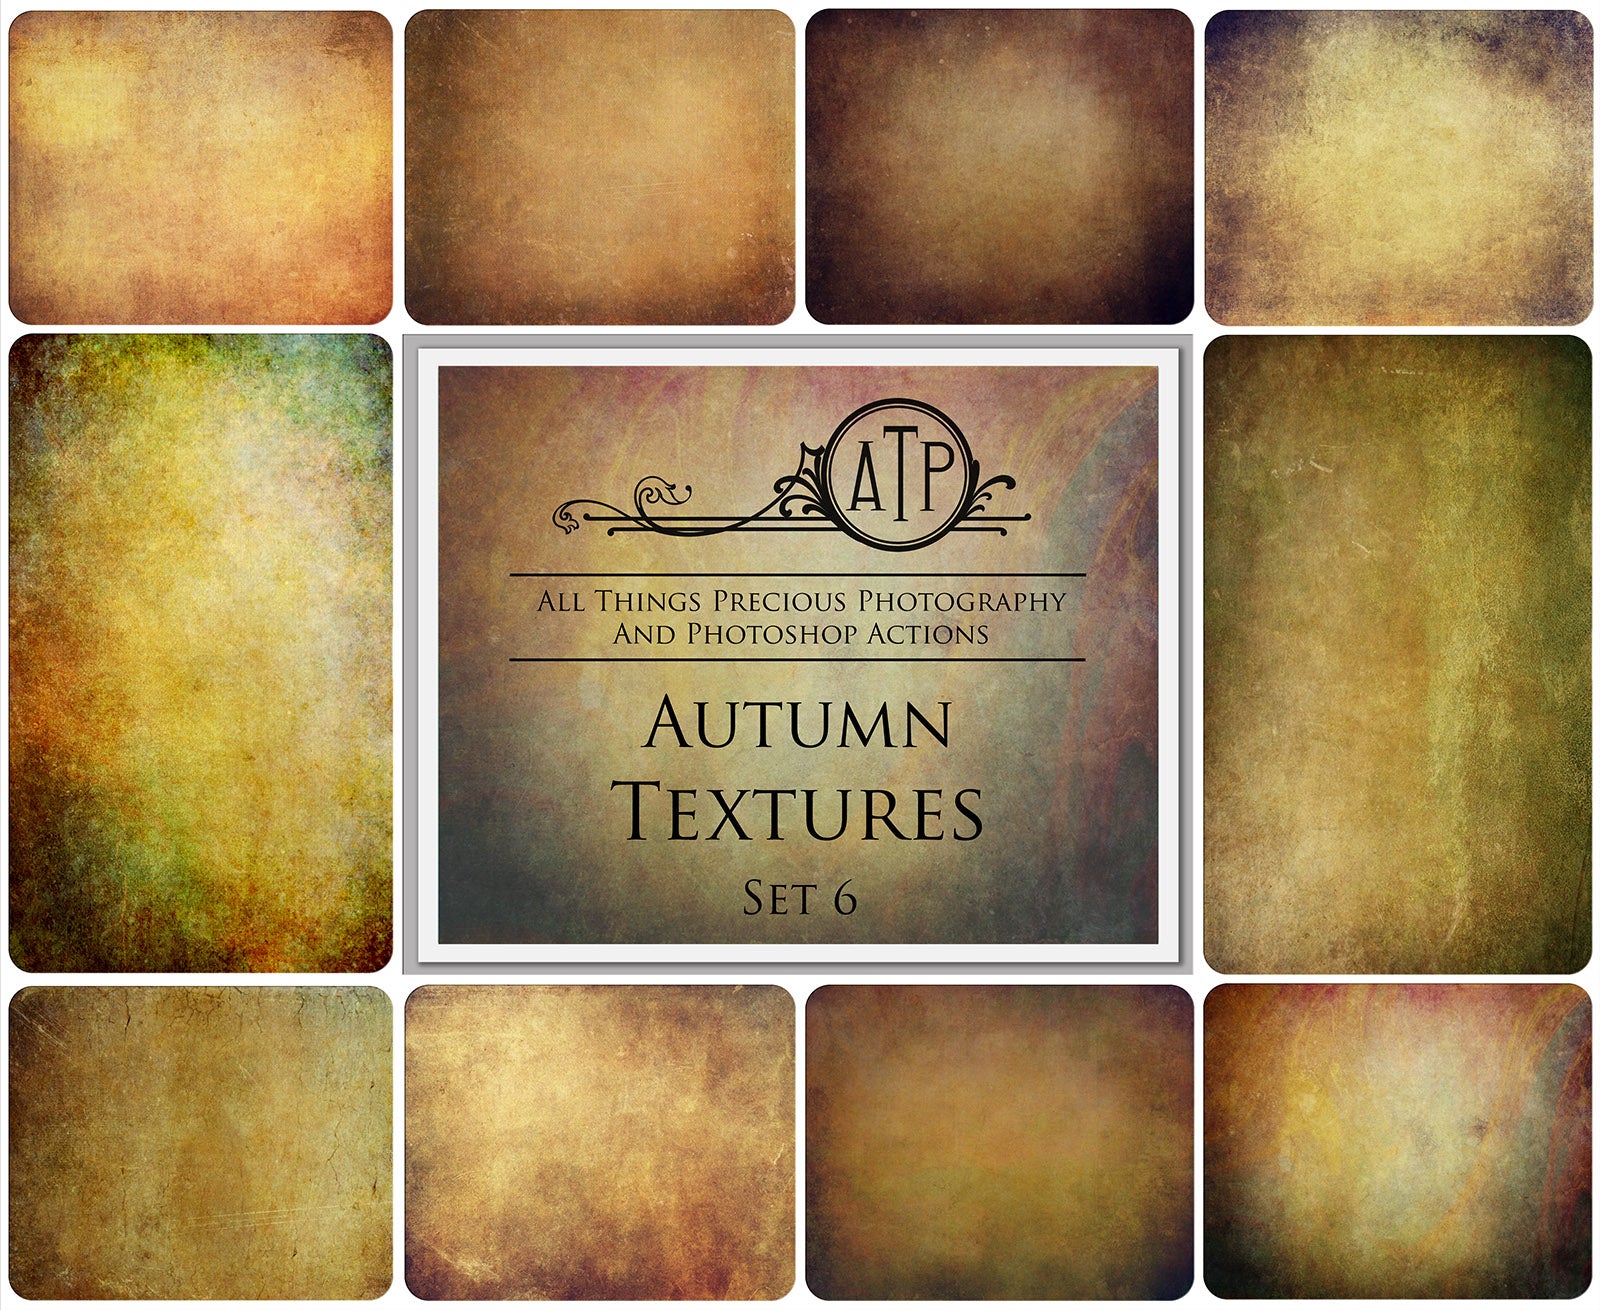
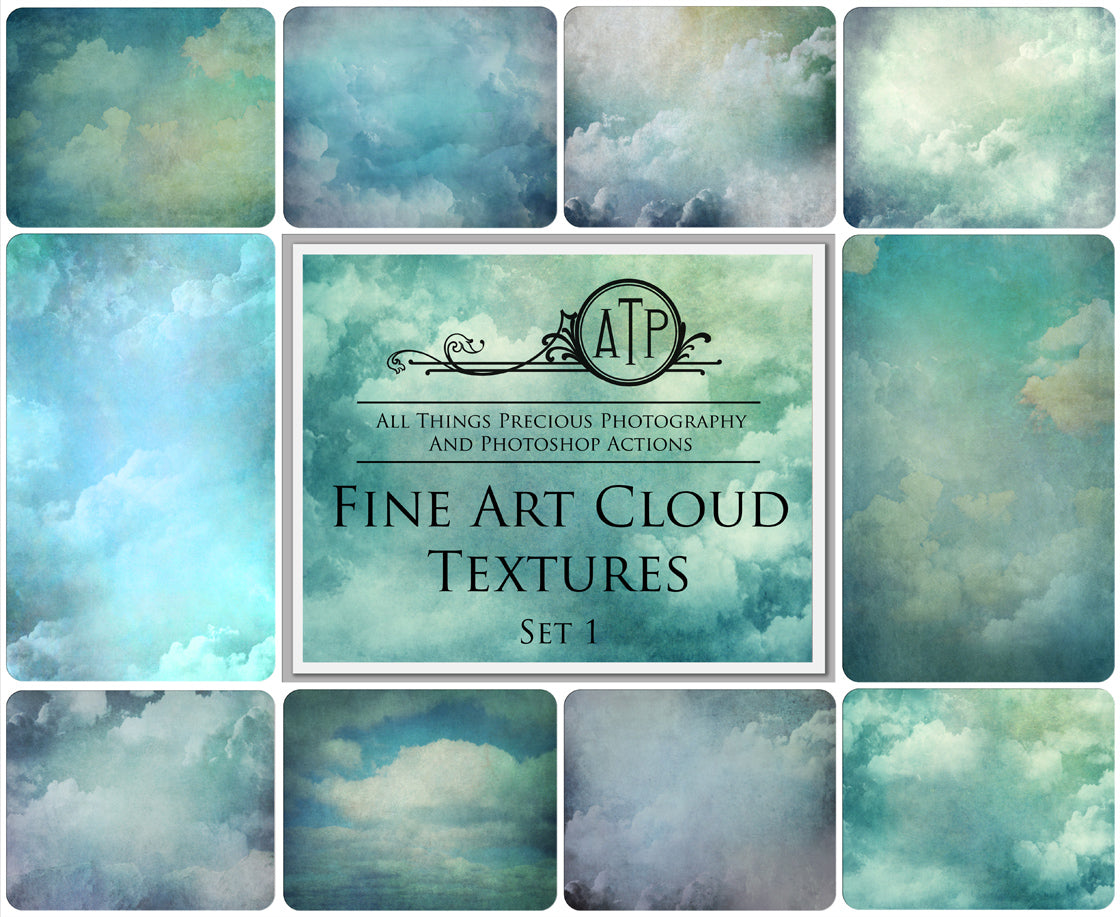
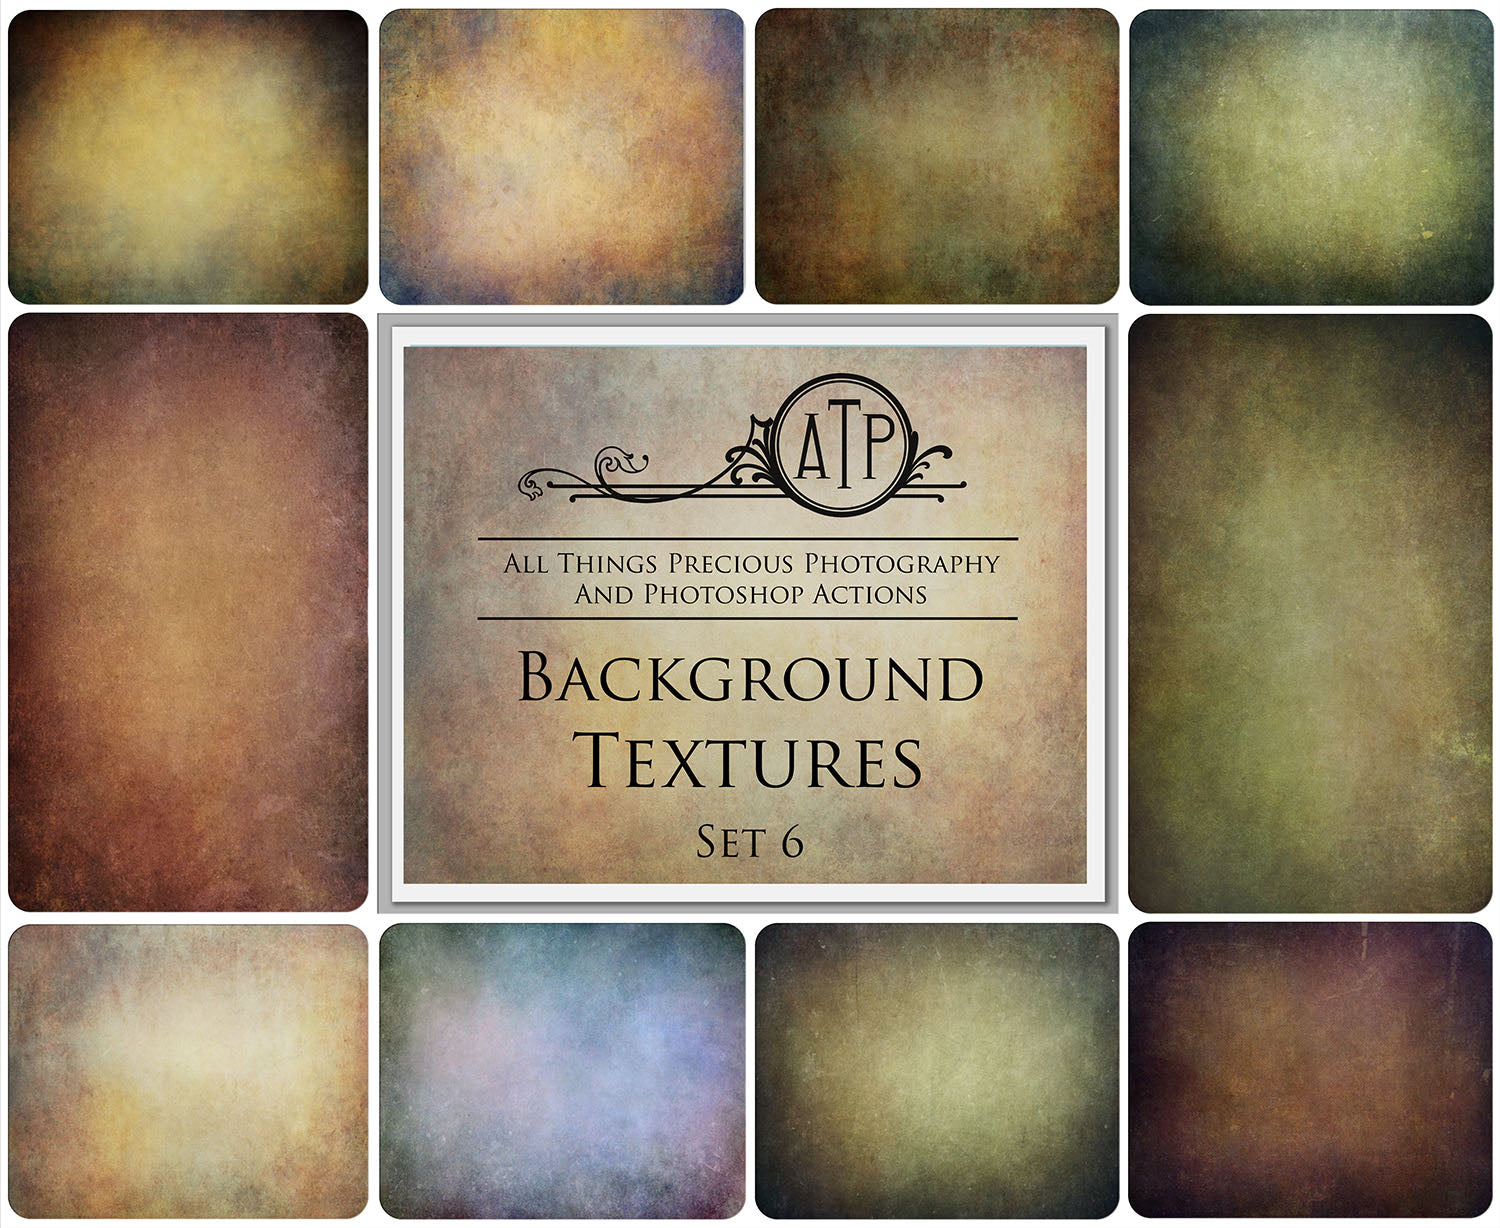
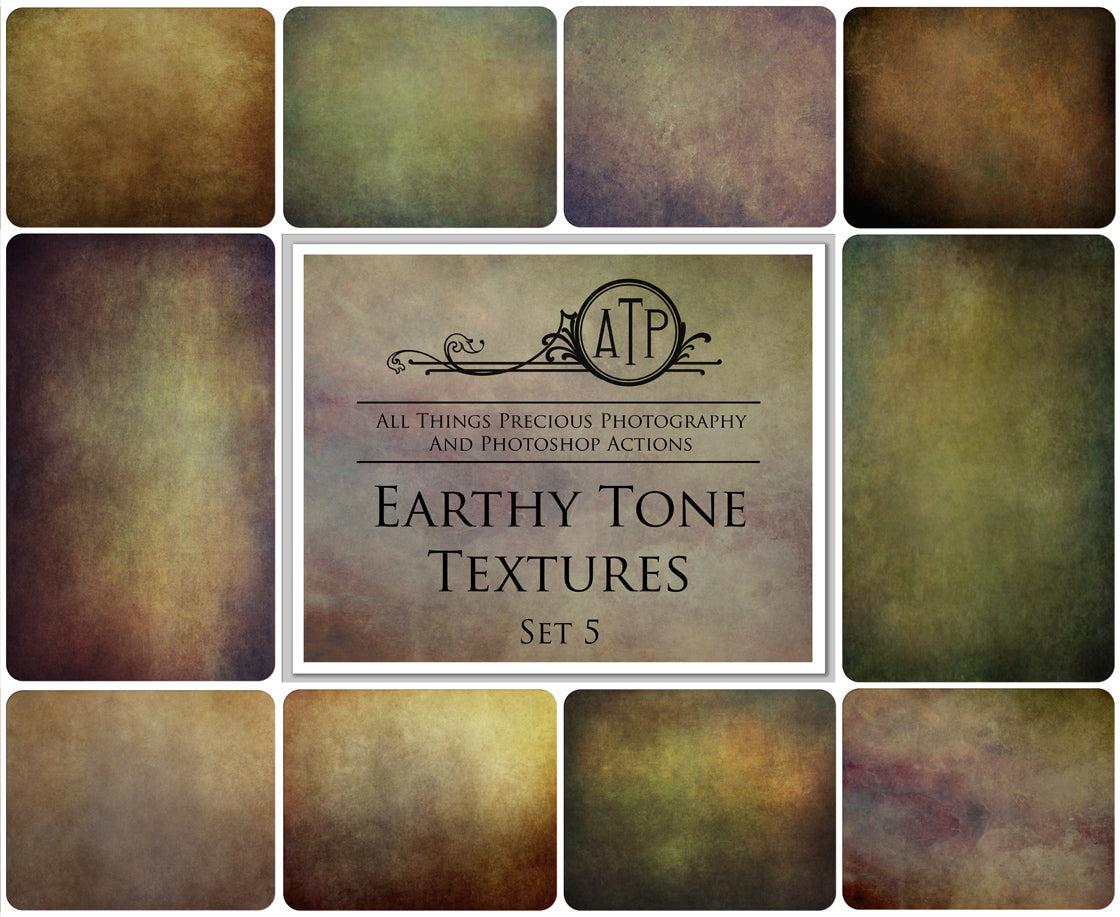
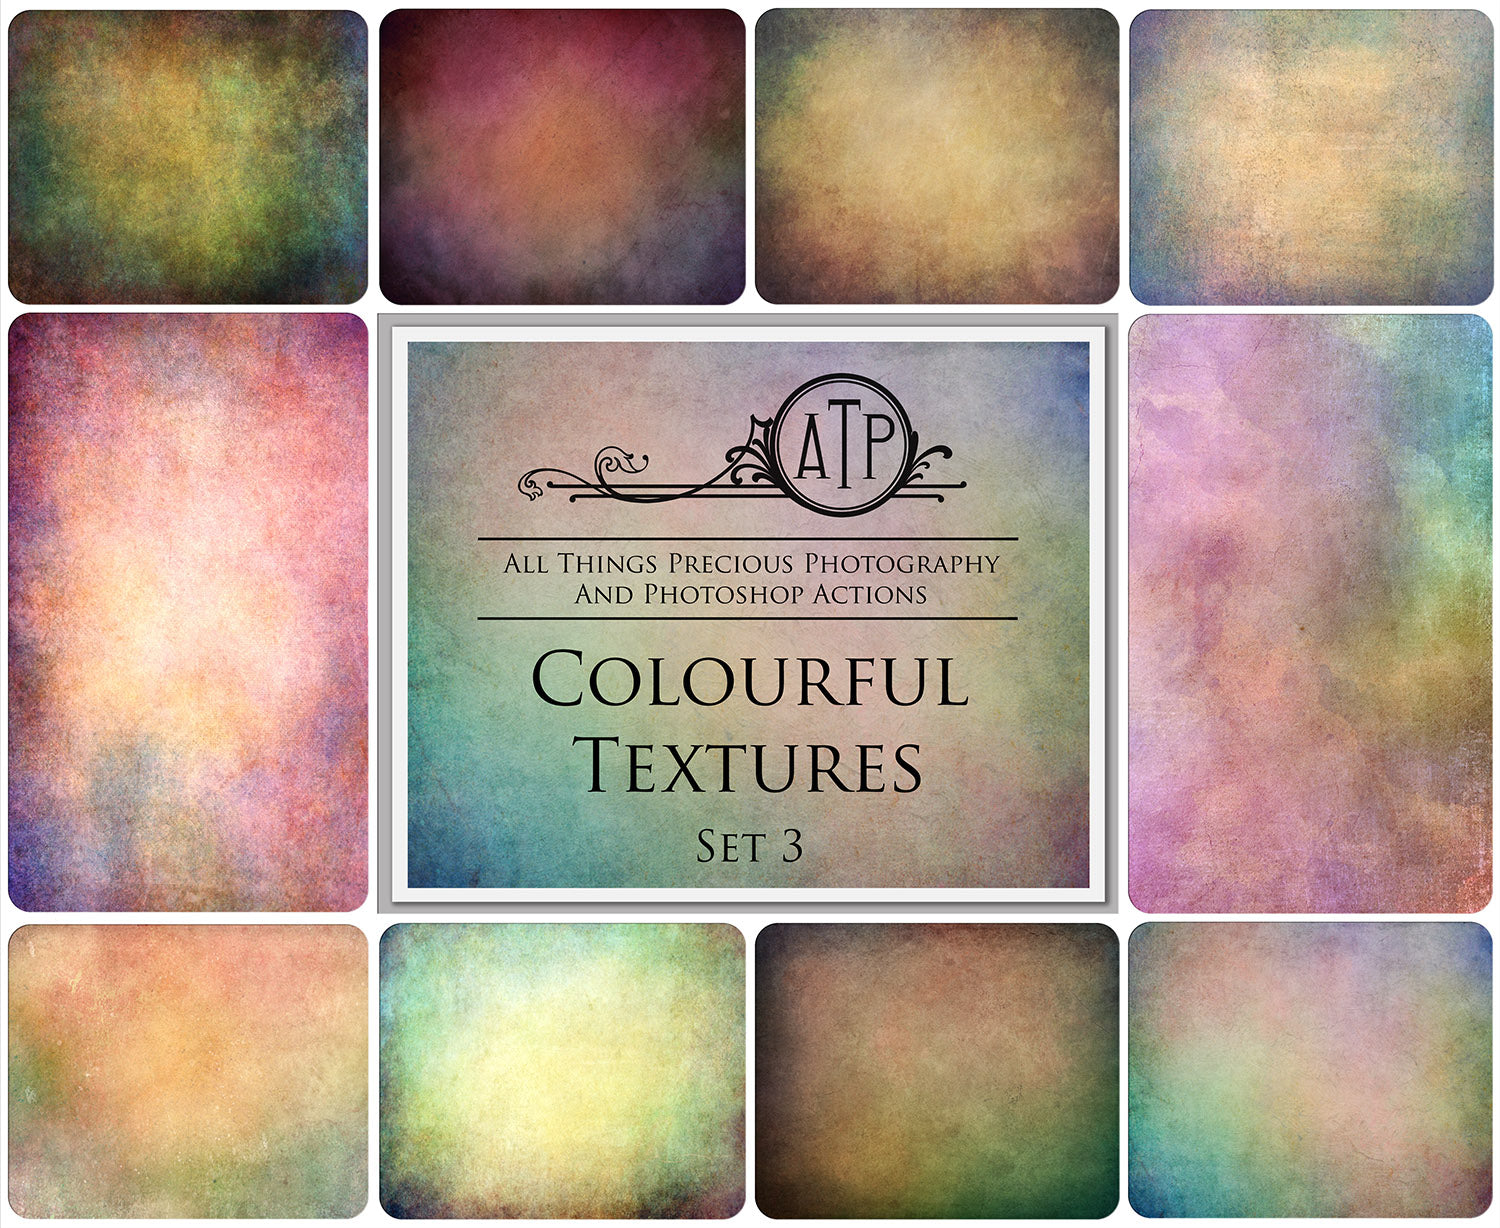
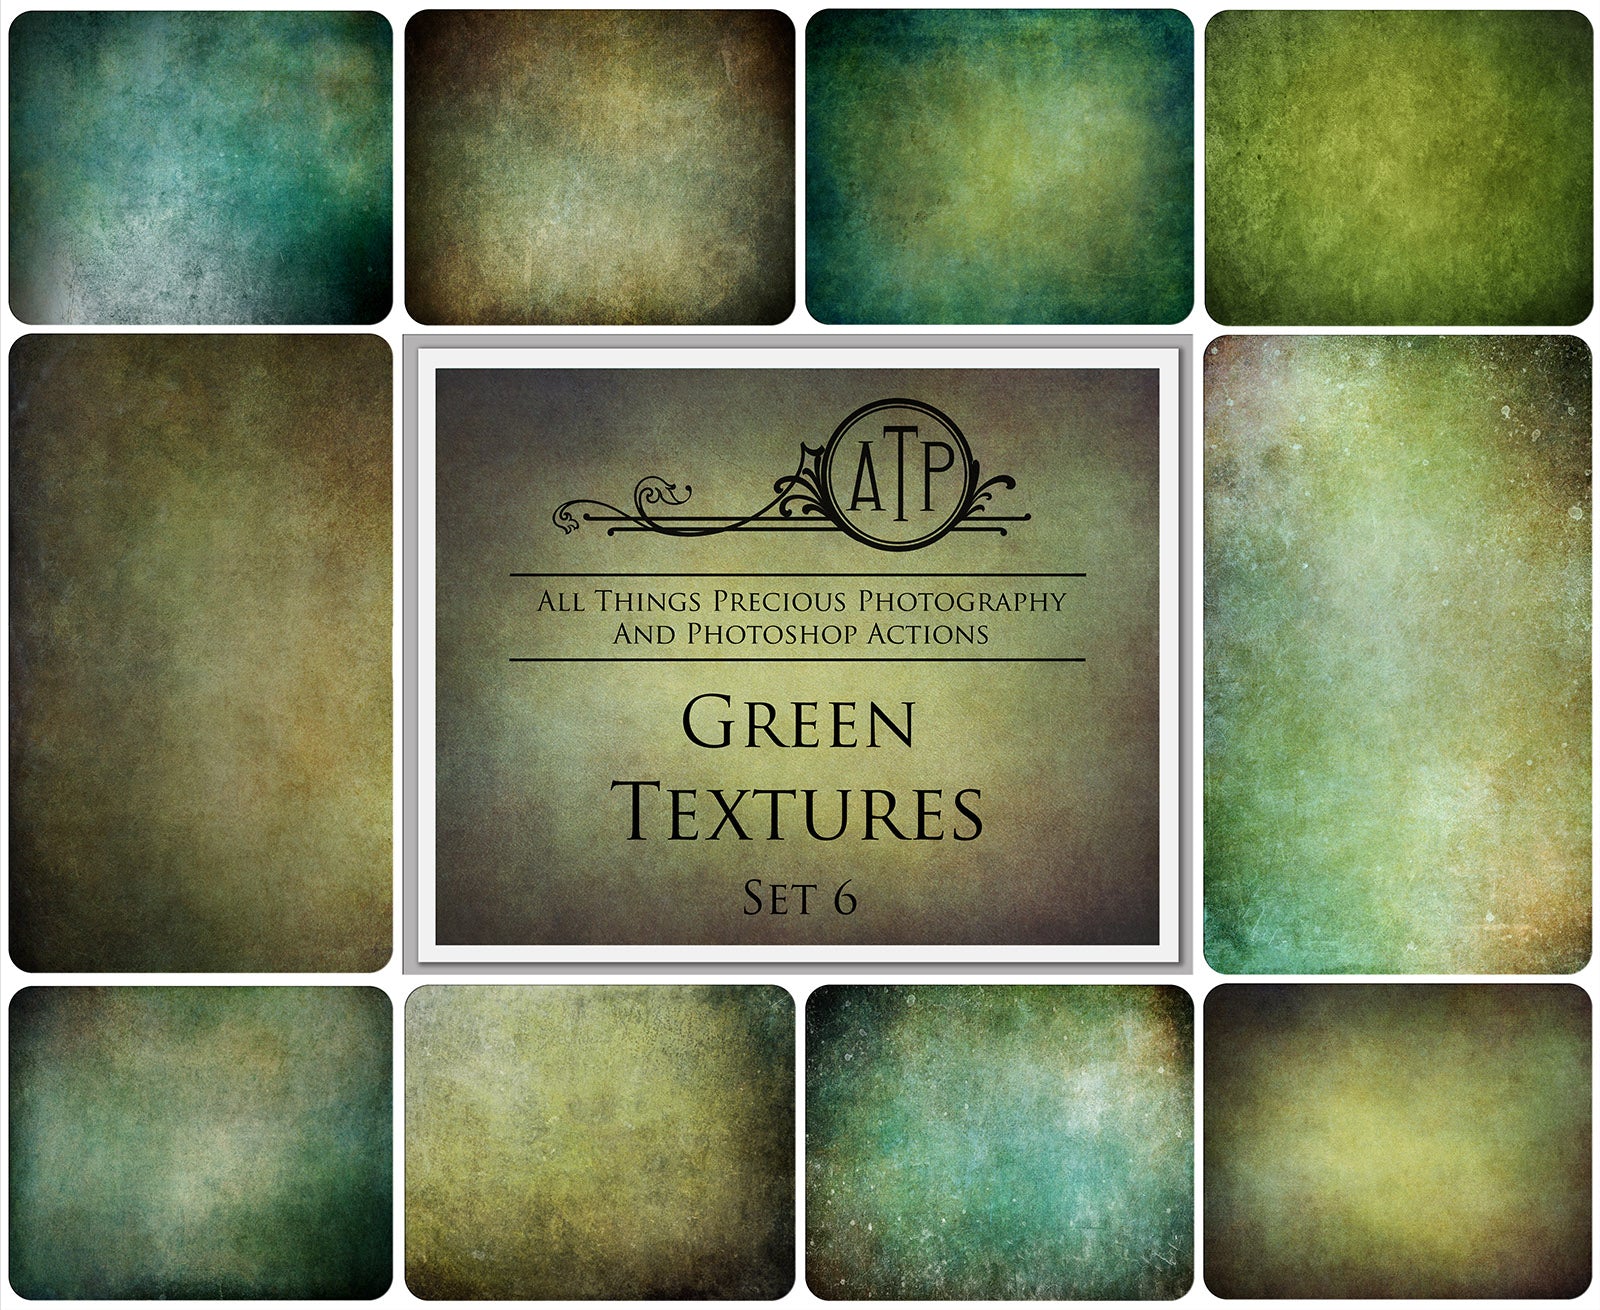
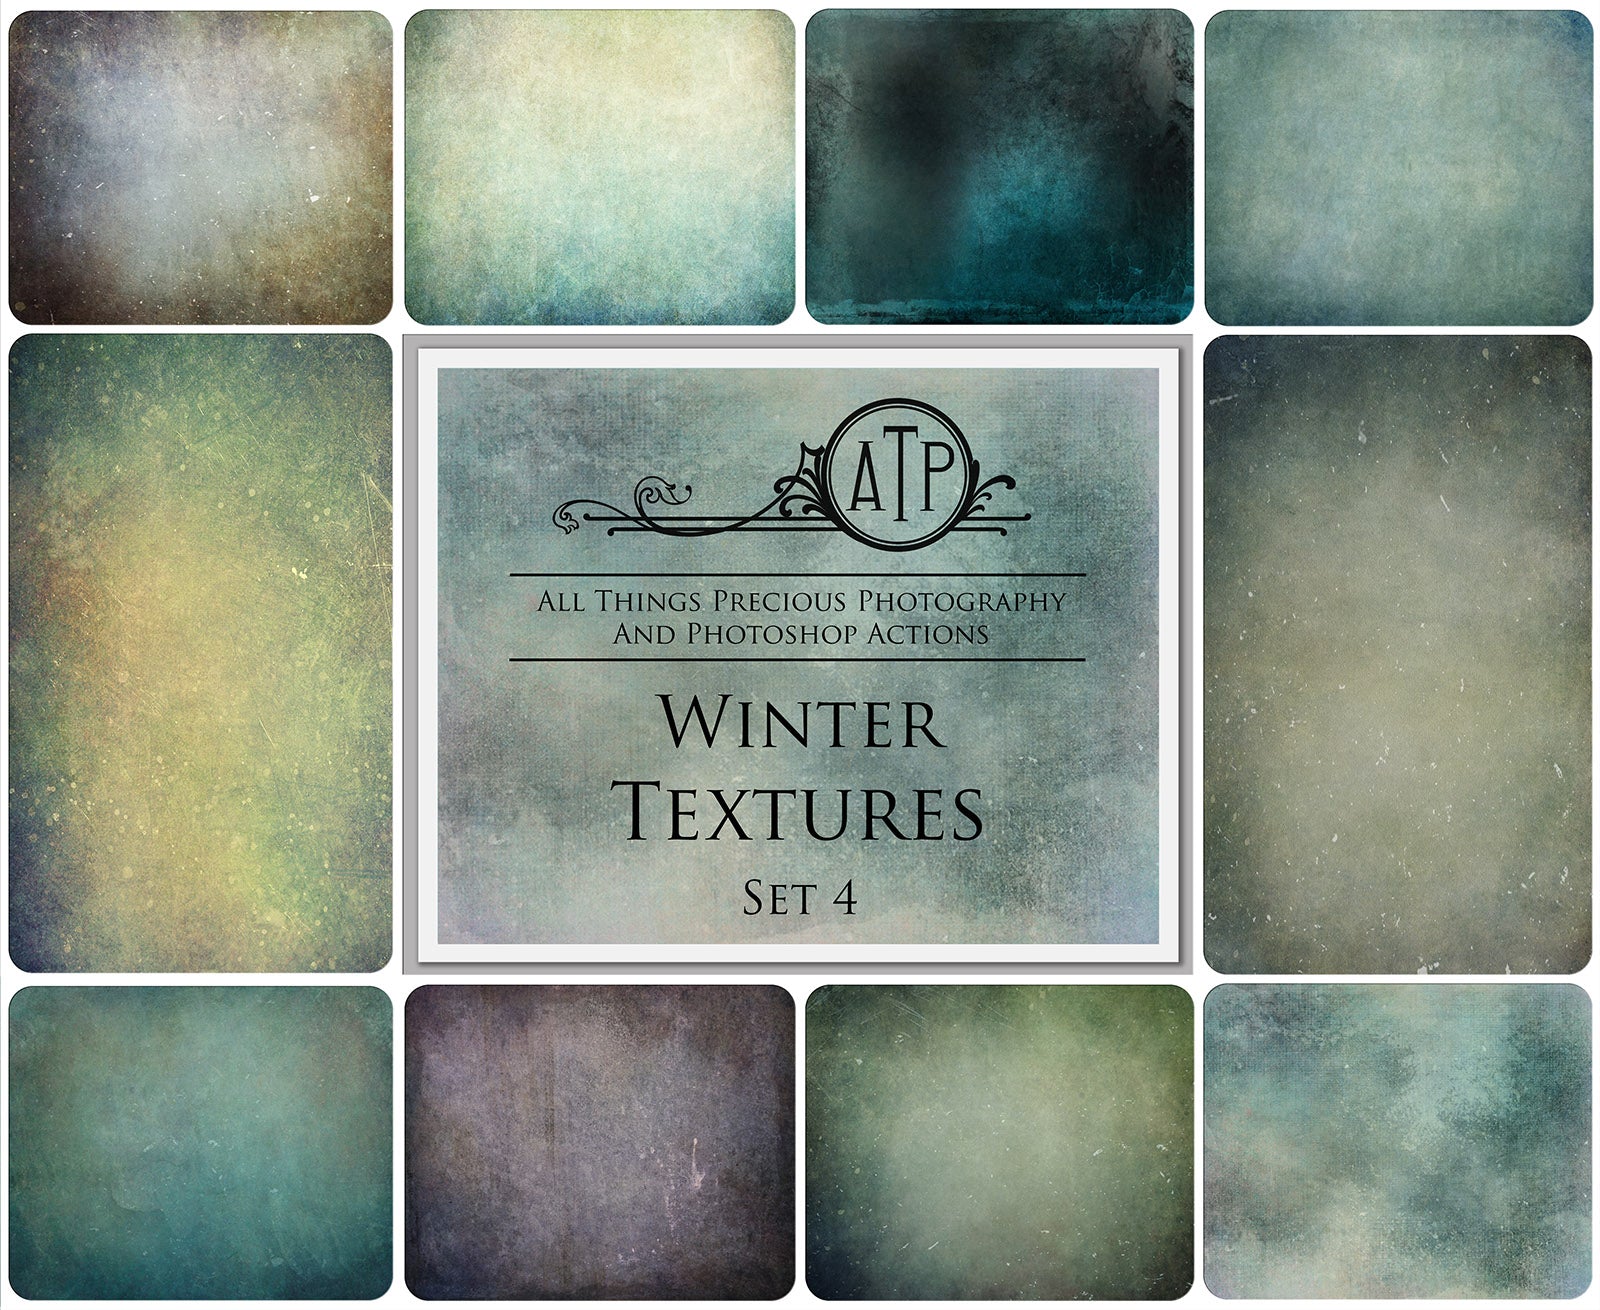
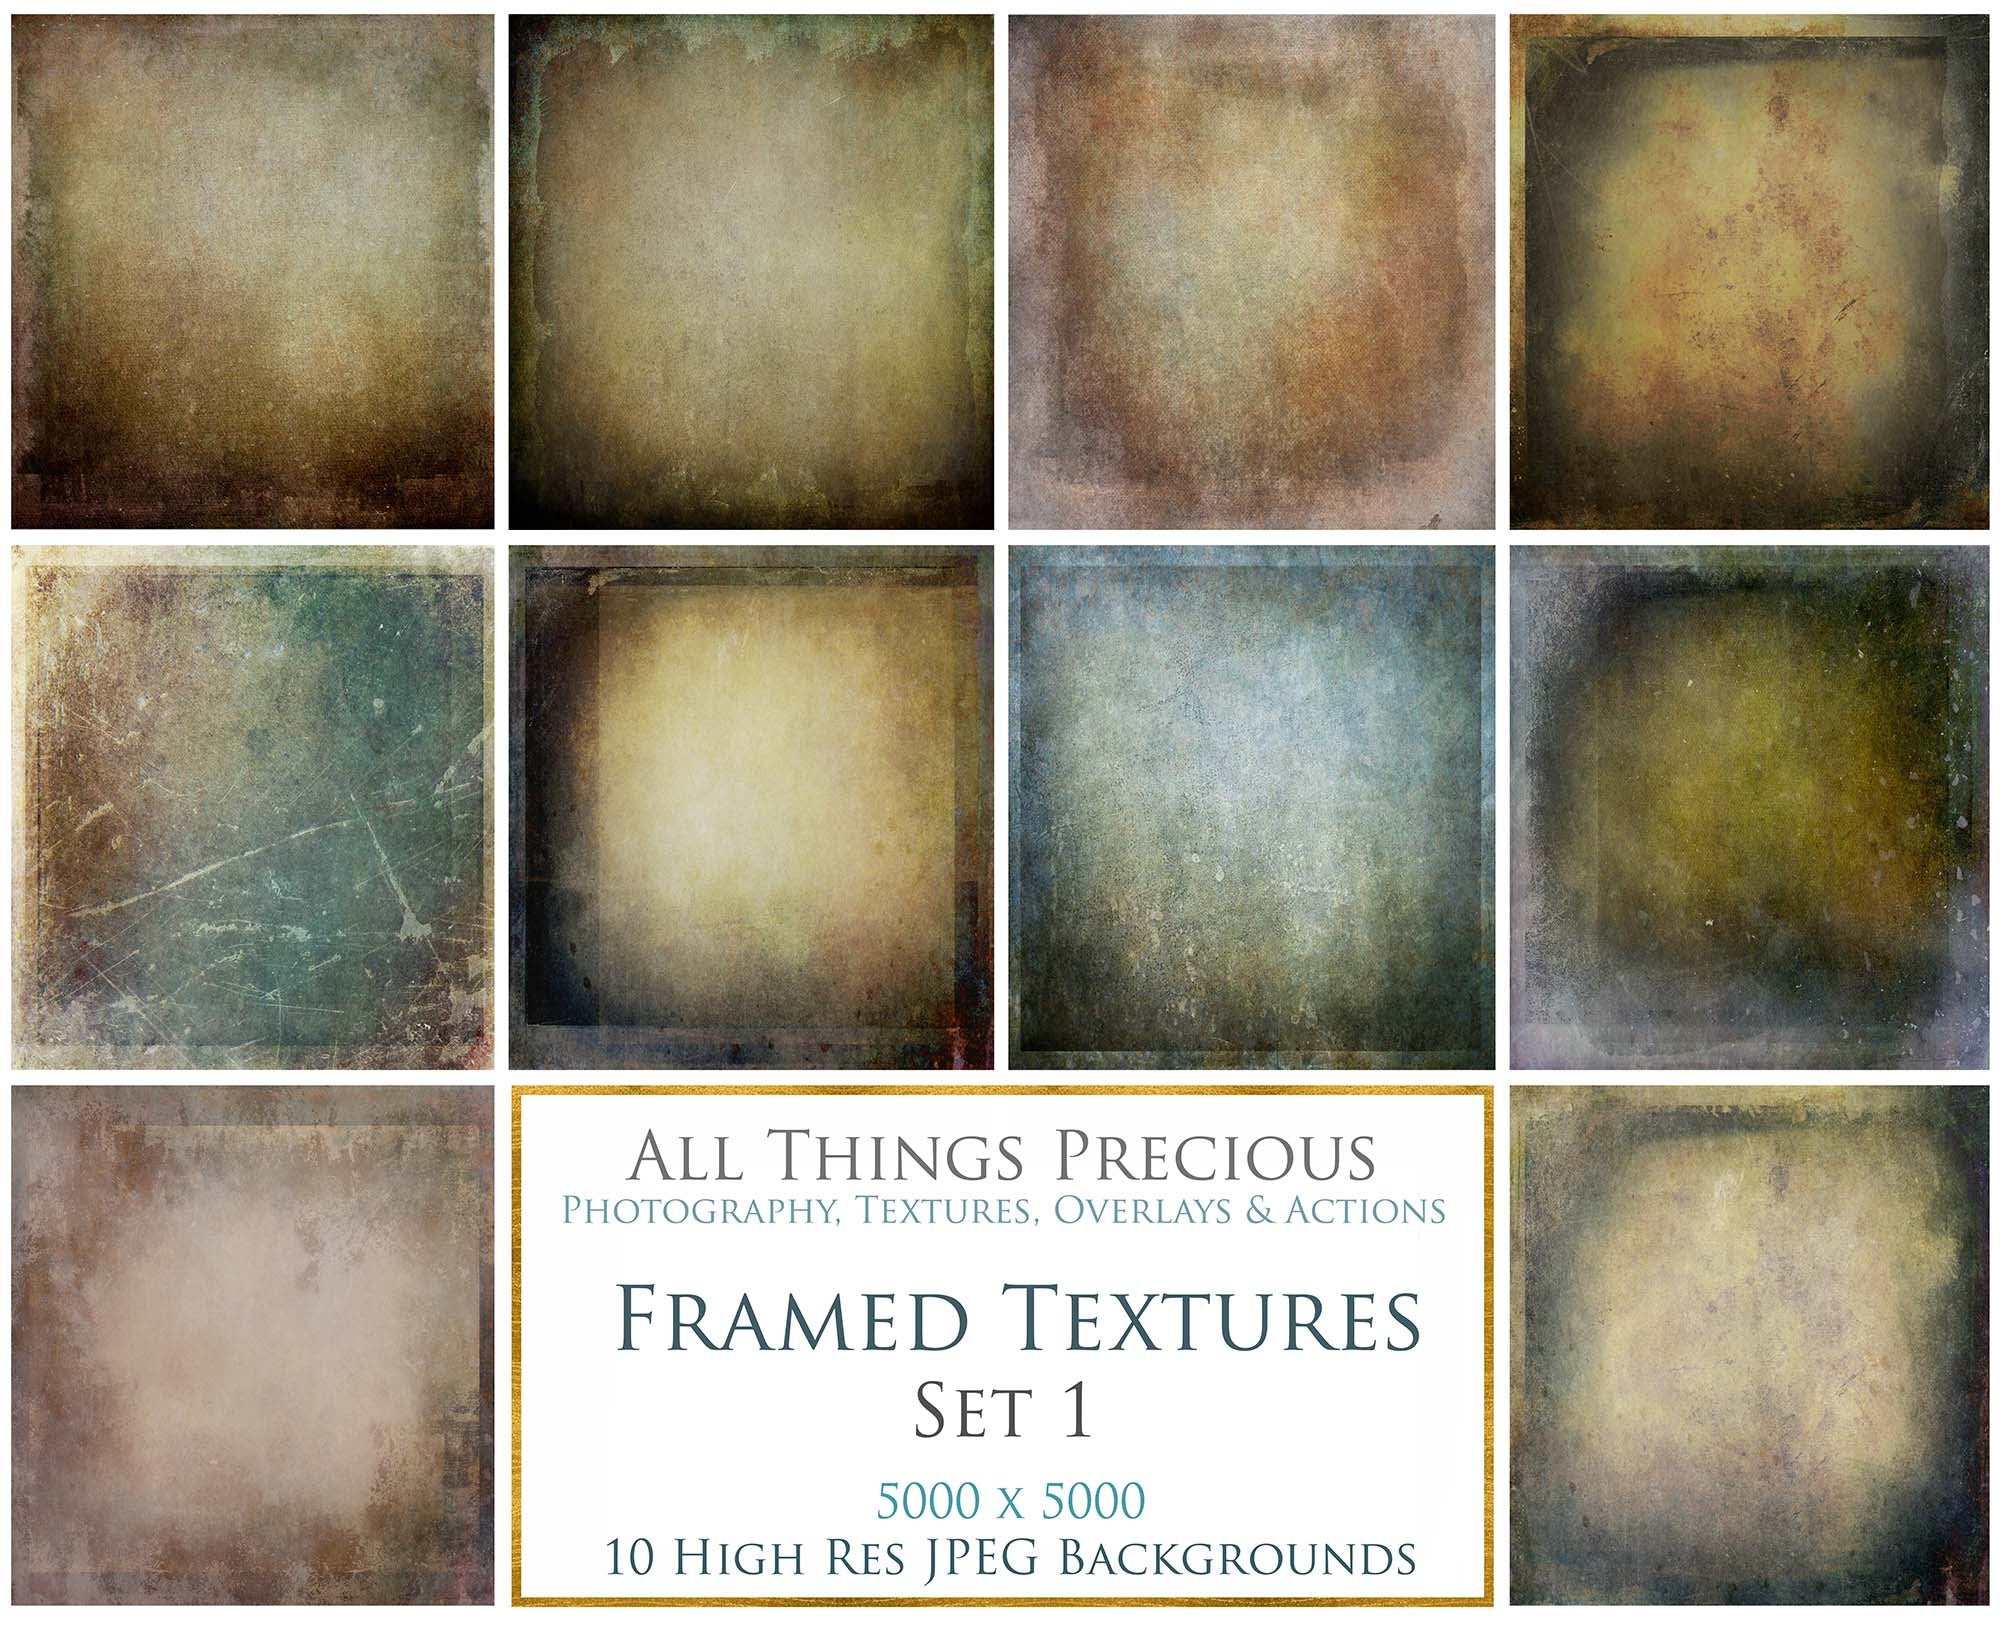

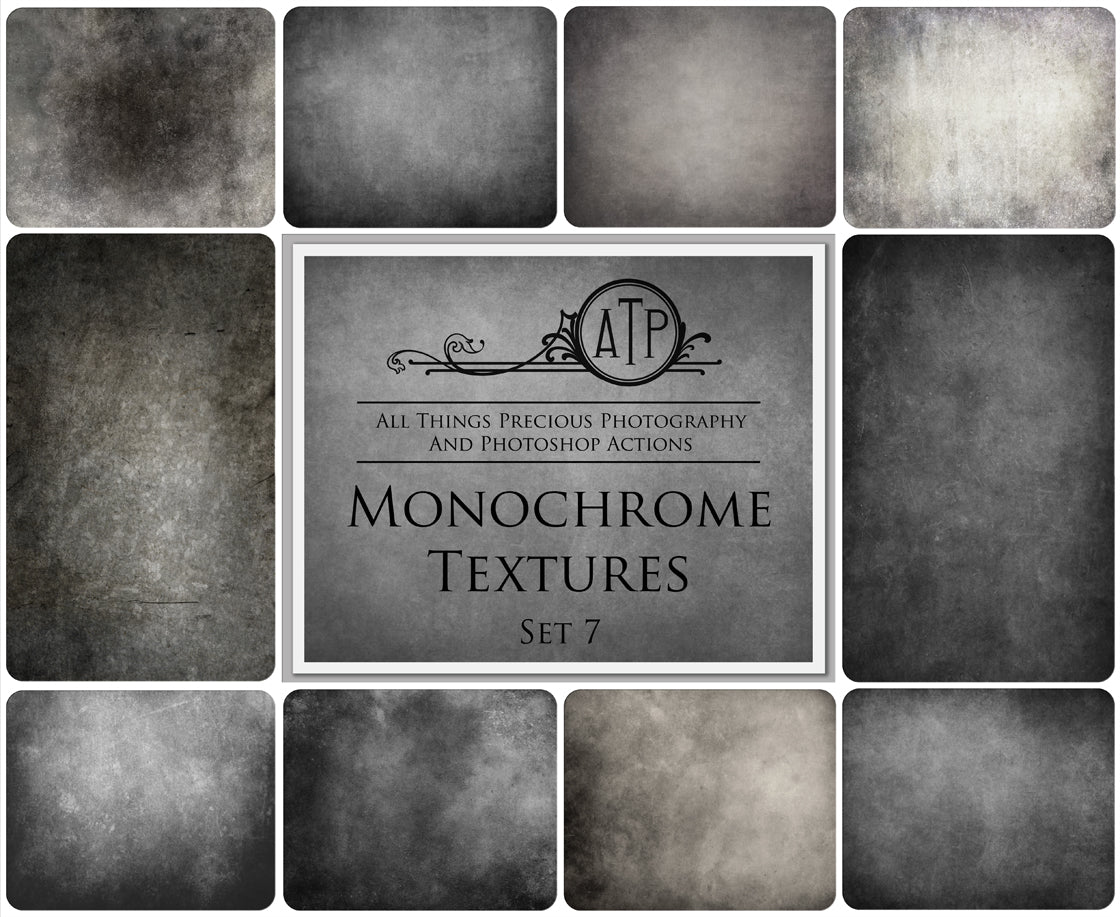
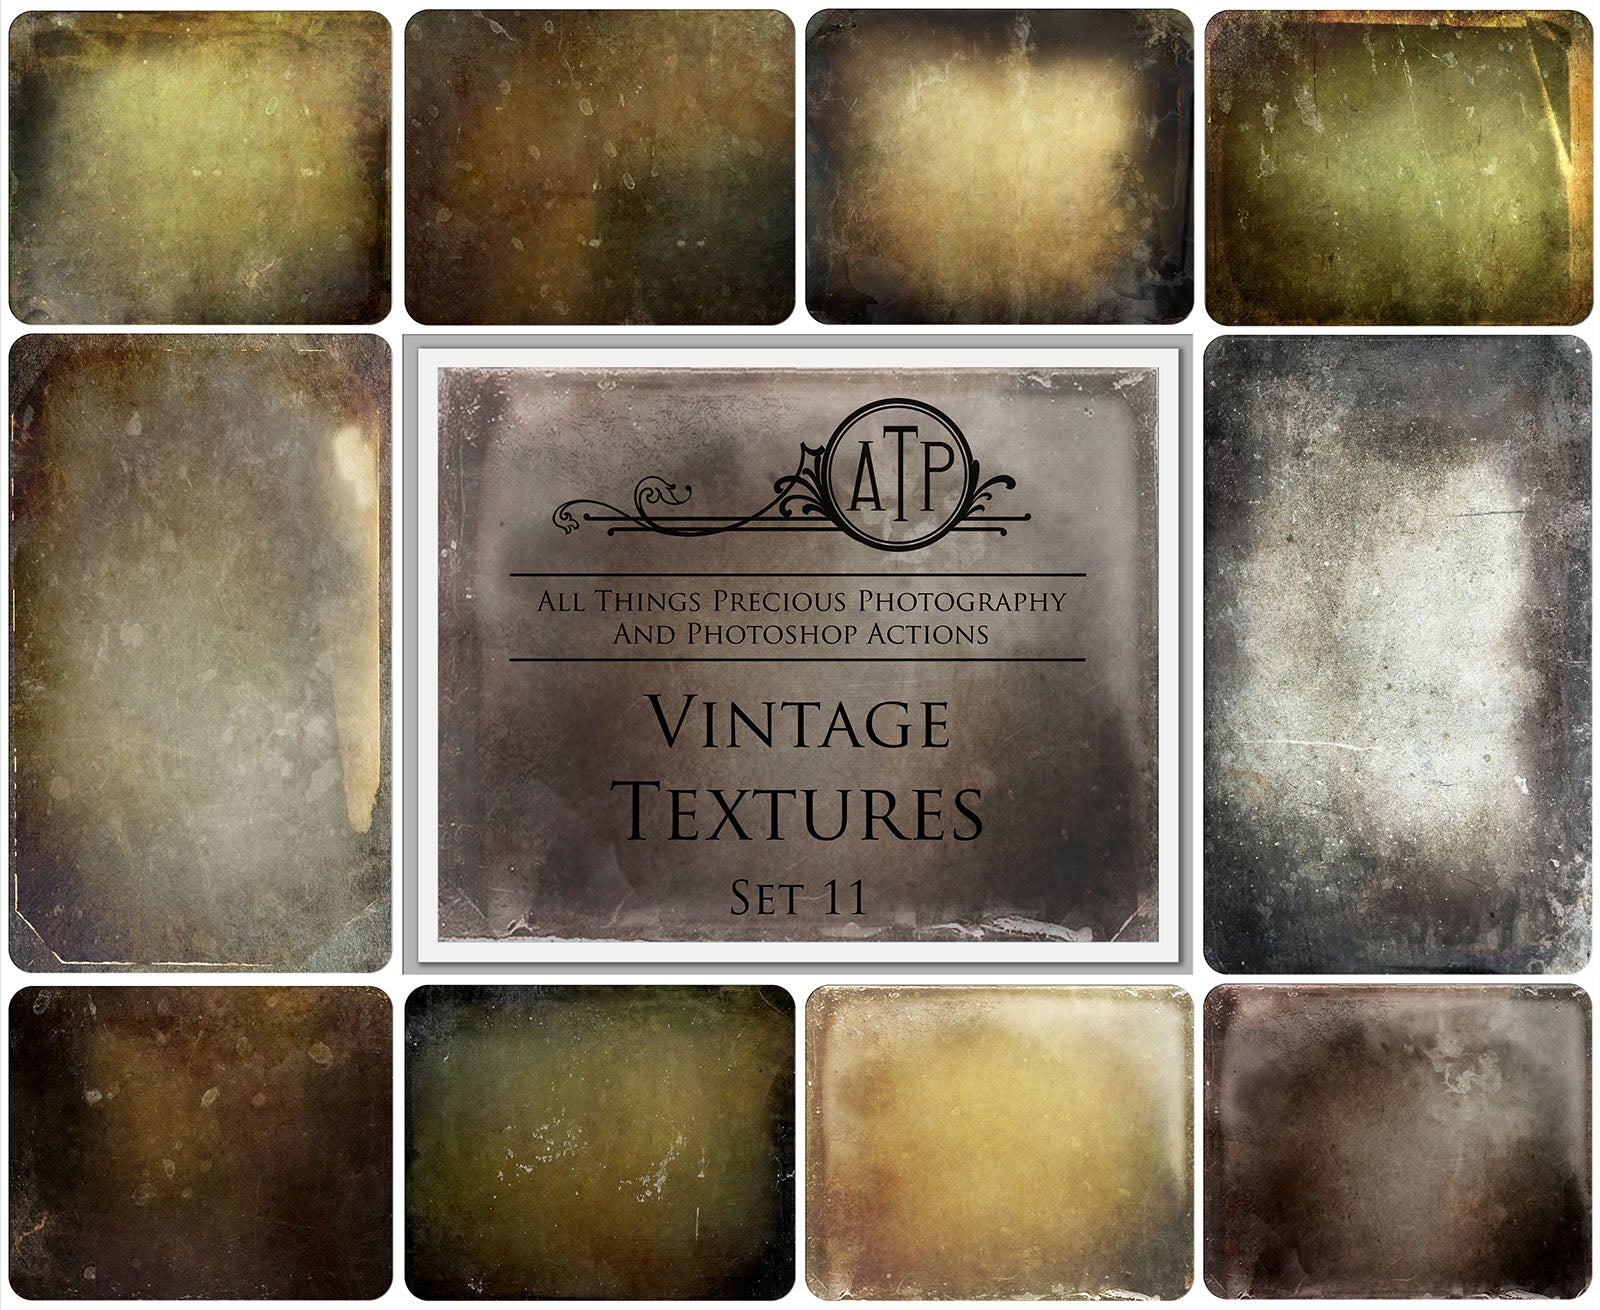
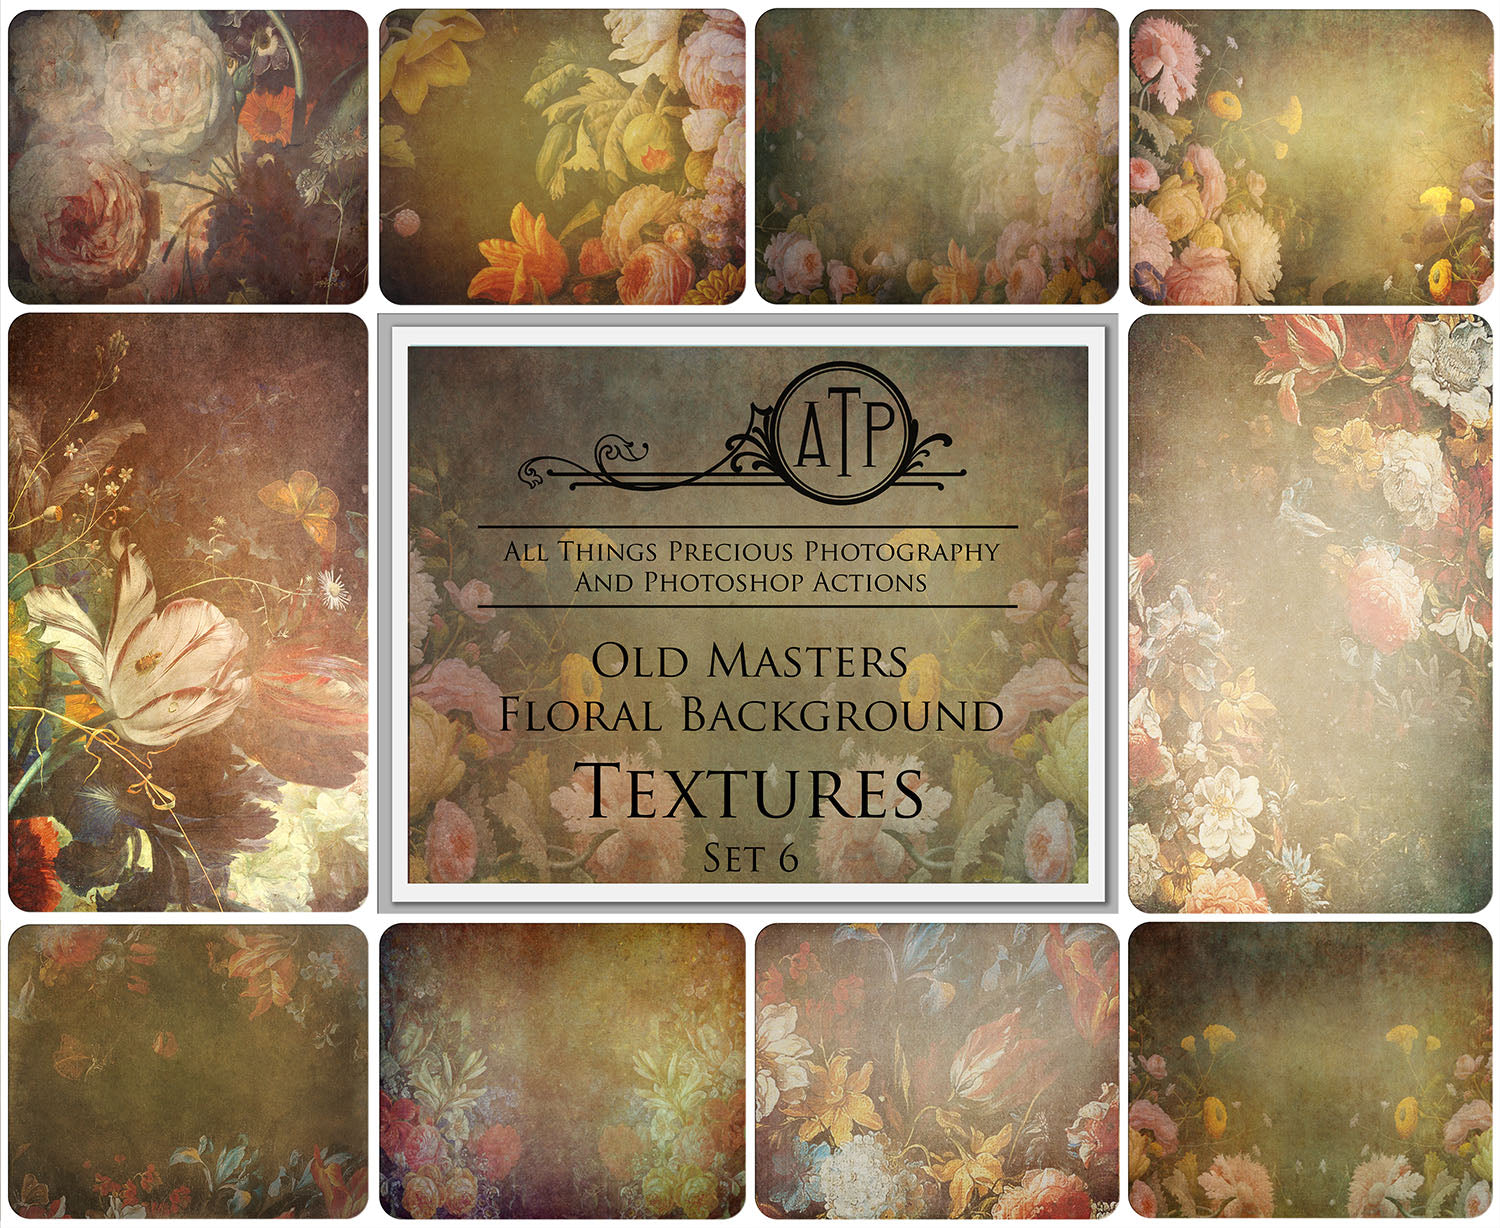

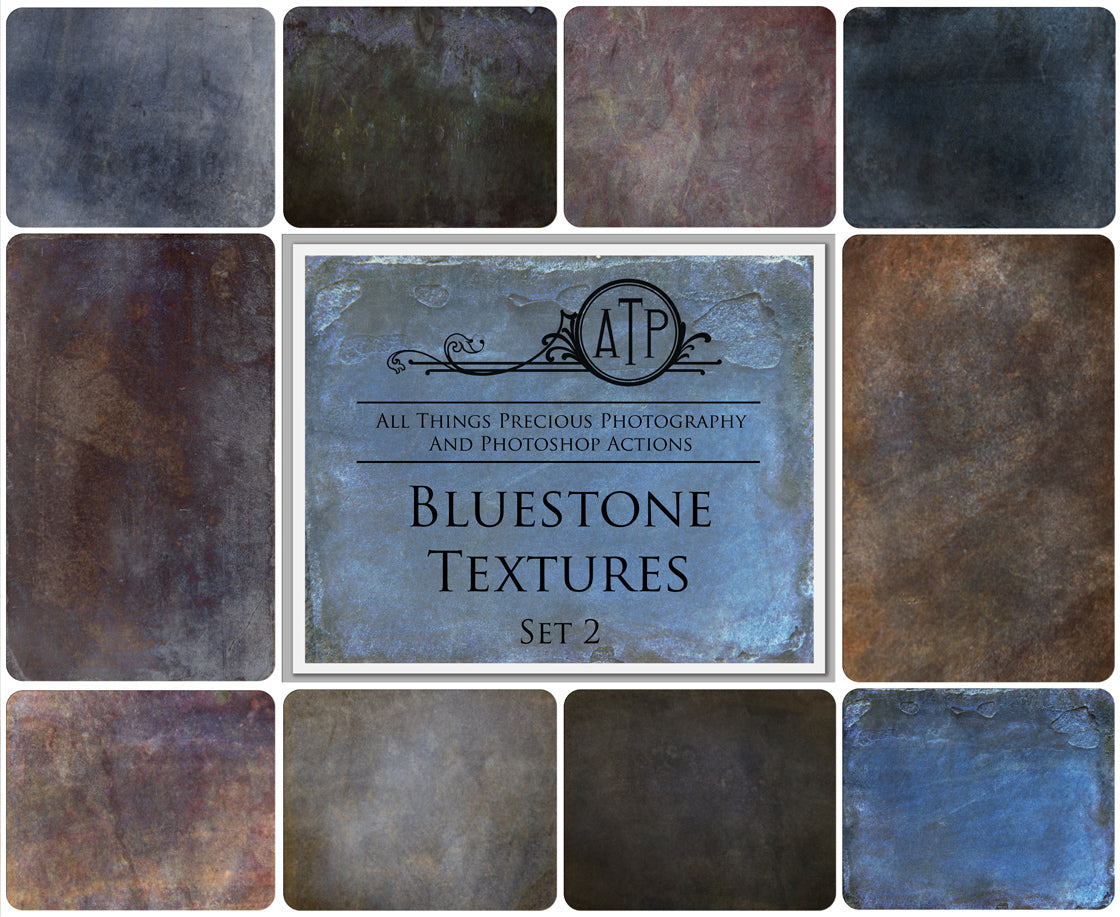
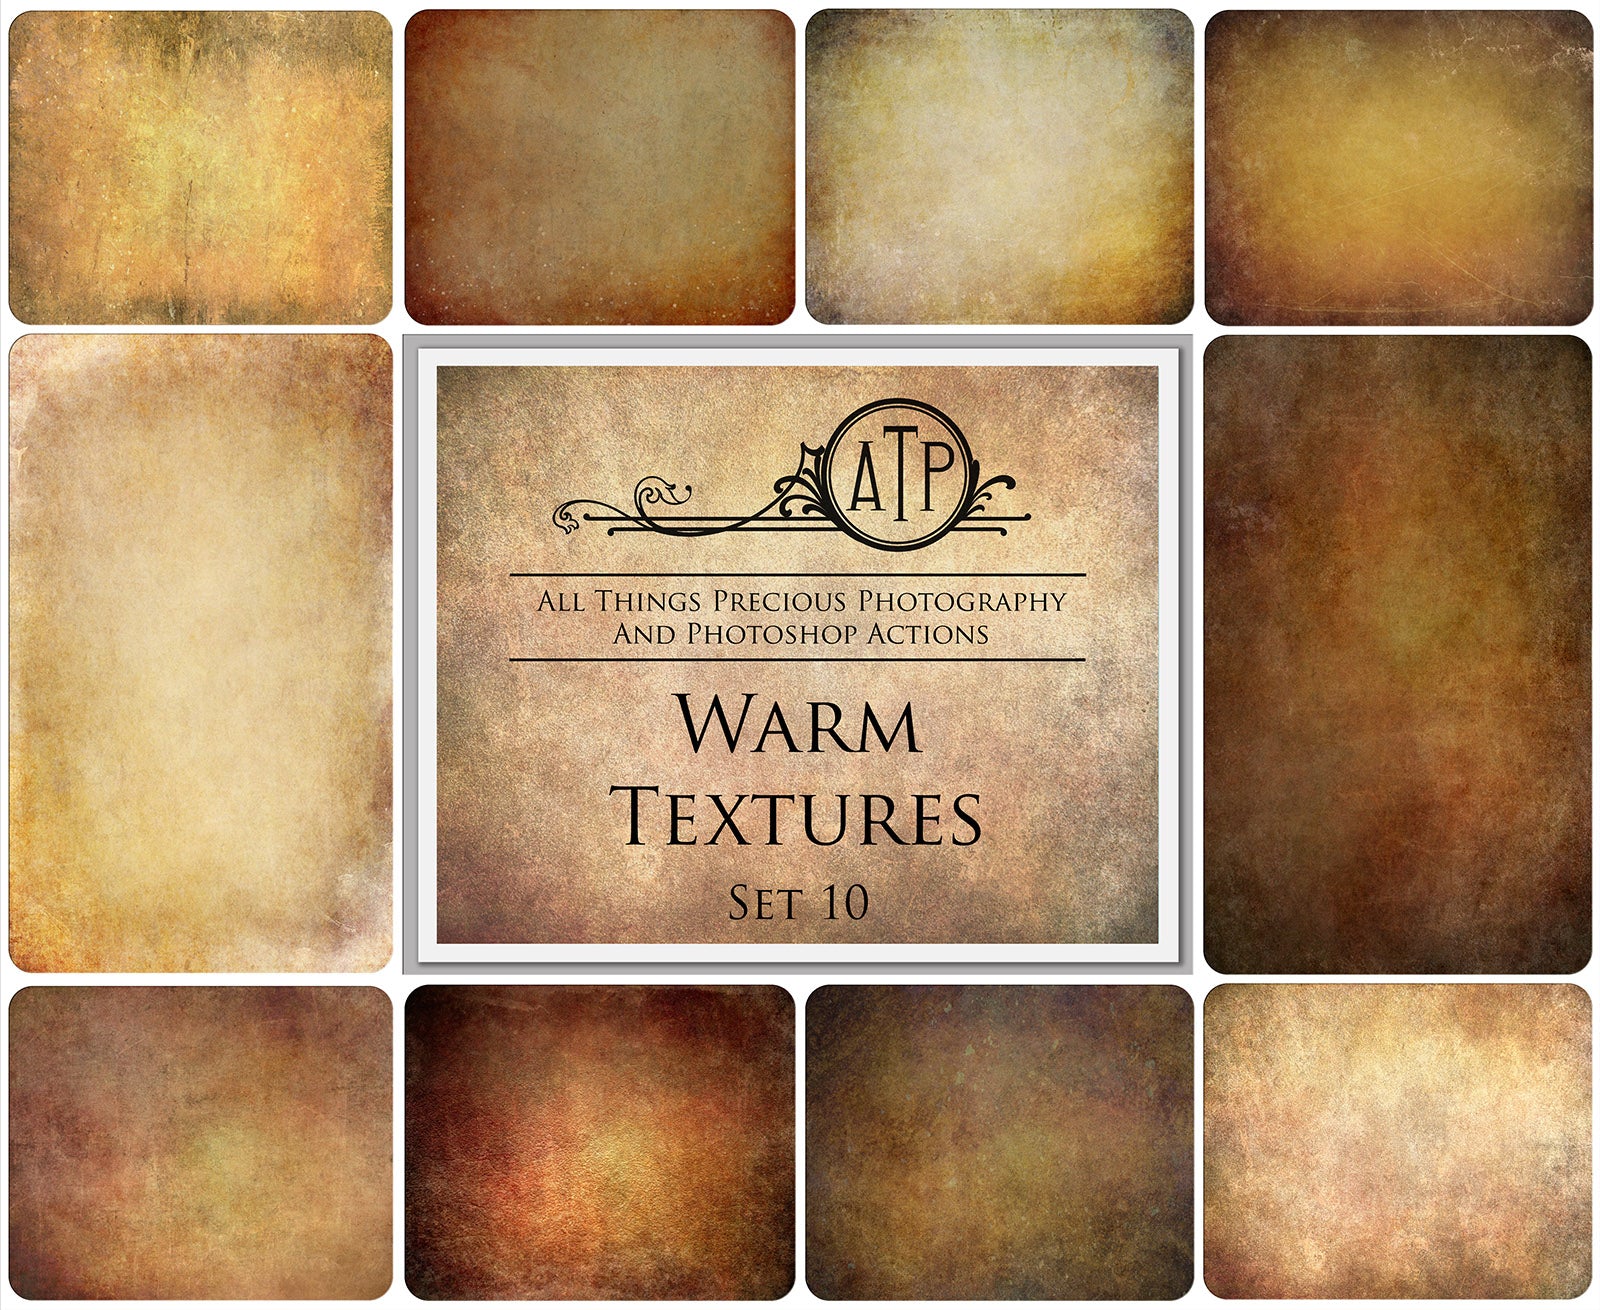


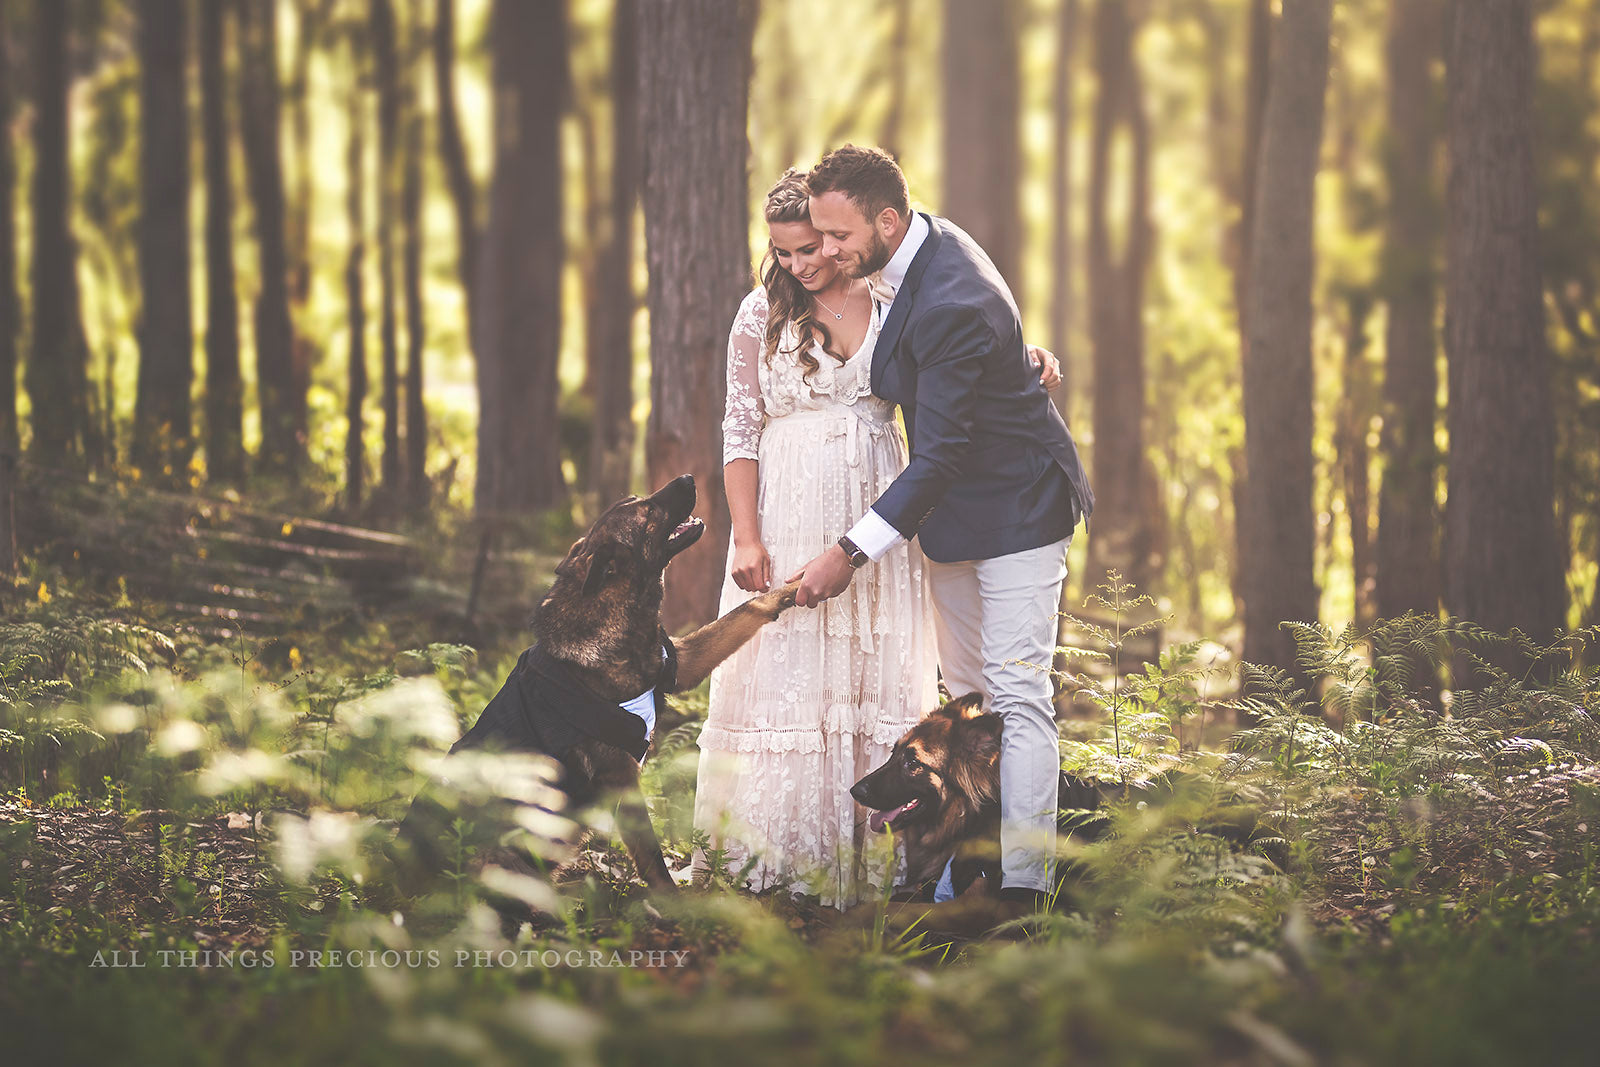
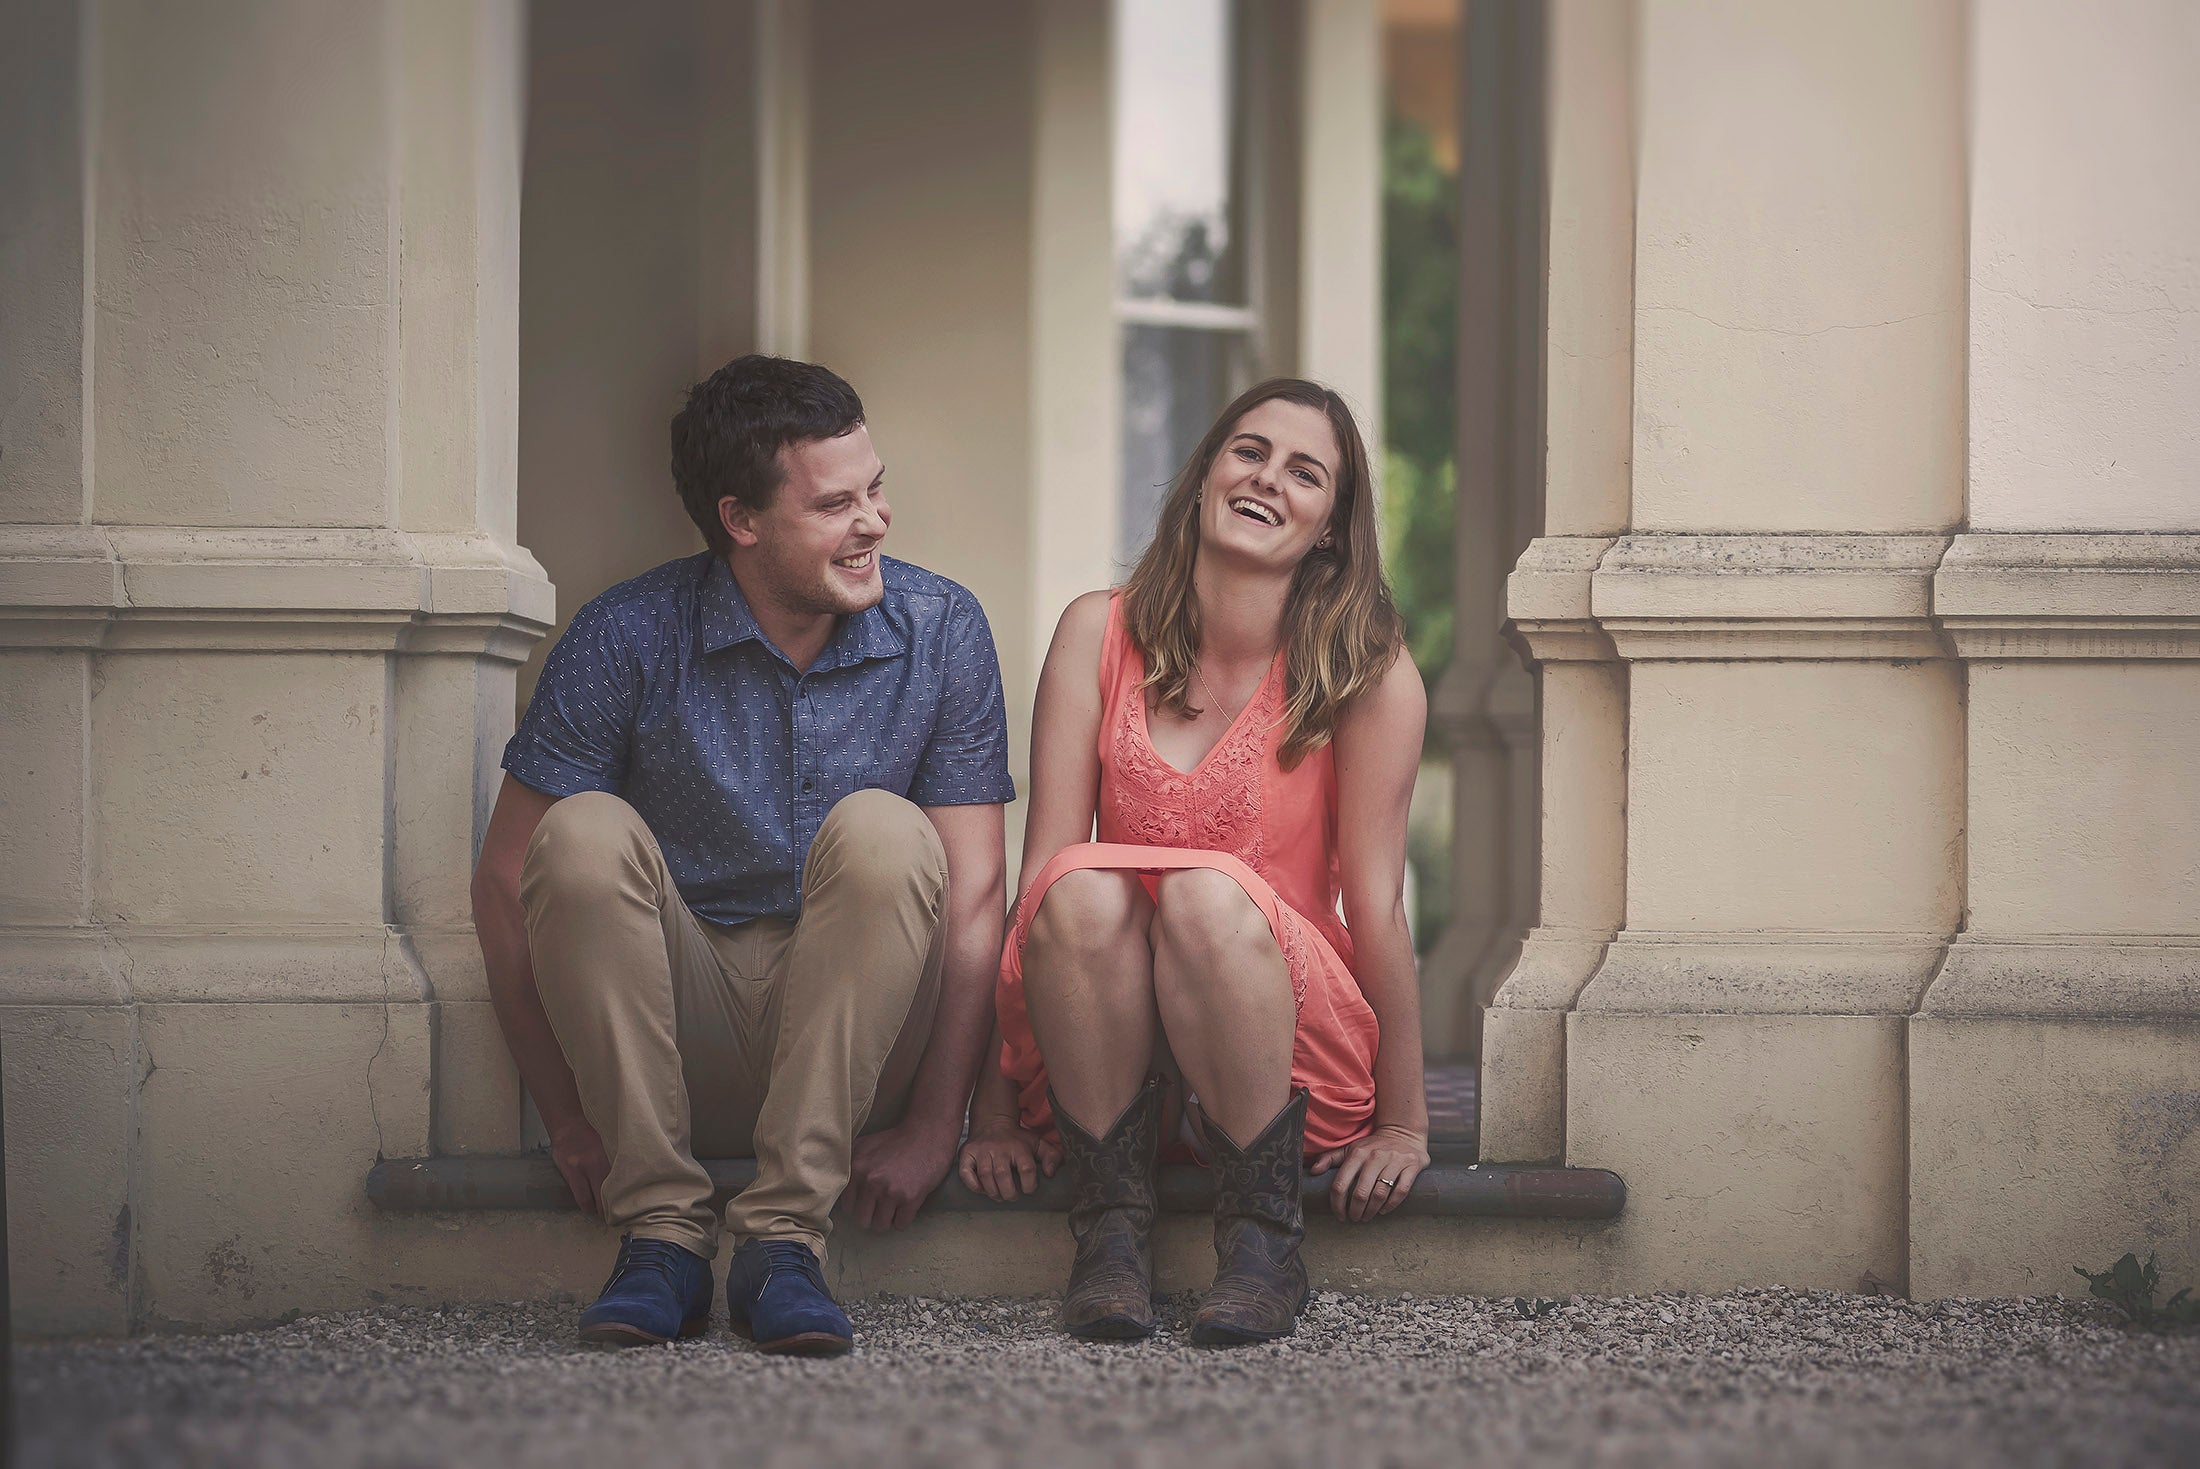
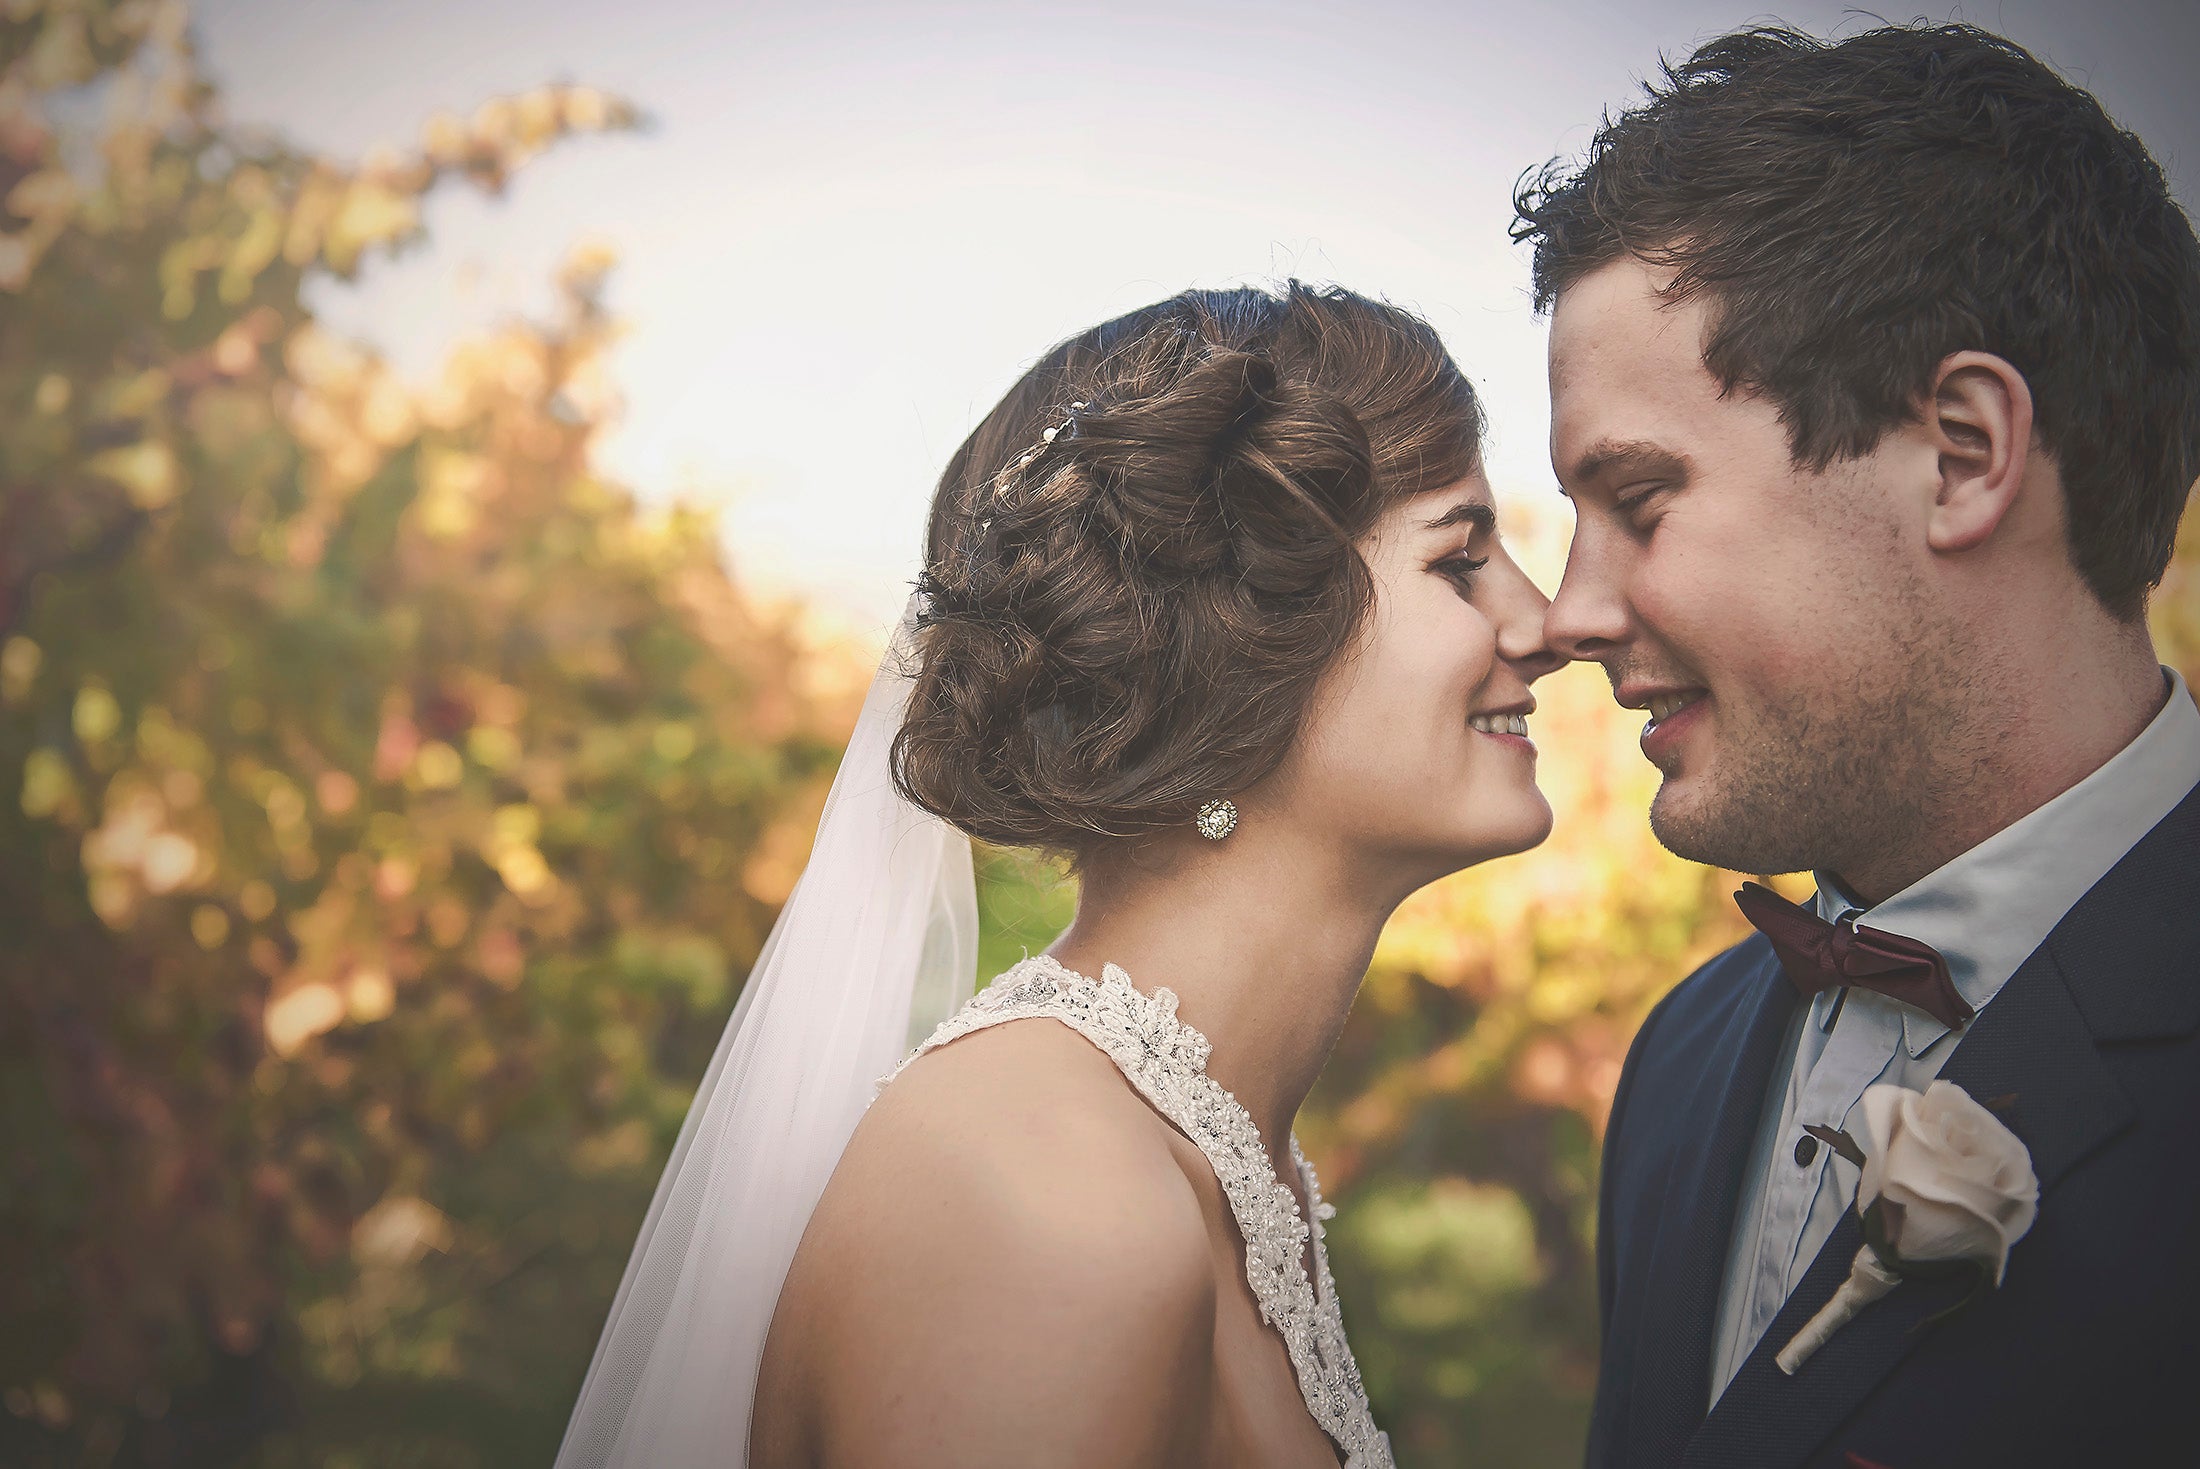
Textures are a fabulous way of adding colour, depth and interest to your photography.
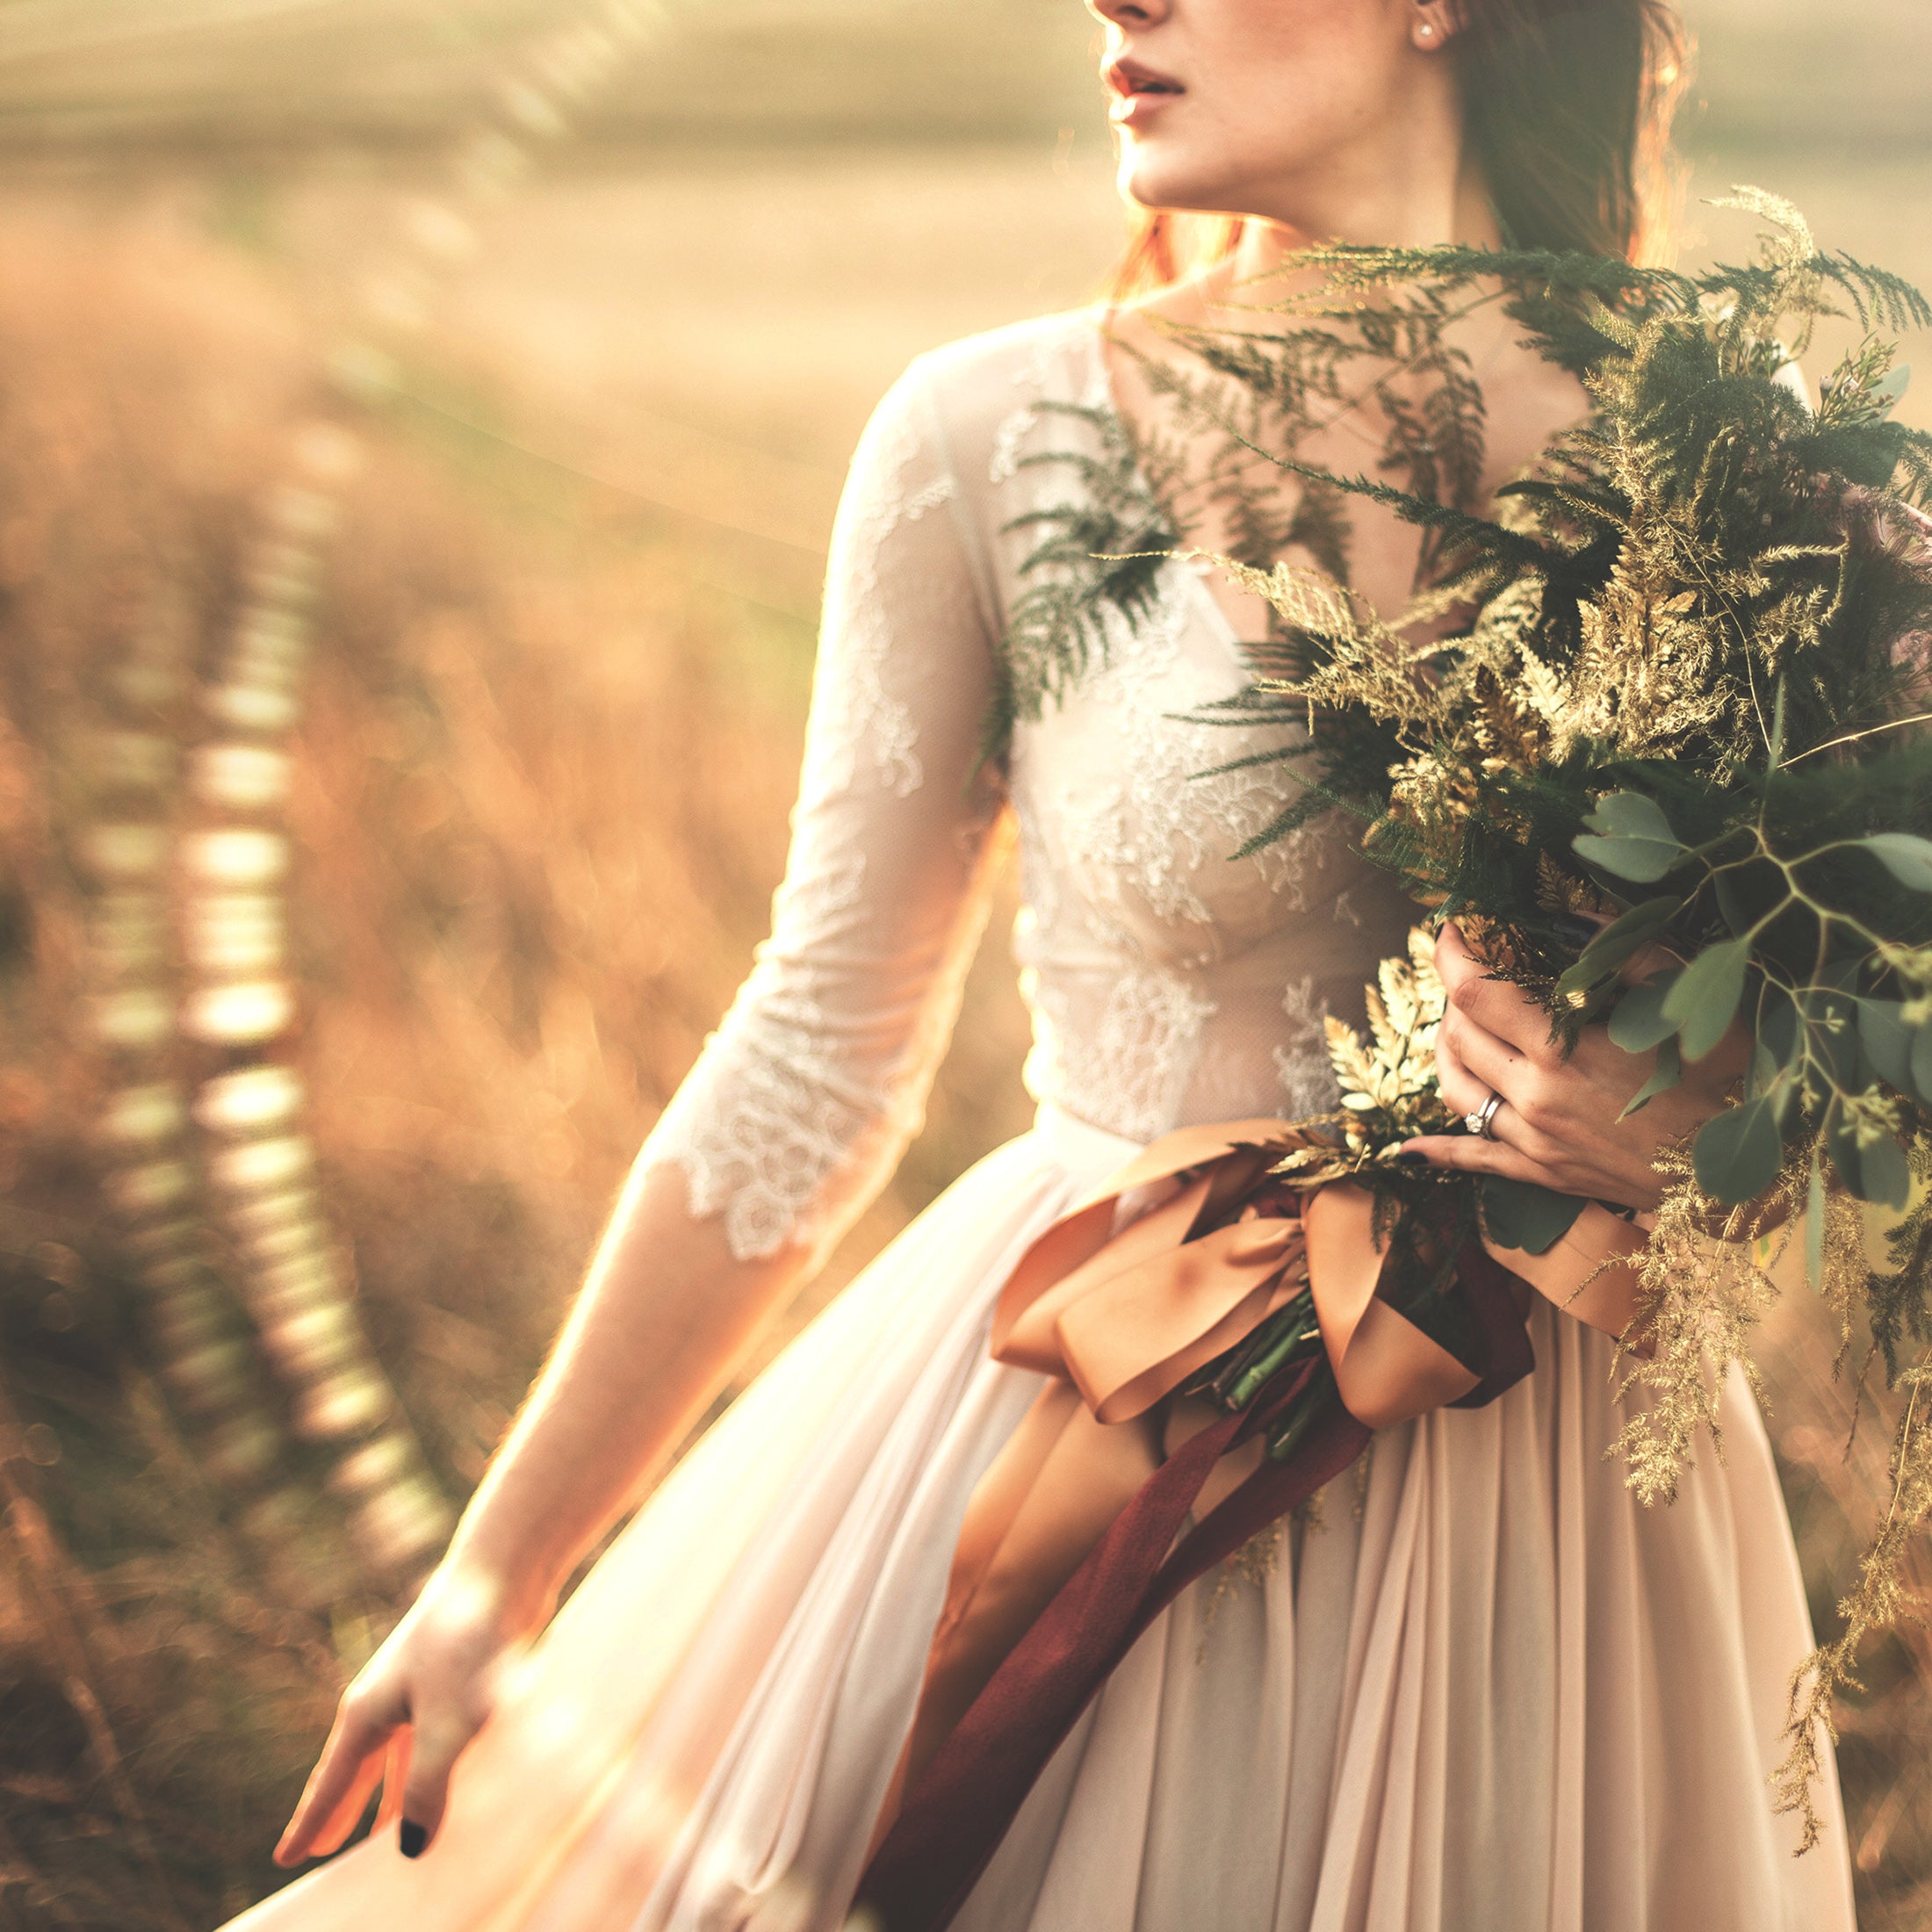
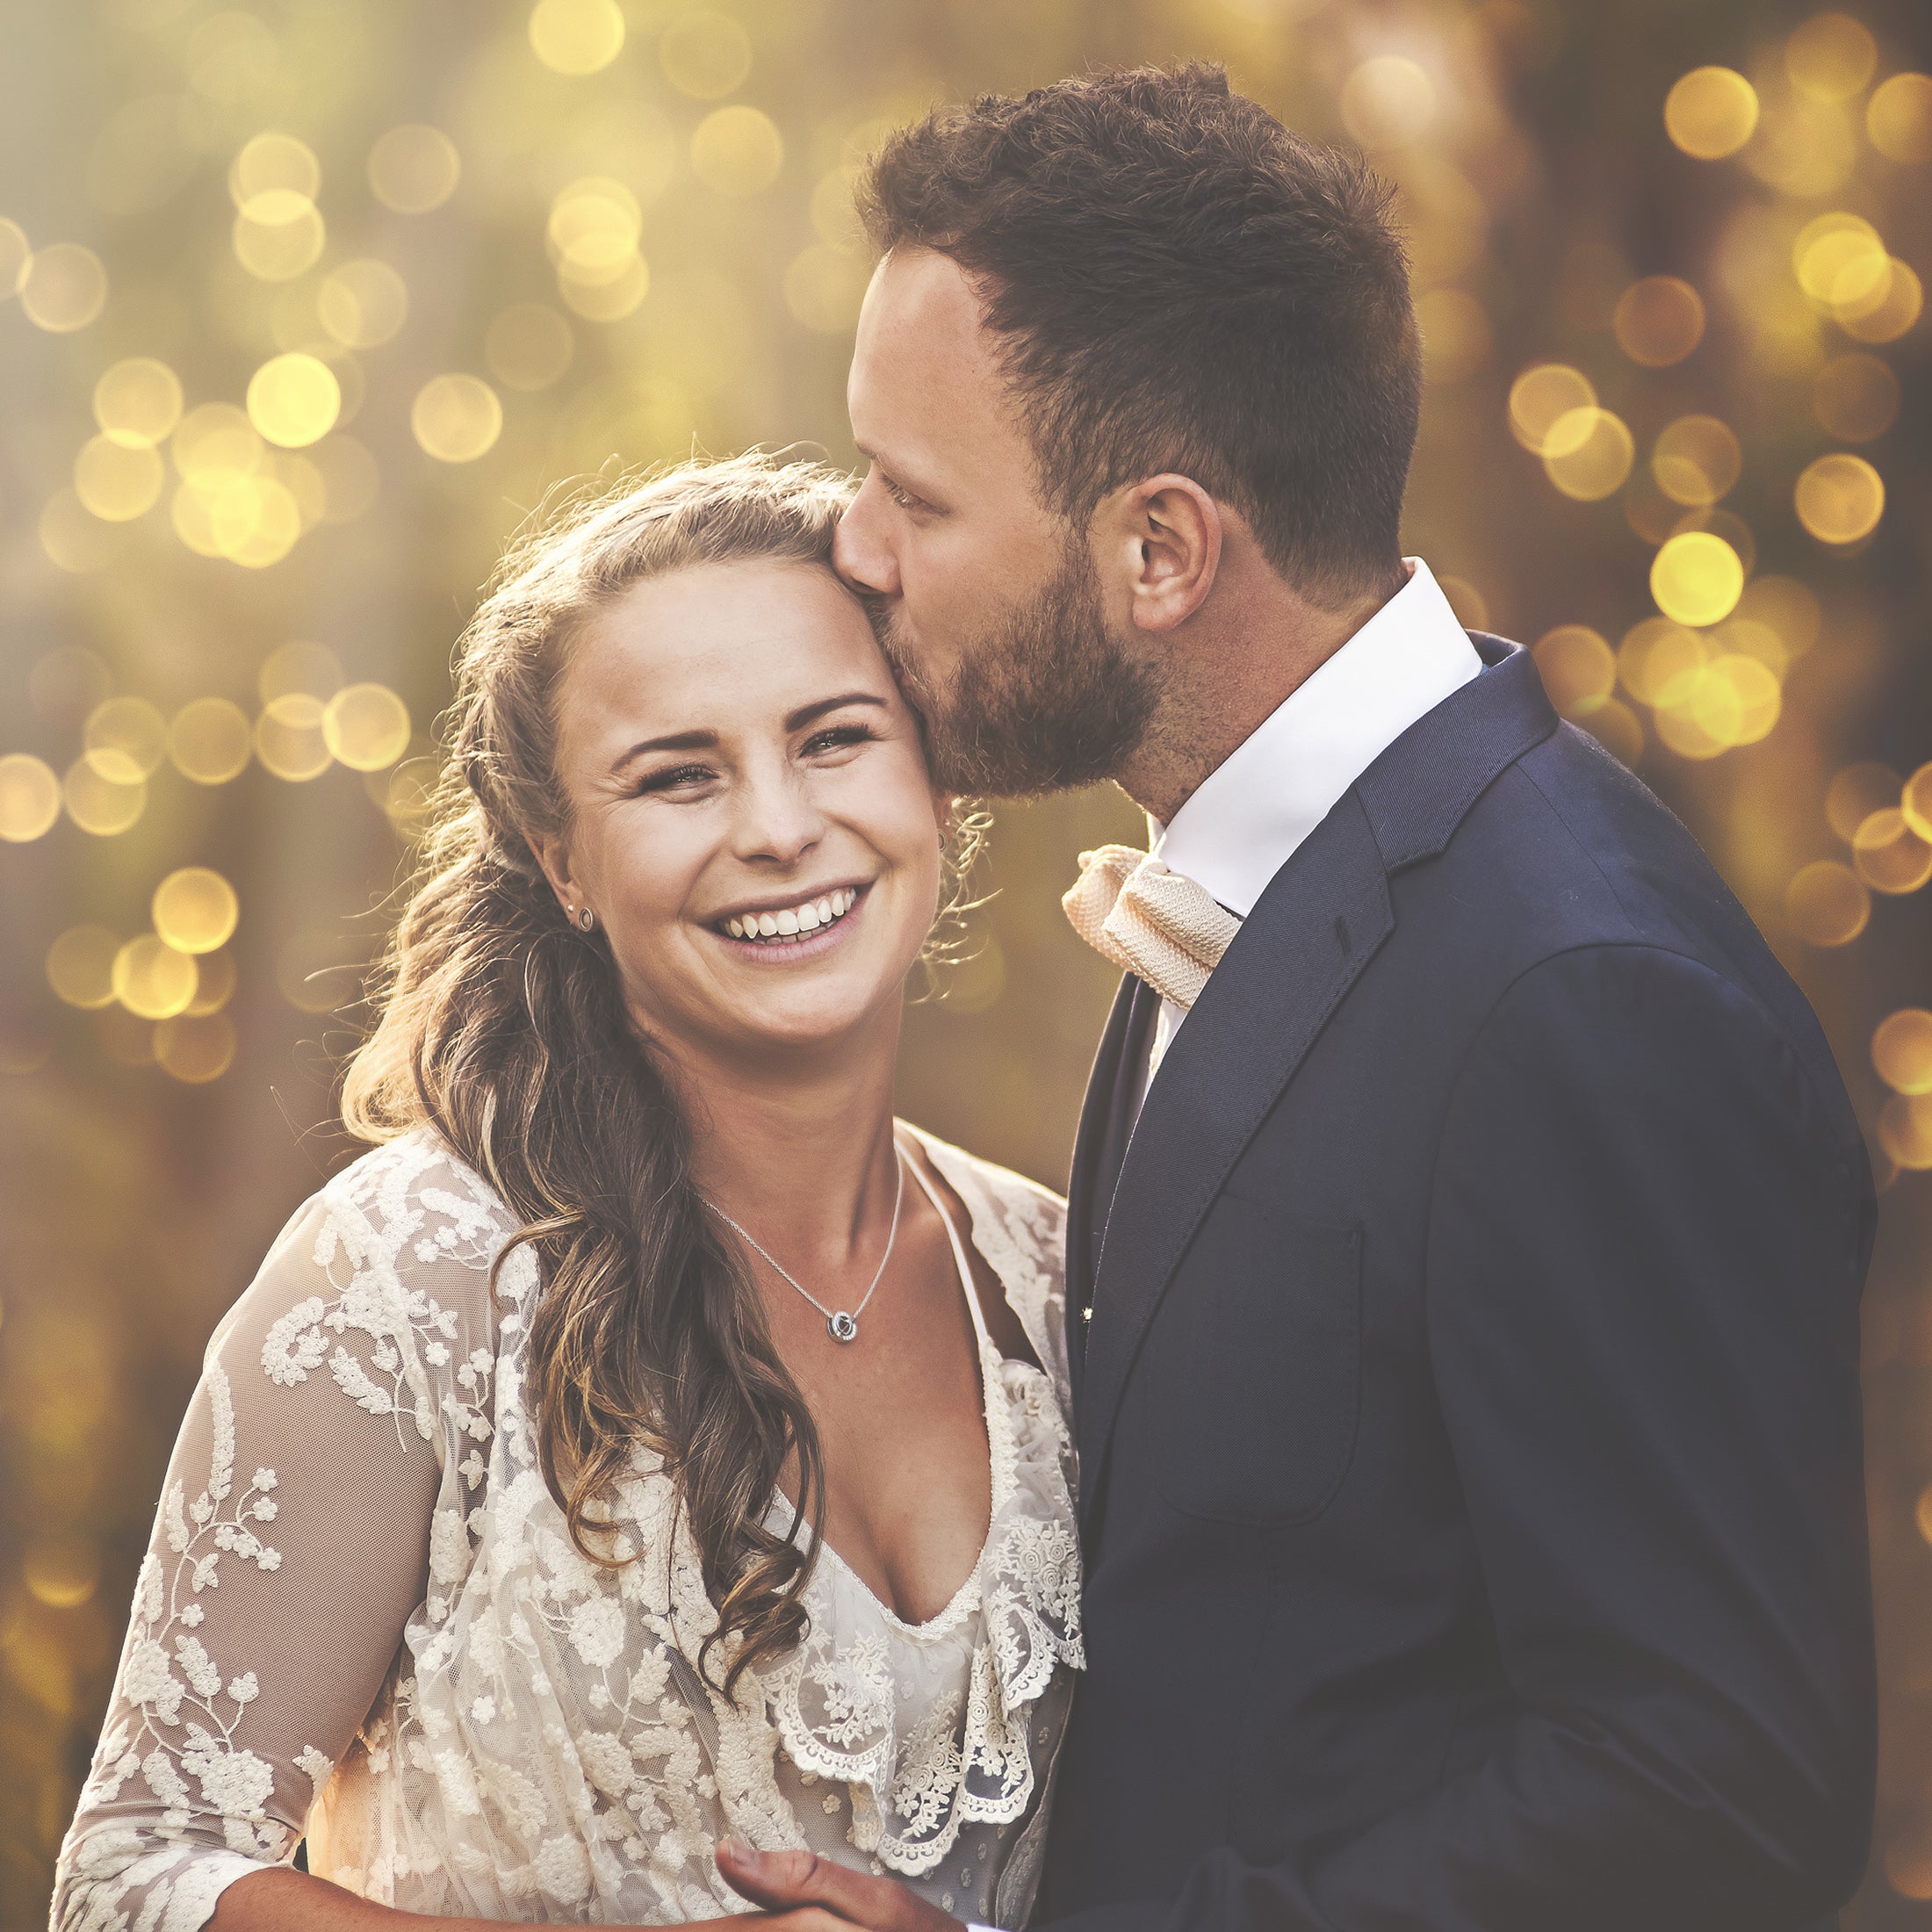
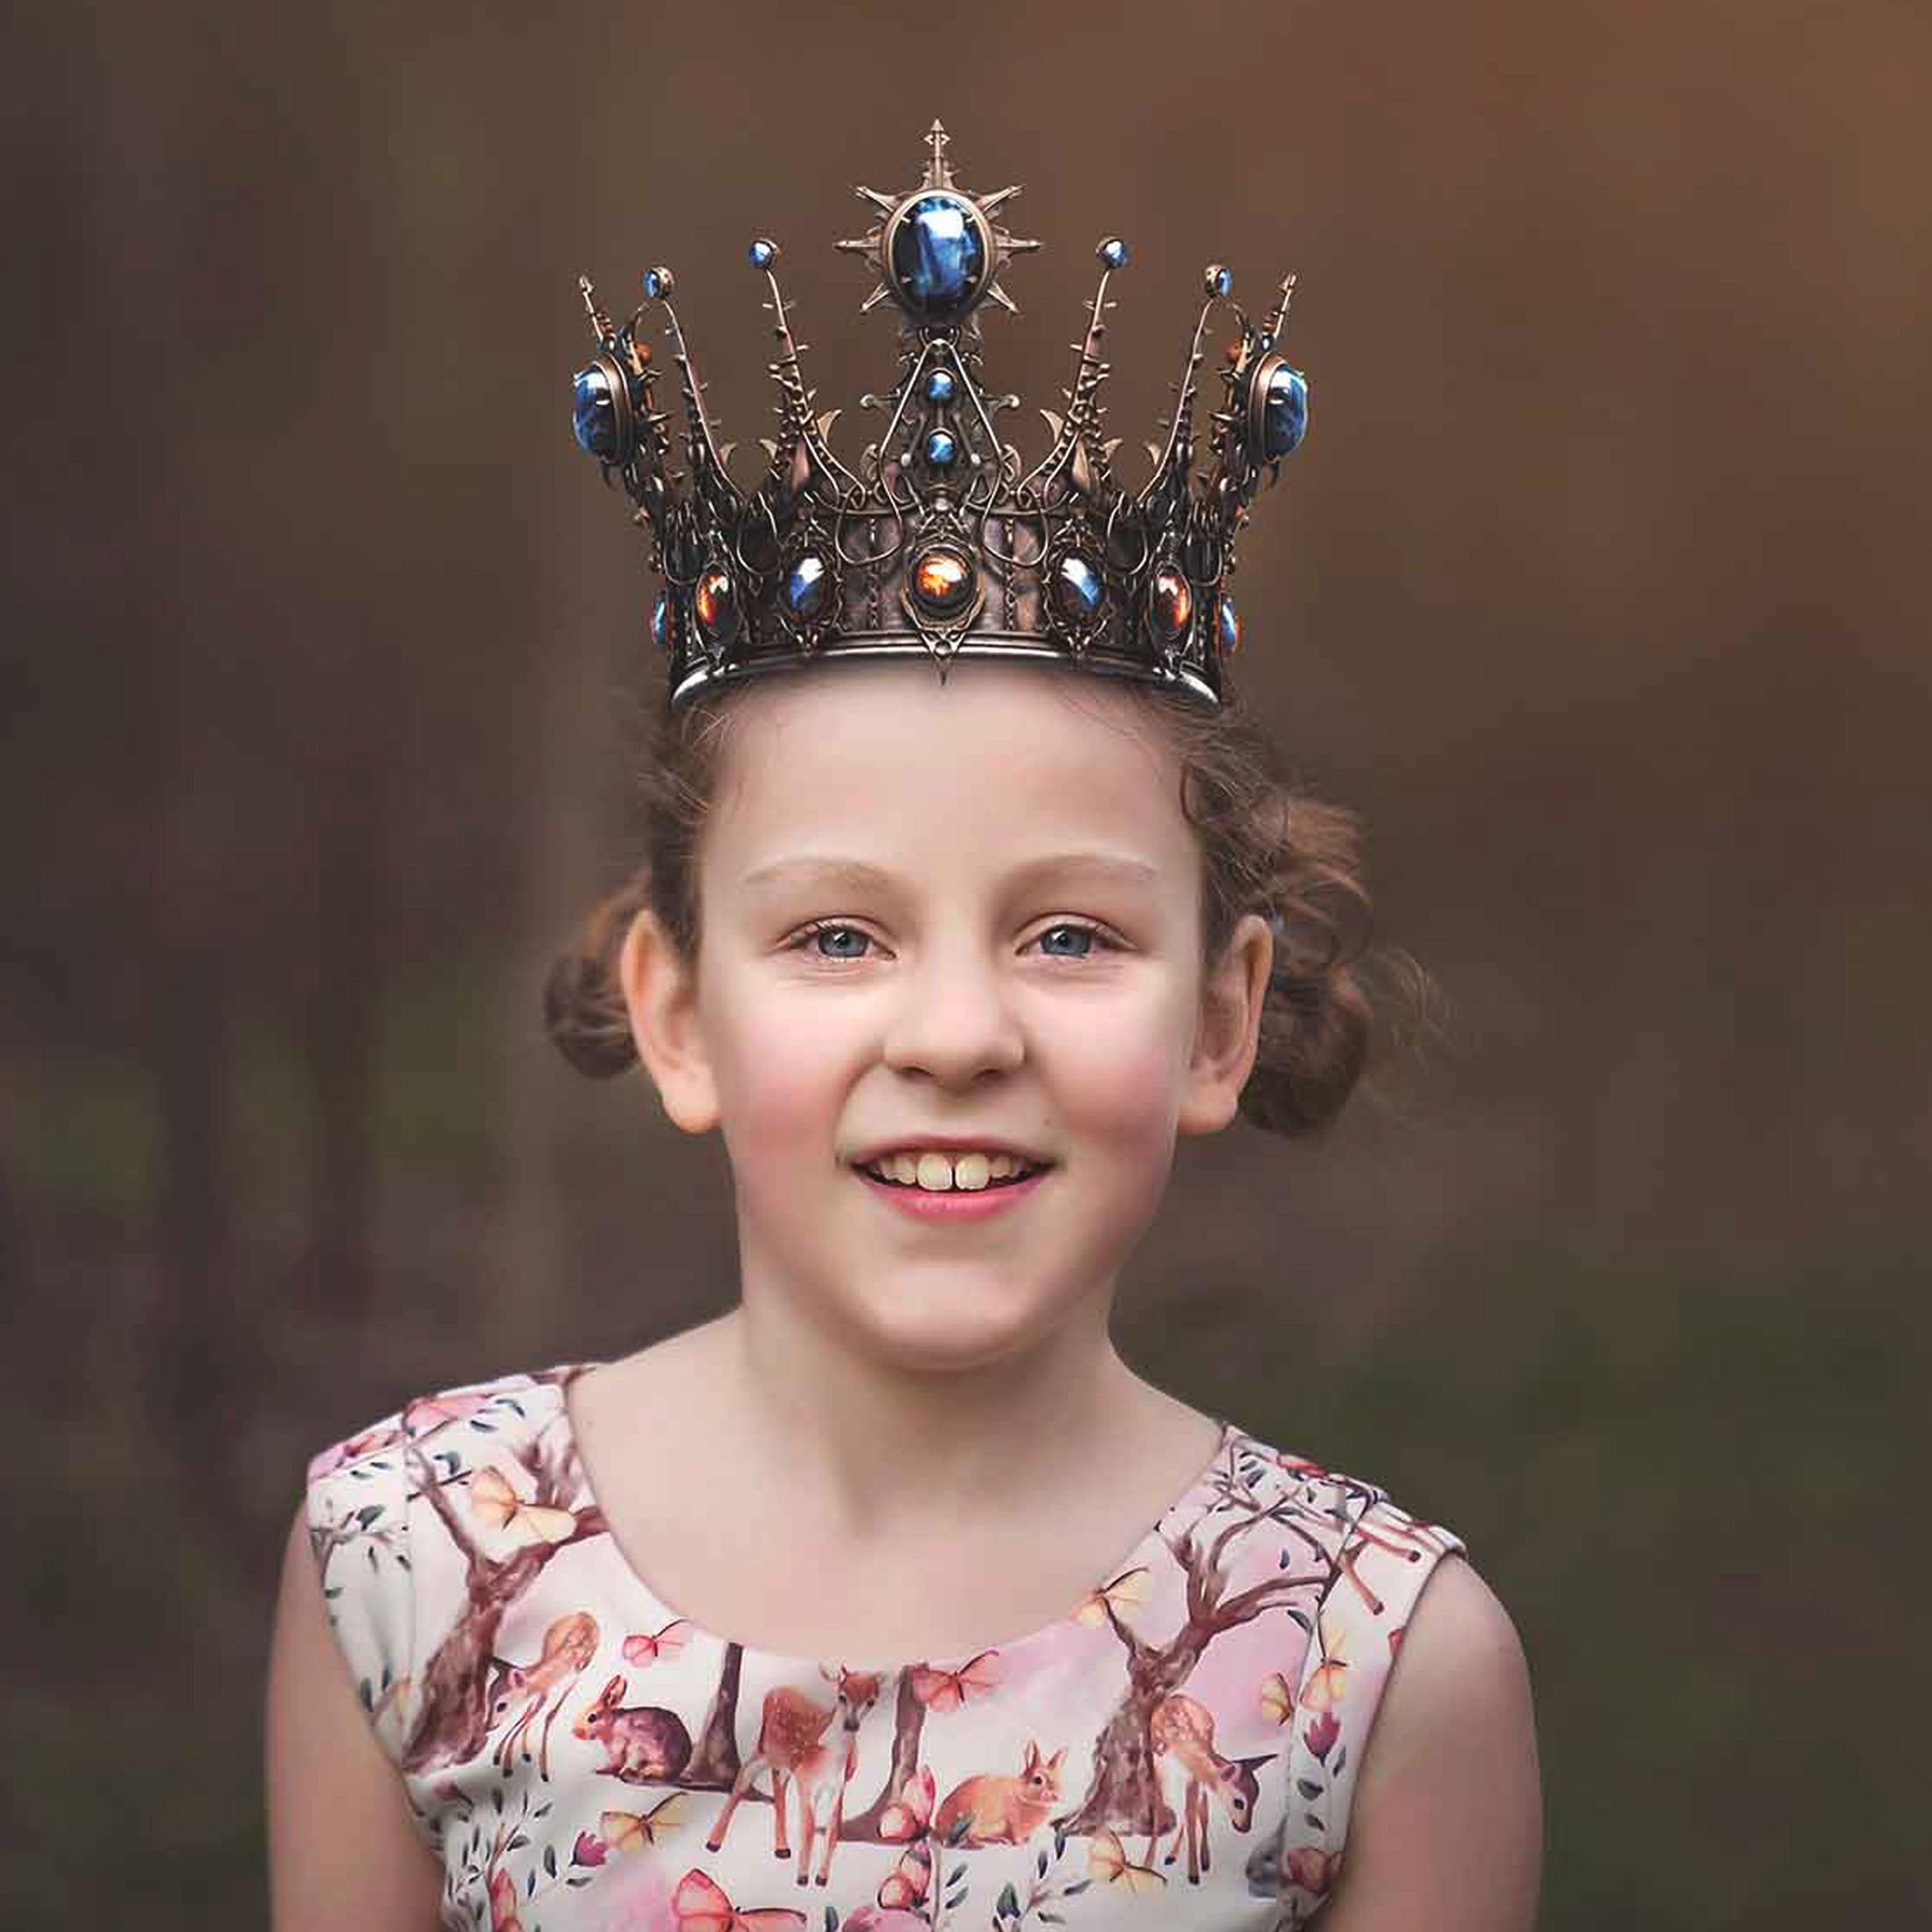
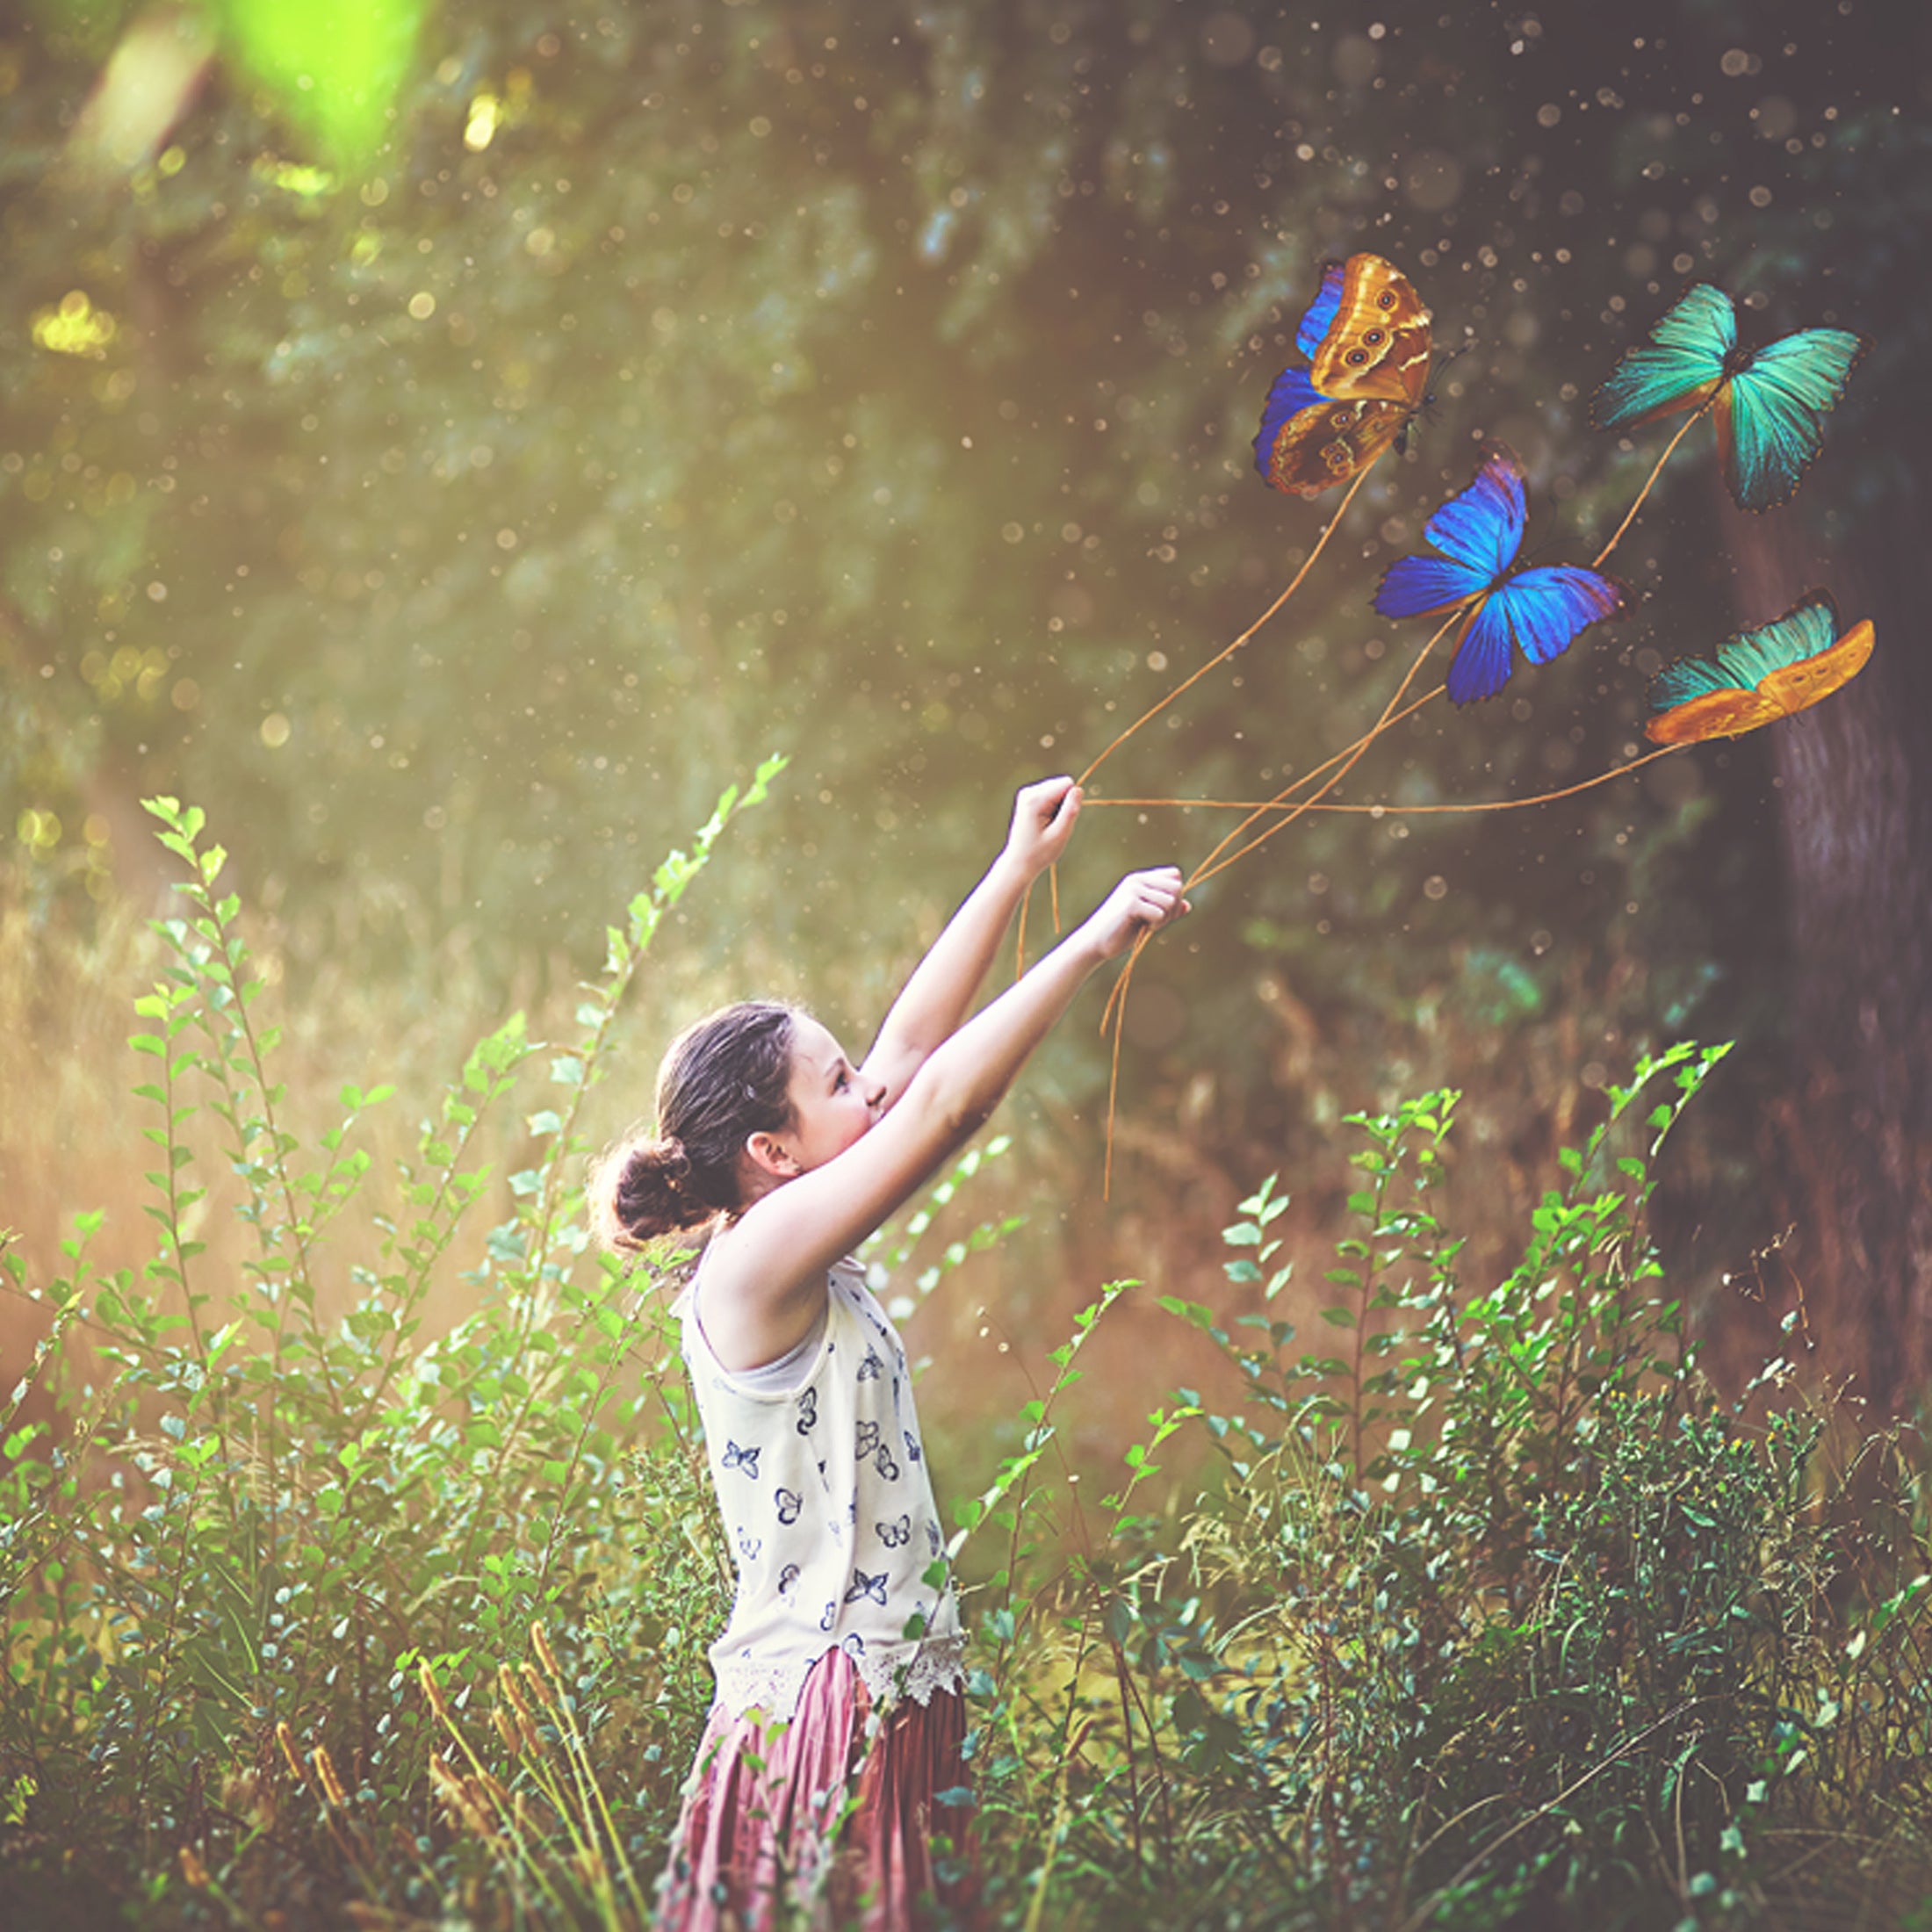
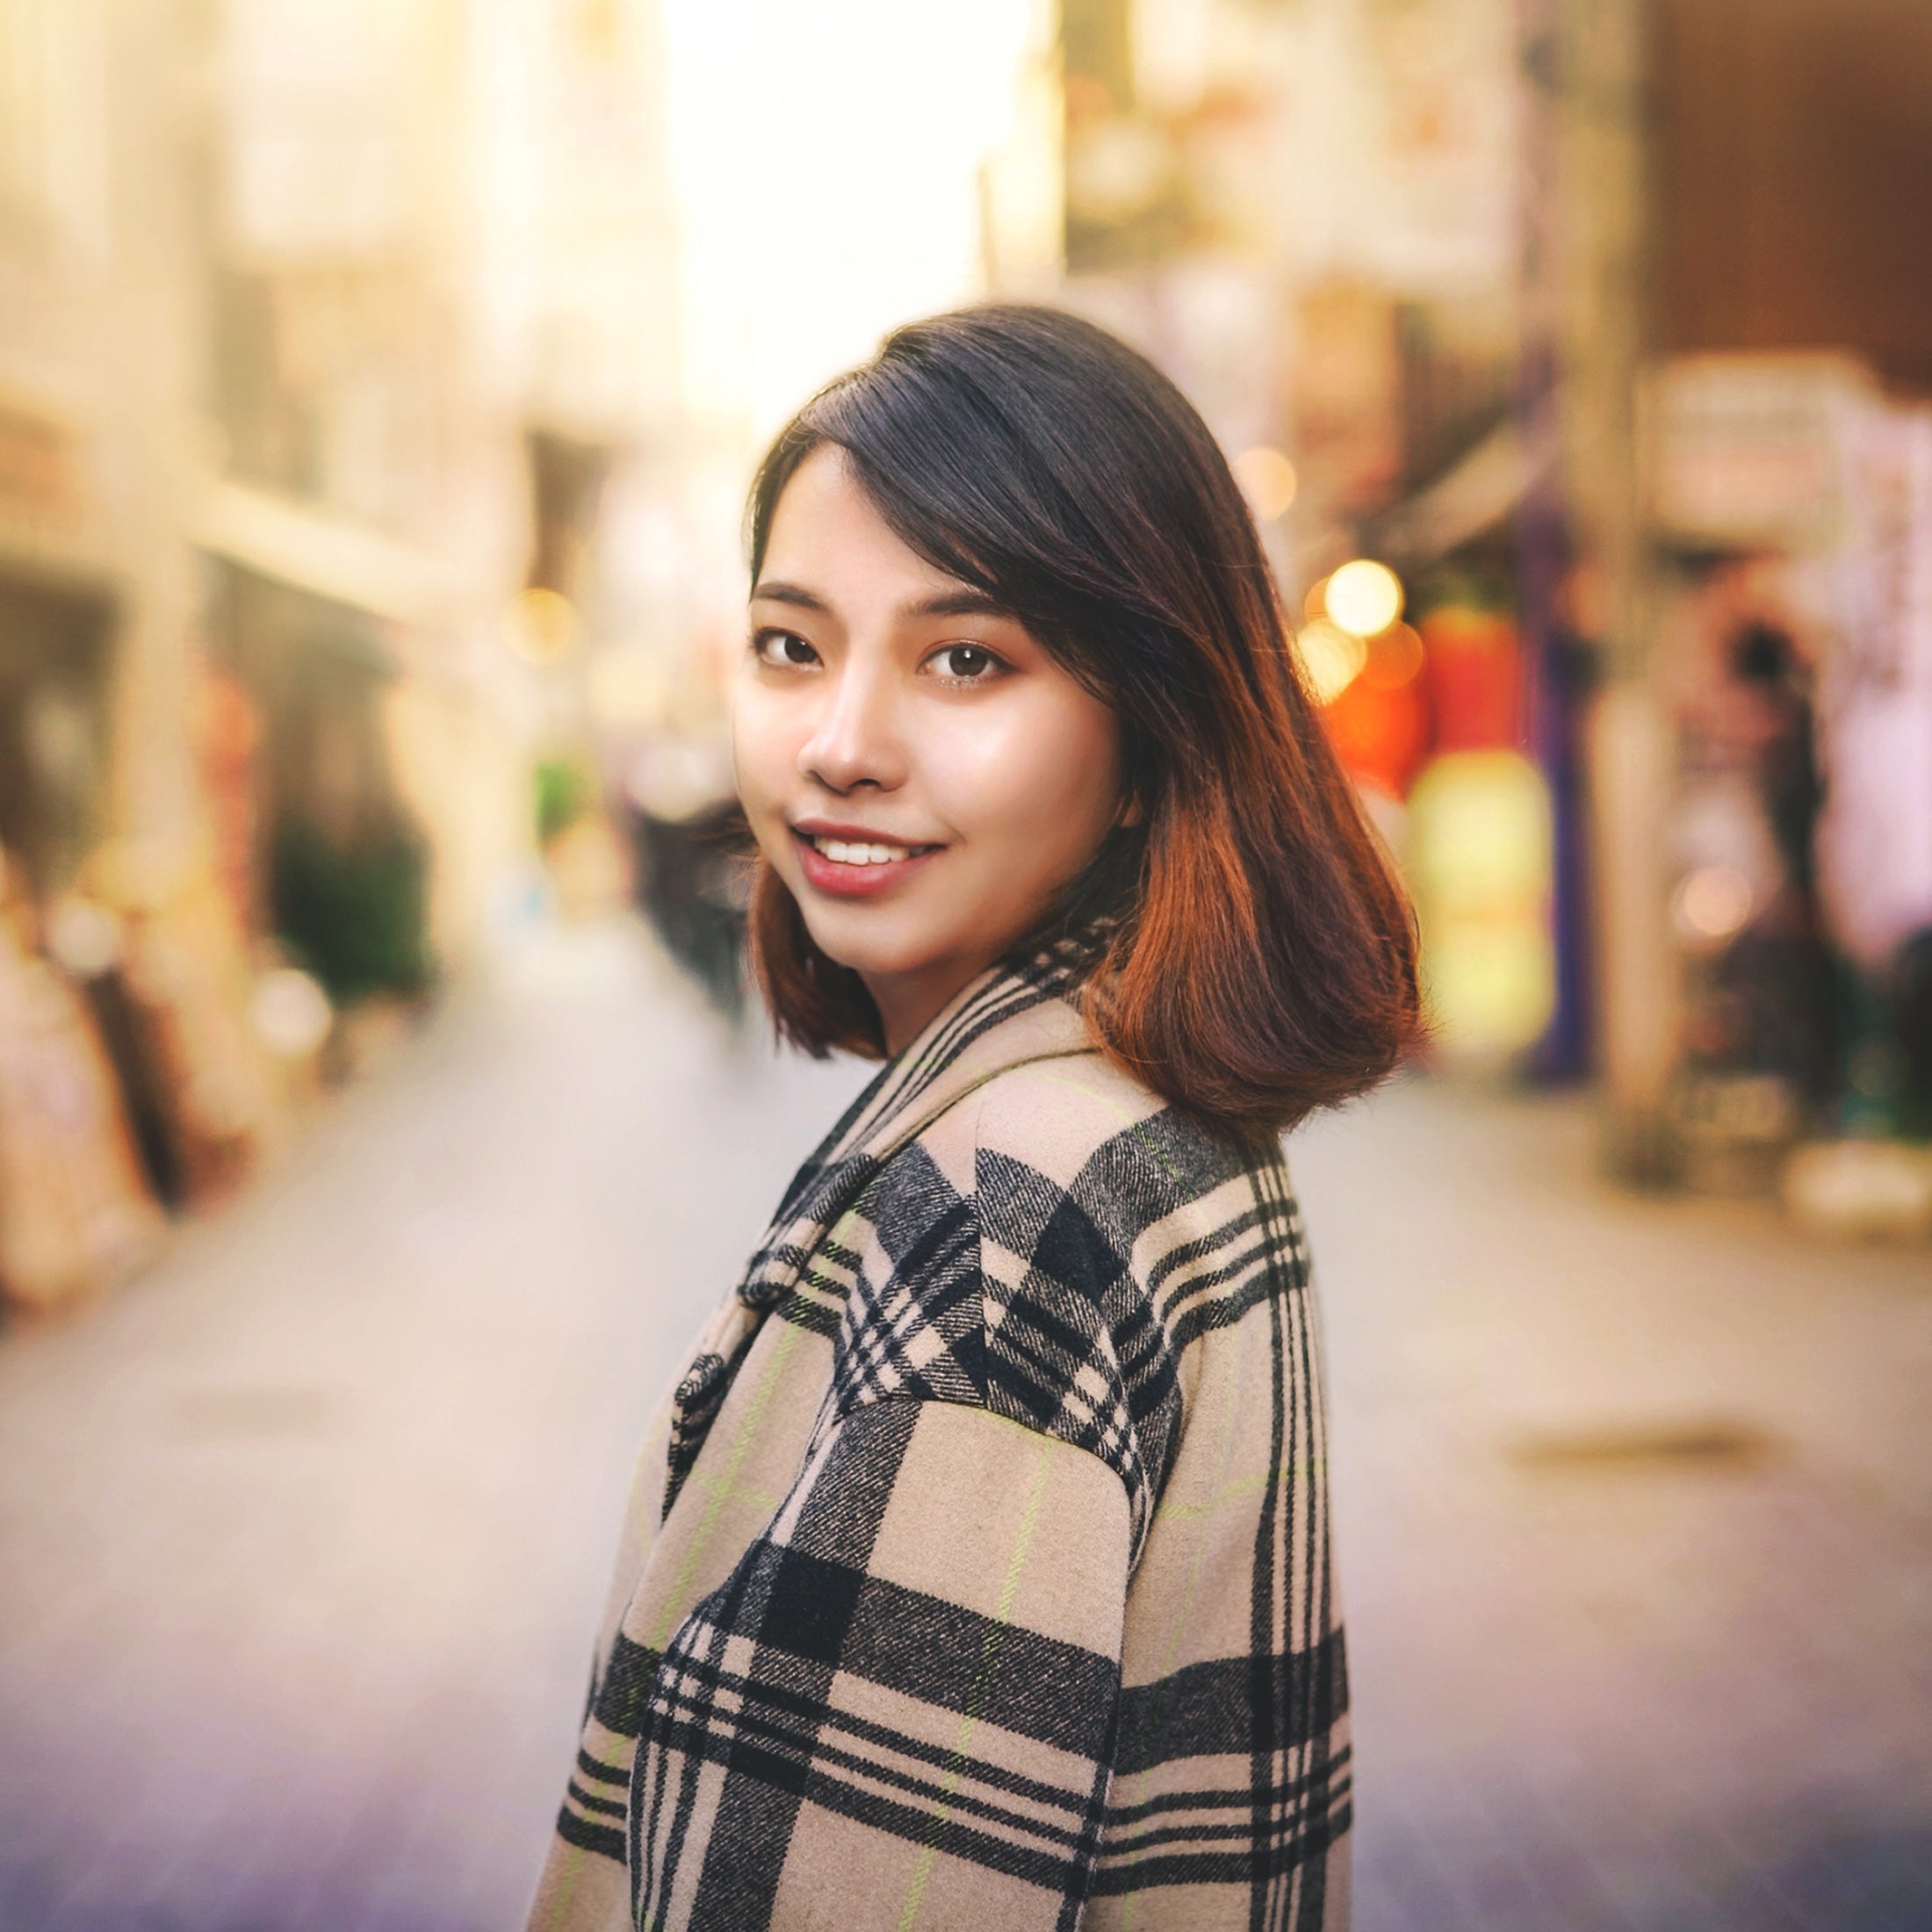
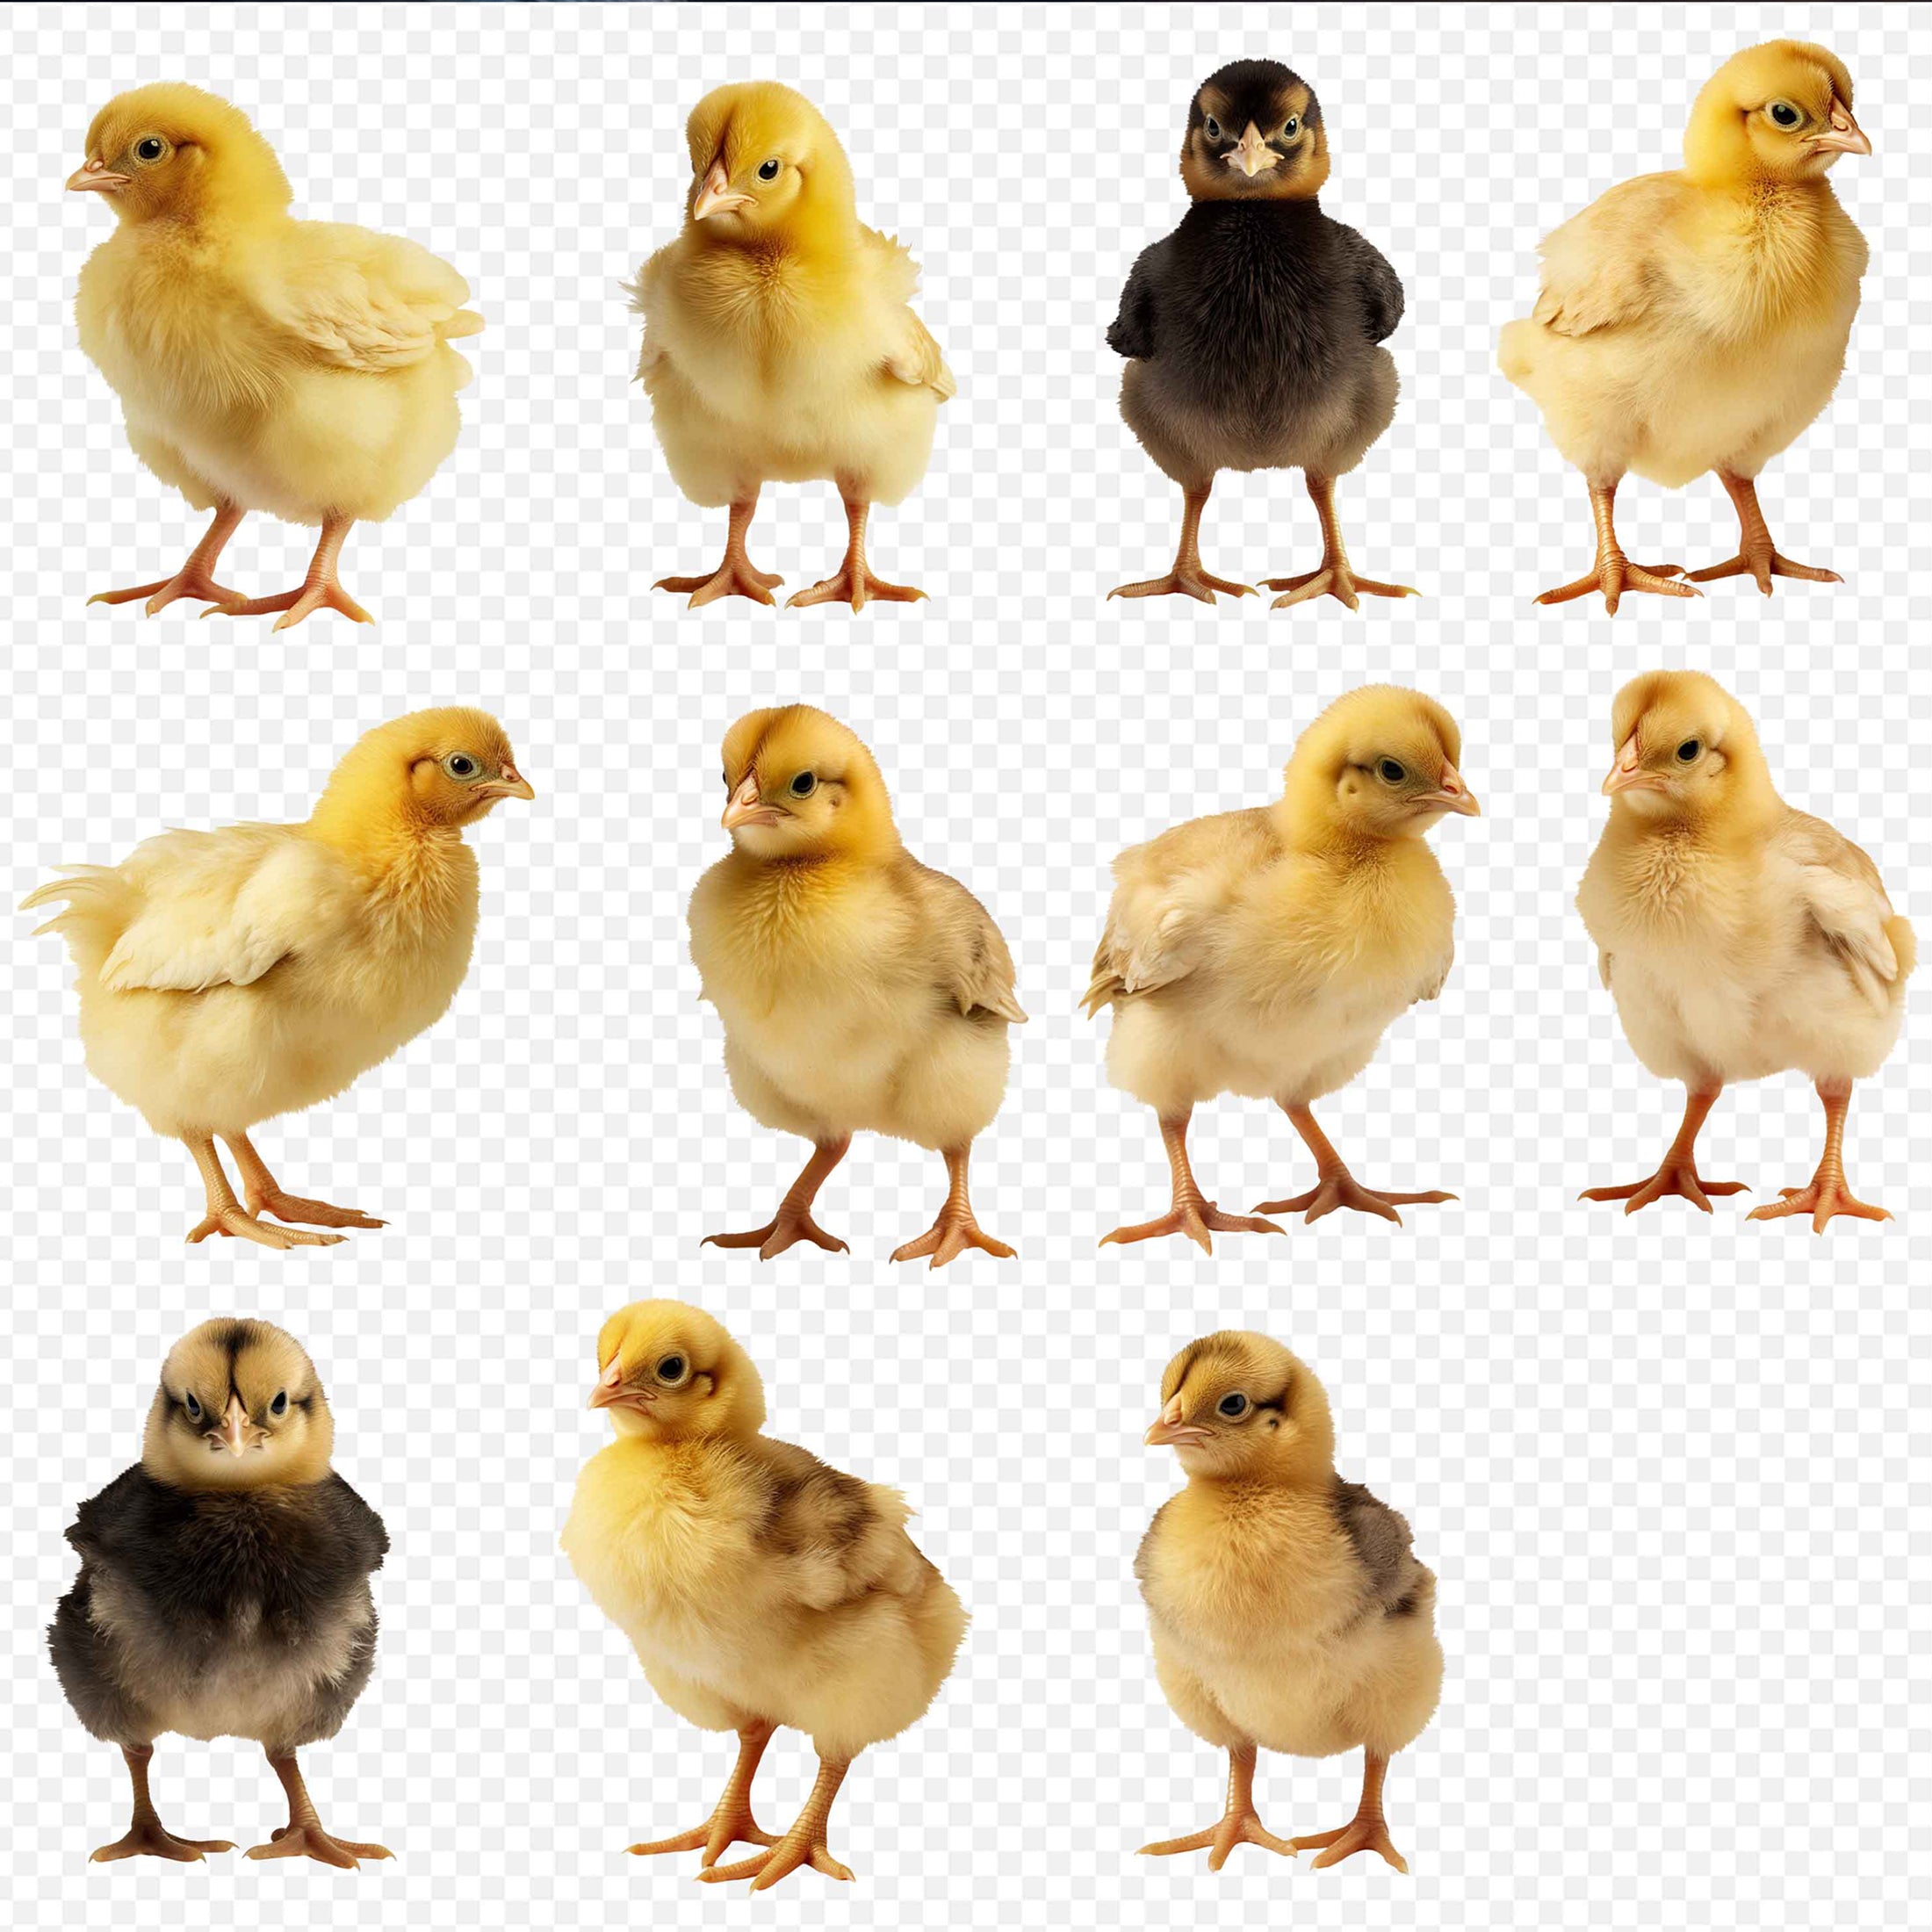
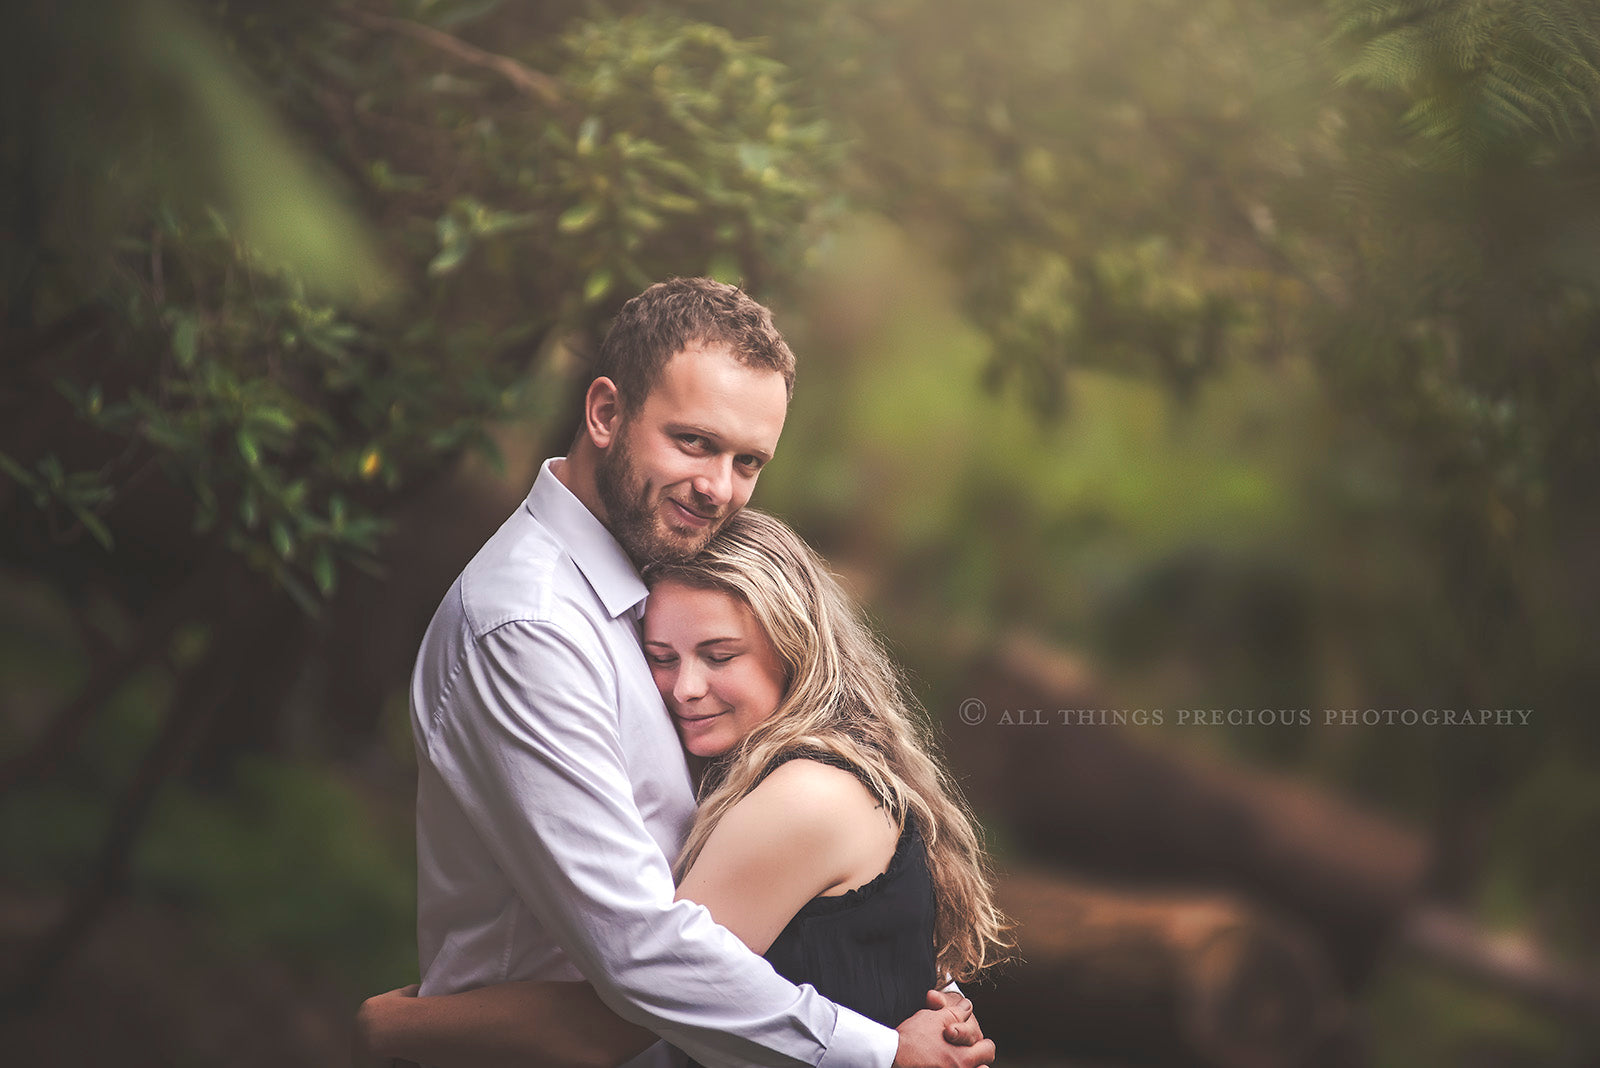
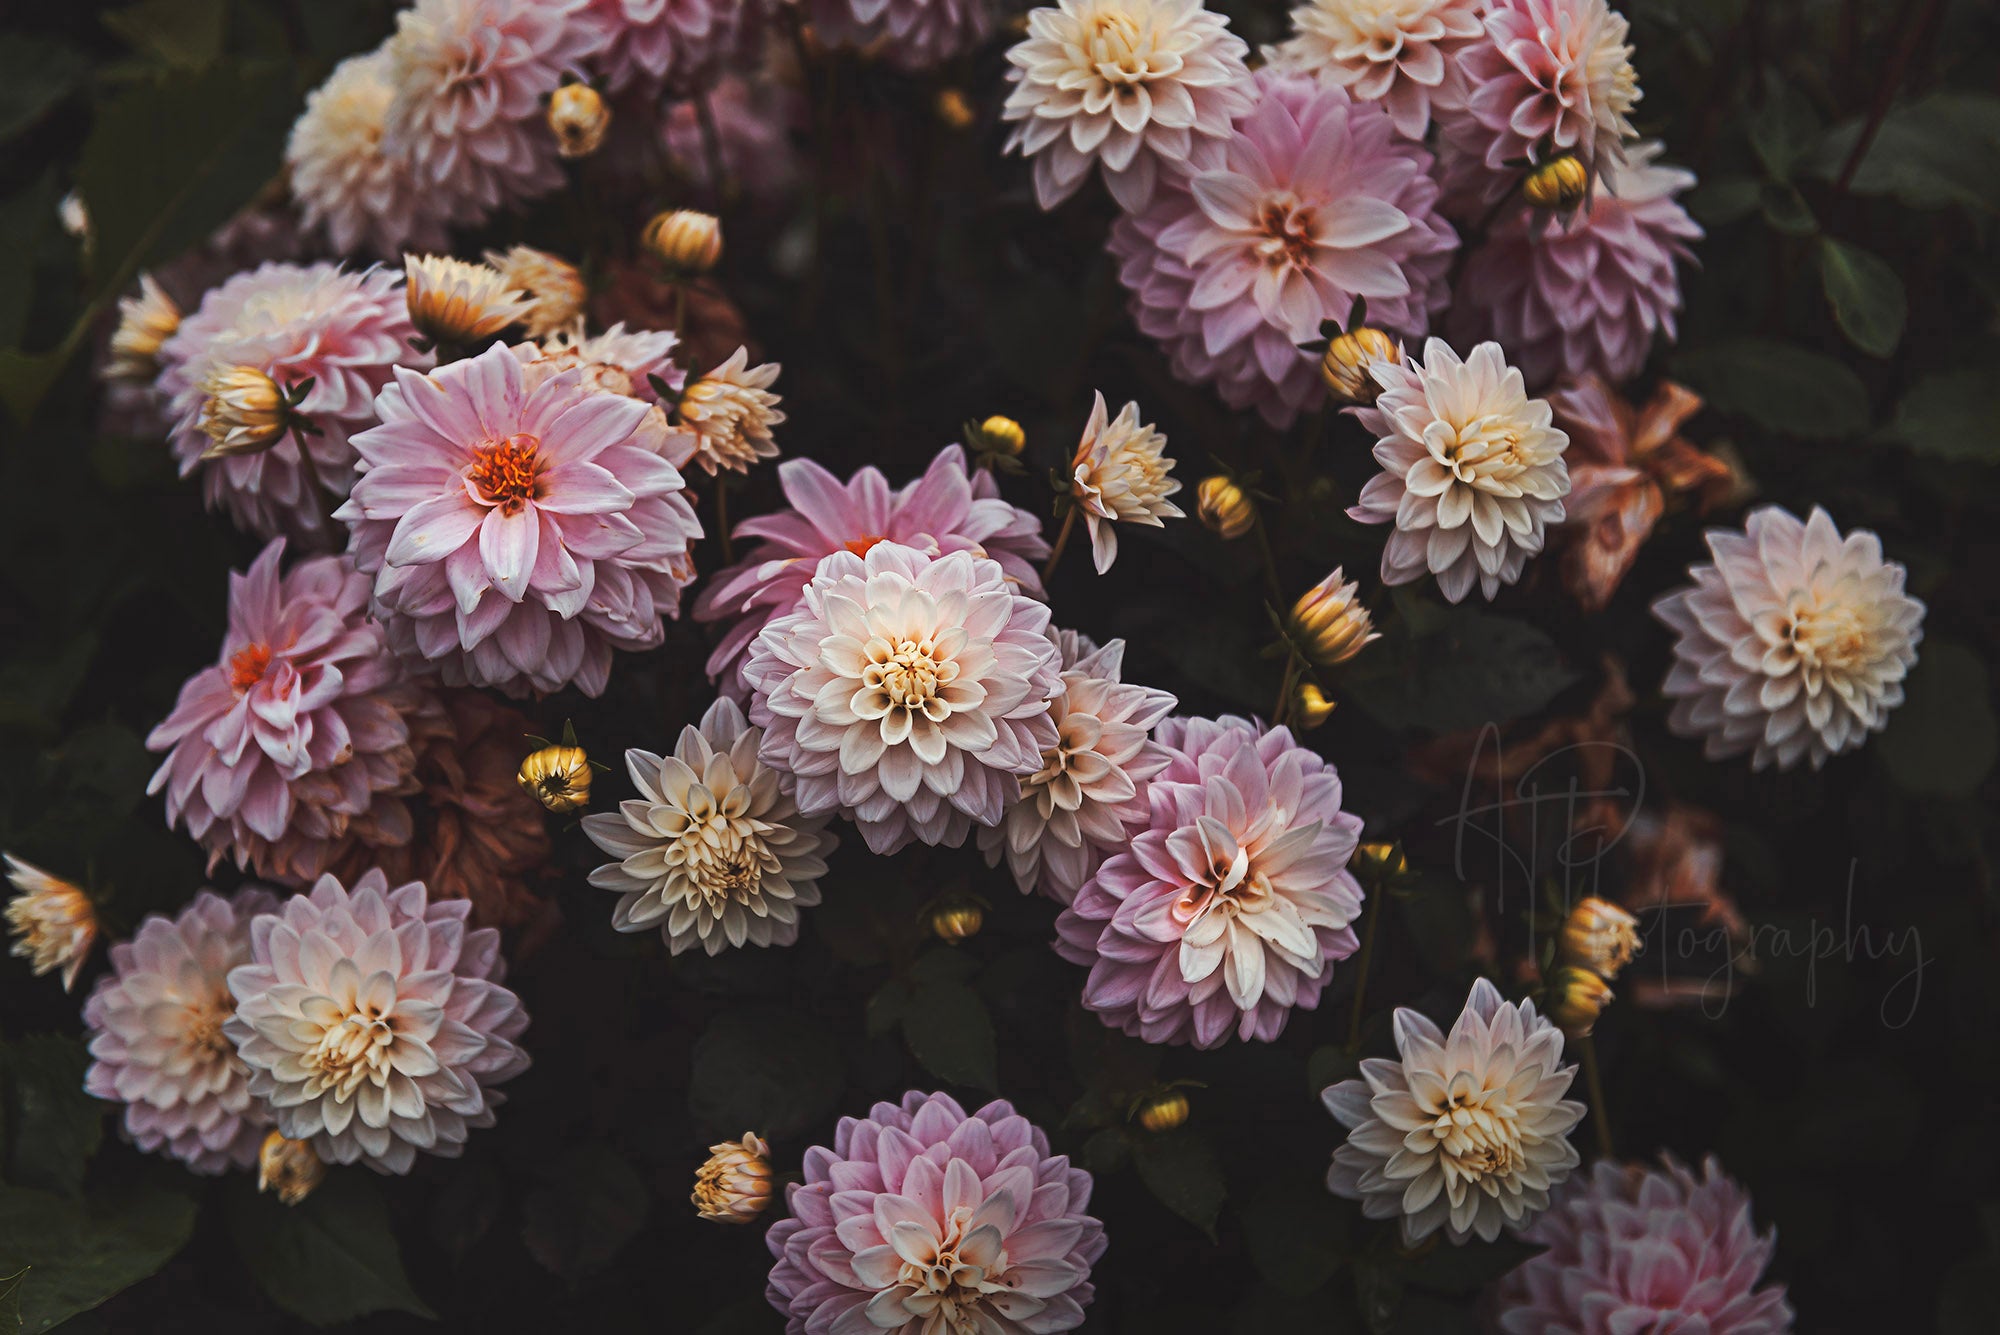
I create my textures with photographers in mind. So you will often find they have more depth towards the edges and less towards the middle. ( Assuming we mostly centralise our main subjects. ) I find they work best as backdrops or at a lower opacity when used on portraits and they can go full on with nature images.
How To Add Them.
- First, start by loading your image into Adobe Photoshop and make sure you are editing in high resolution. eg. 240 - 300dpi.
- Place your first texture file (File –> Place –> Choose Texture File).
- Transform the texture to fit your image. ( I have more details regarding using the Transform tool in the Help Centre if you are looking for help with it. )
- Adjust the blending mode. I often use multiply, screen, lighten, or overlay. Adjust the opacity and add a layer mask.
- Use the layer mask to remove a bit of the Texture from your main subject with a black brush on a white background.
- Flatten and save your finished work.
Video Tutorial.
You can also watch my "how to add textures" video tutorial. It uses three example images, illustrating blending modes and the application of textures in photoshop to create your own beautiful fine art piece.