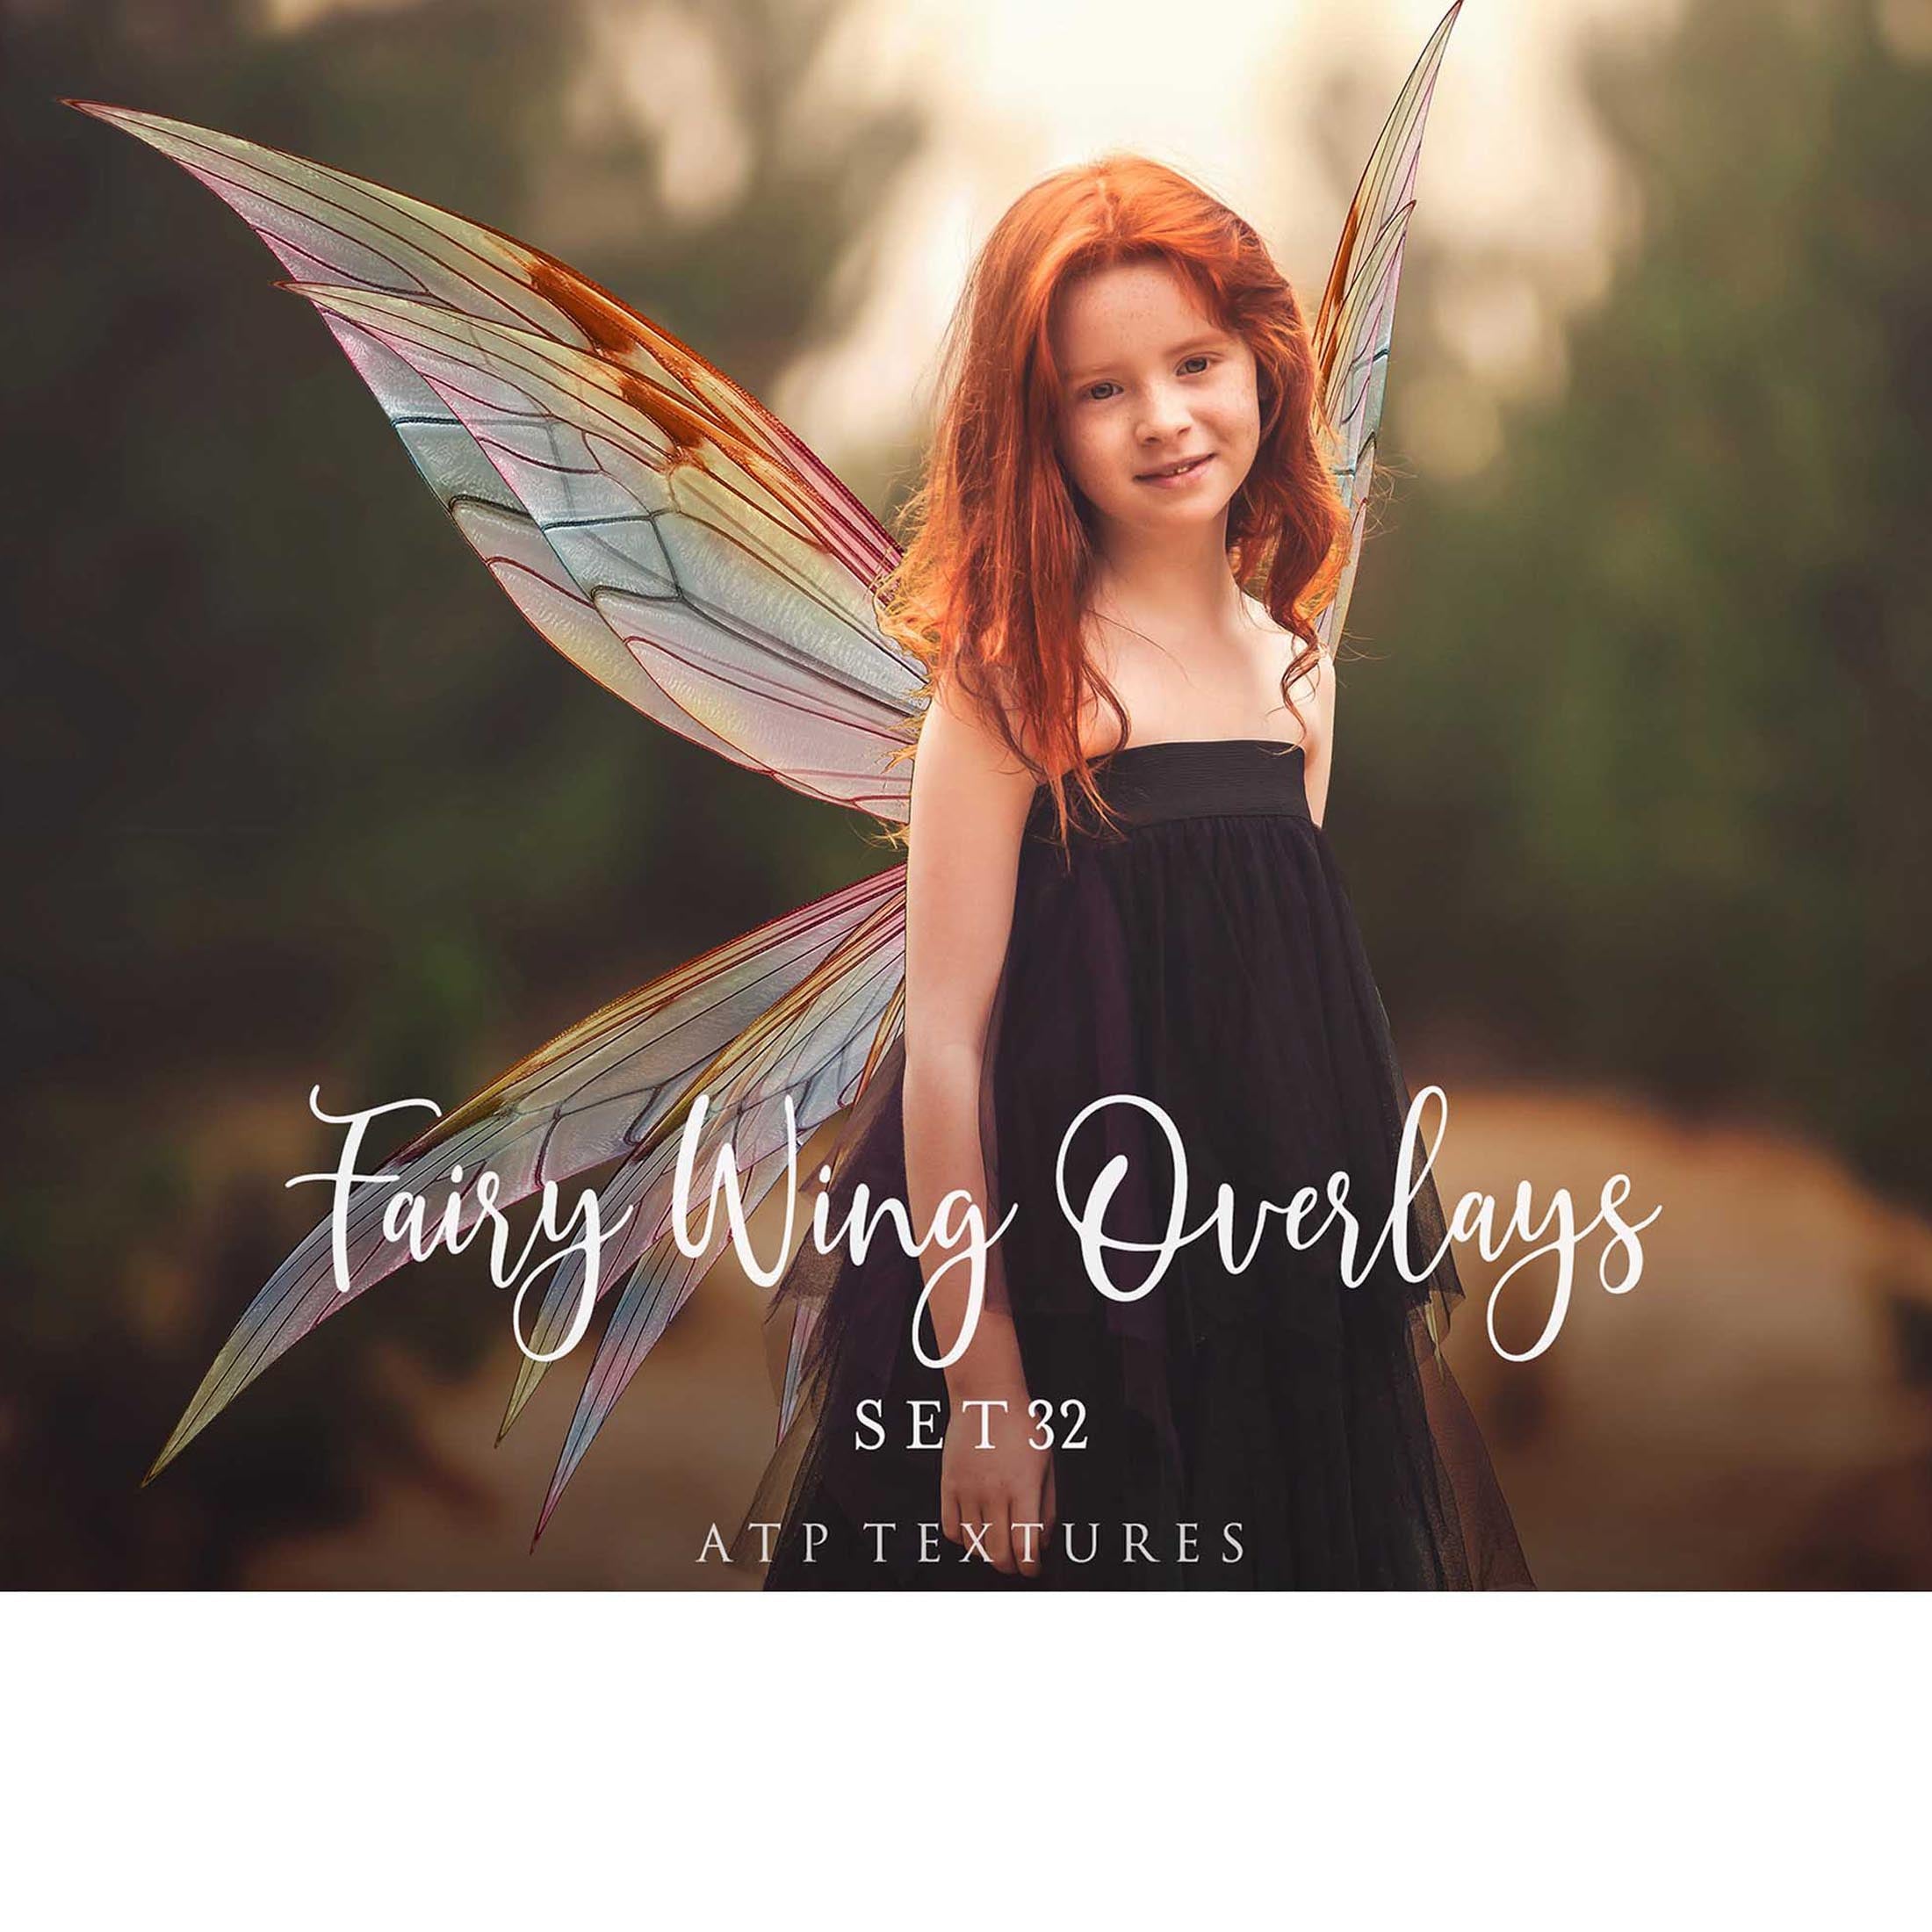
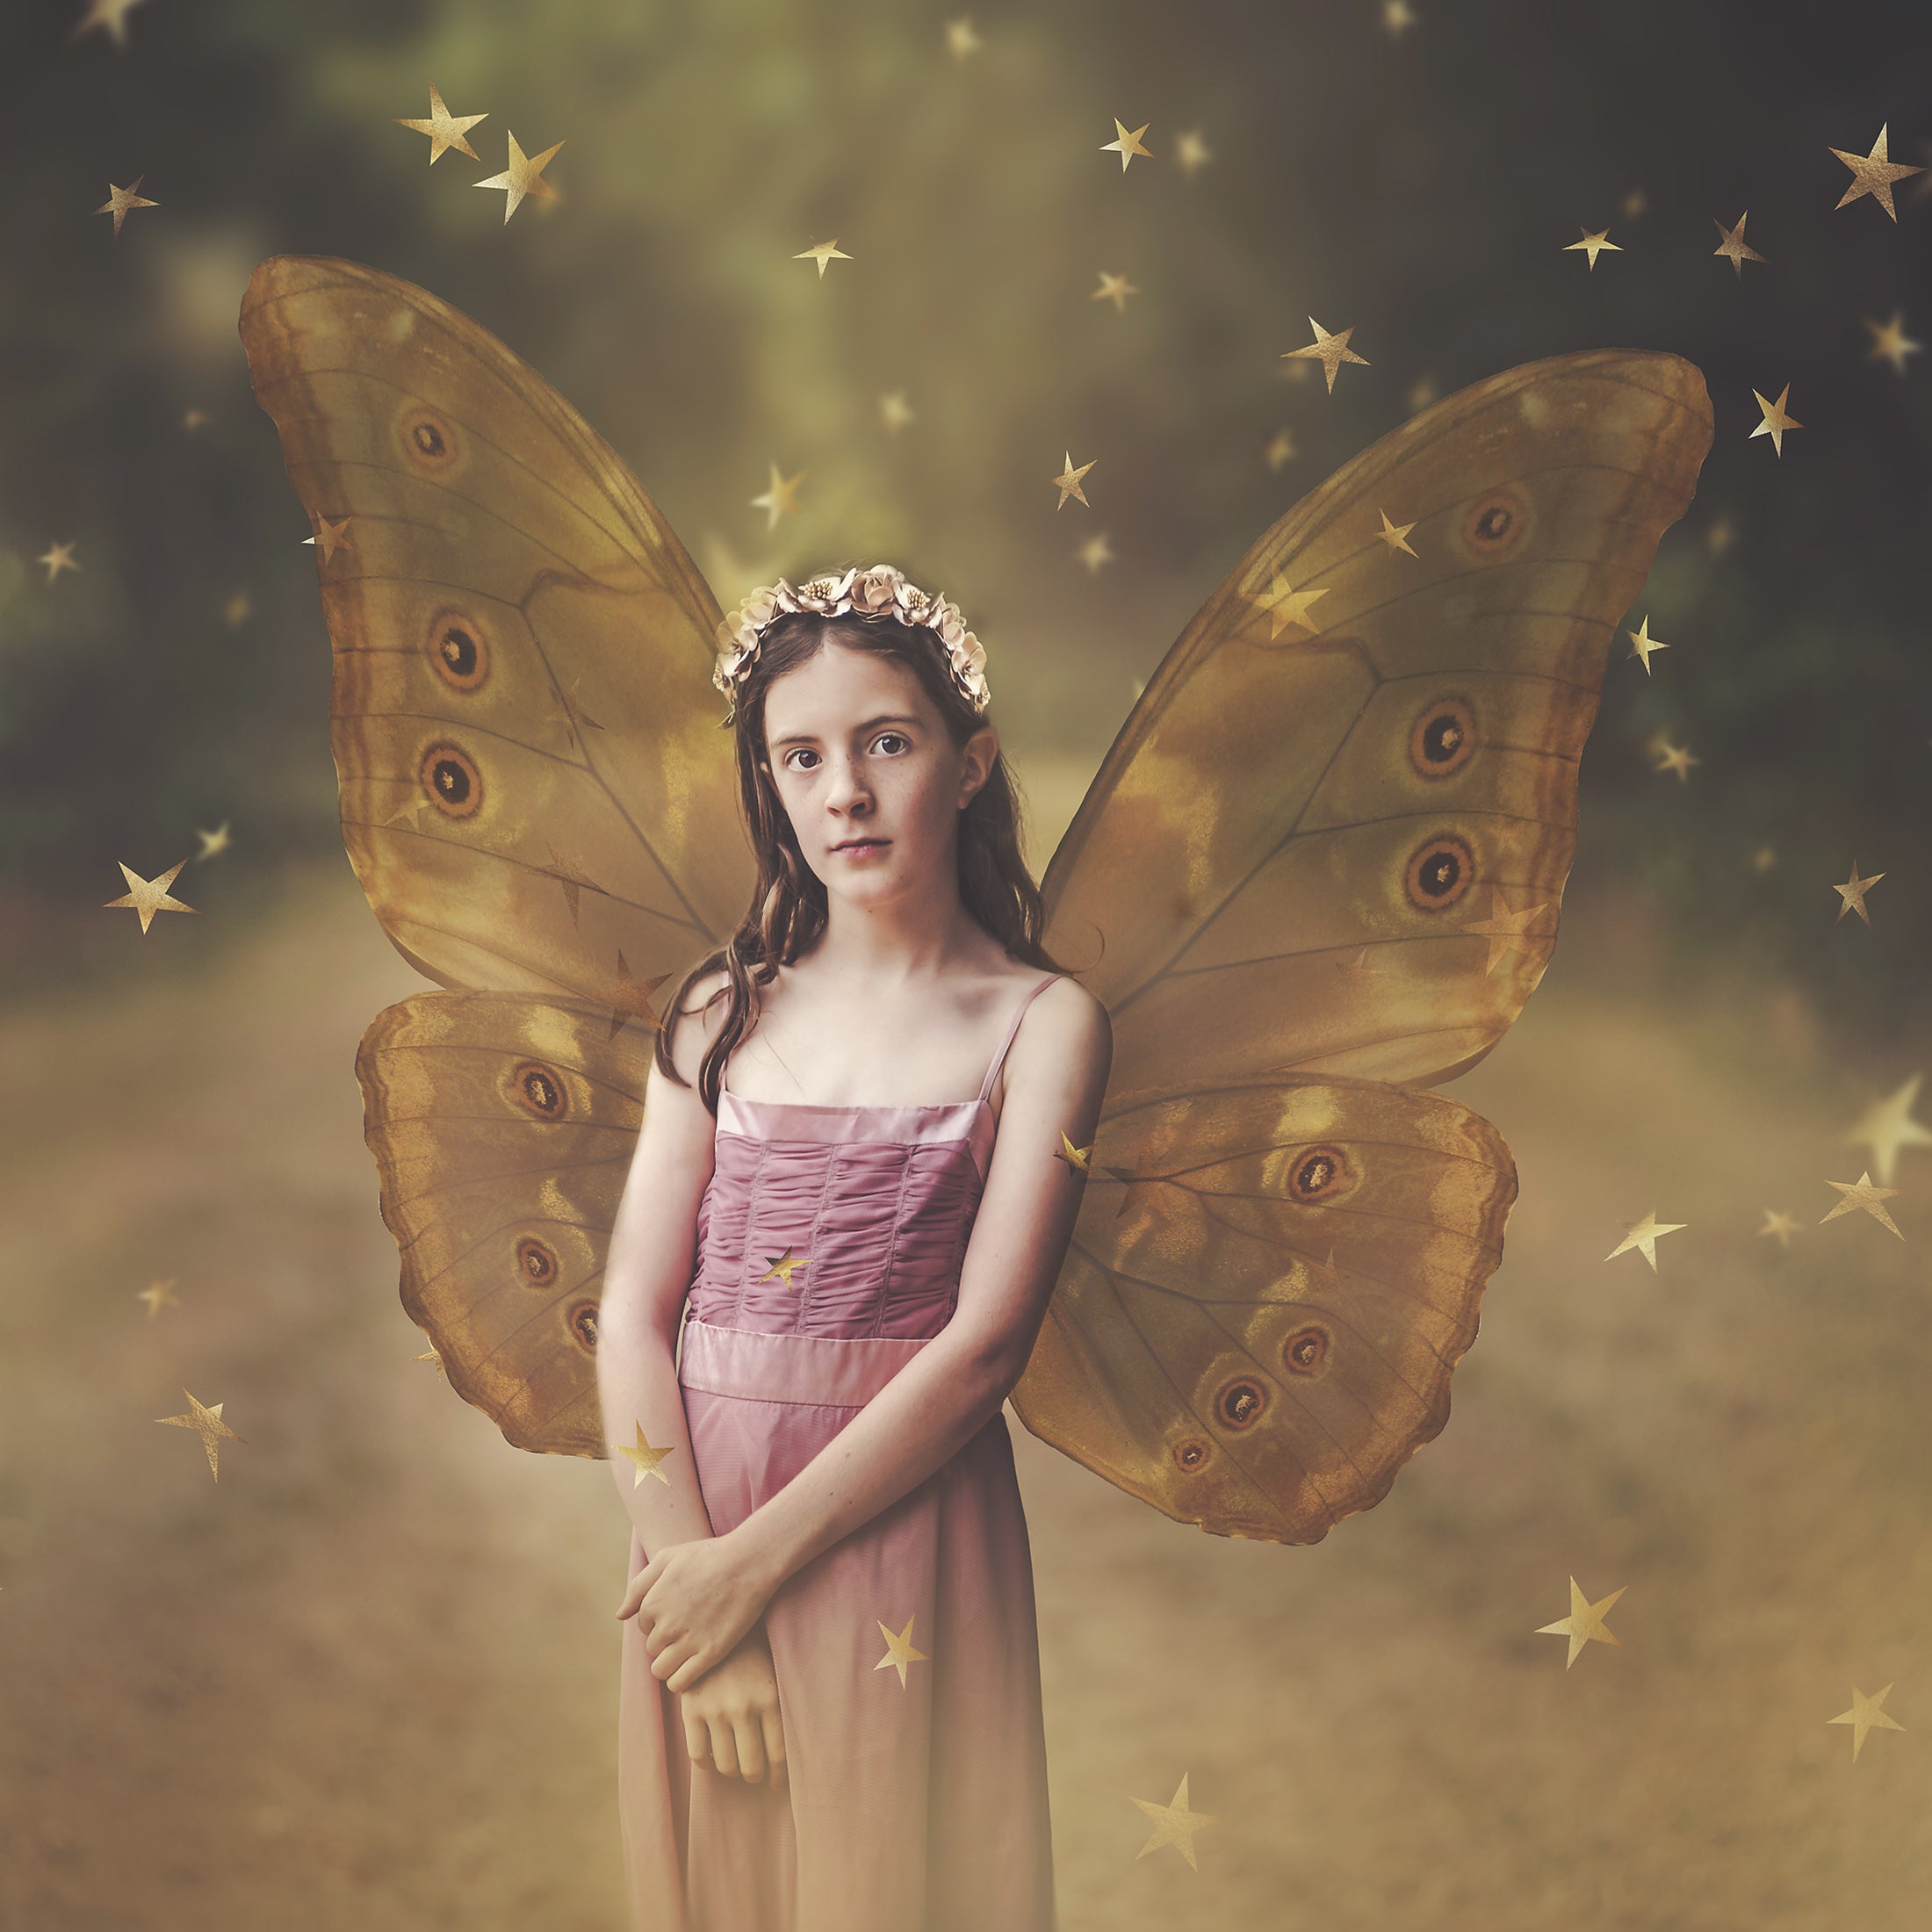
The video tutorials below will cover my fairy wings overlays AND my angel wing overlays.
I believe all my customers should have access to help with adding wing overlays. They are sometimes quite tricky to get looking just right! The videos will teach you how to add wing overlays to your images, with perspective being a key element.
All my wings are presented with one side only. This gives you much more flexibility when manipulating them to suit your image. Wings are never ever sitting straight on when you observe the way real fairy wings sit on a child. Sometimes you may not even see the back one at all! The below video will show you how to add the wings in a realistic way.
There are 6 videos for you to watch.
( You will need to cut out your main subject to add your wings. You can view the tutorial on how to do this HERE. )
🔎 1. Wings have one side for flexibility.
🔎 2. How to add fairy wings.
🔎 3. How to add angel wings.
🔎 4. How to use wings with a black background.
🔎 5. How to blend in your wing overlays.
🔎 6. Add tint and texture to your white wings.
🔎 7. Change the colour of your filigree wings.
Video Tutorial - Wings Come as One Side Only. ( For greater flexibility. )
Video Tutorial - How To Add Fairy Wing Overlays.
Video Tutorial - How To Add Angel Wing Overlays.
Video Tutorial - How To Use Wings With A Black Background.
IMPORTANT INFO
If you are using a layer group to add your overlays into - eg. Fairy wings with a black background within a masked out layer group - The entire layer group MUST be changed to a blending mode of SCREEN too. This will remove the faint bounding box lines which can appear in the 2024 version of photoshop. It is not a fault of the overlay but rather a known issue in this version. The video below will explain the steps.
Video Tutorial - Blending Fairy Wing Overlays.
Video Tutorial - Add Texture & Tint to Fairy Wing Overlays.
Video Tutorial - Change the colour of filigree wings.

