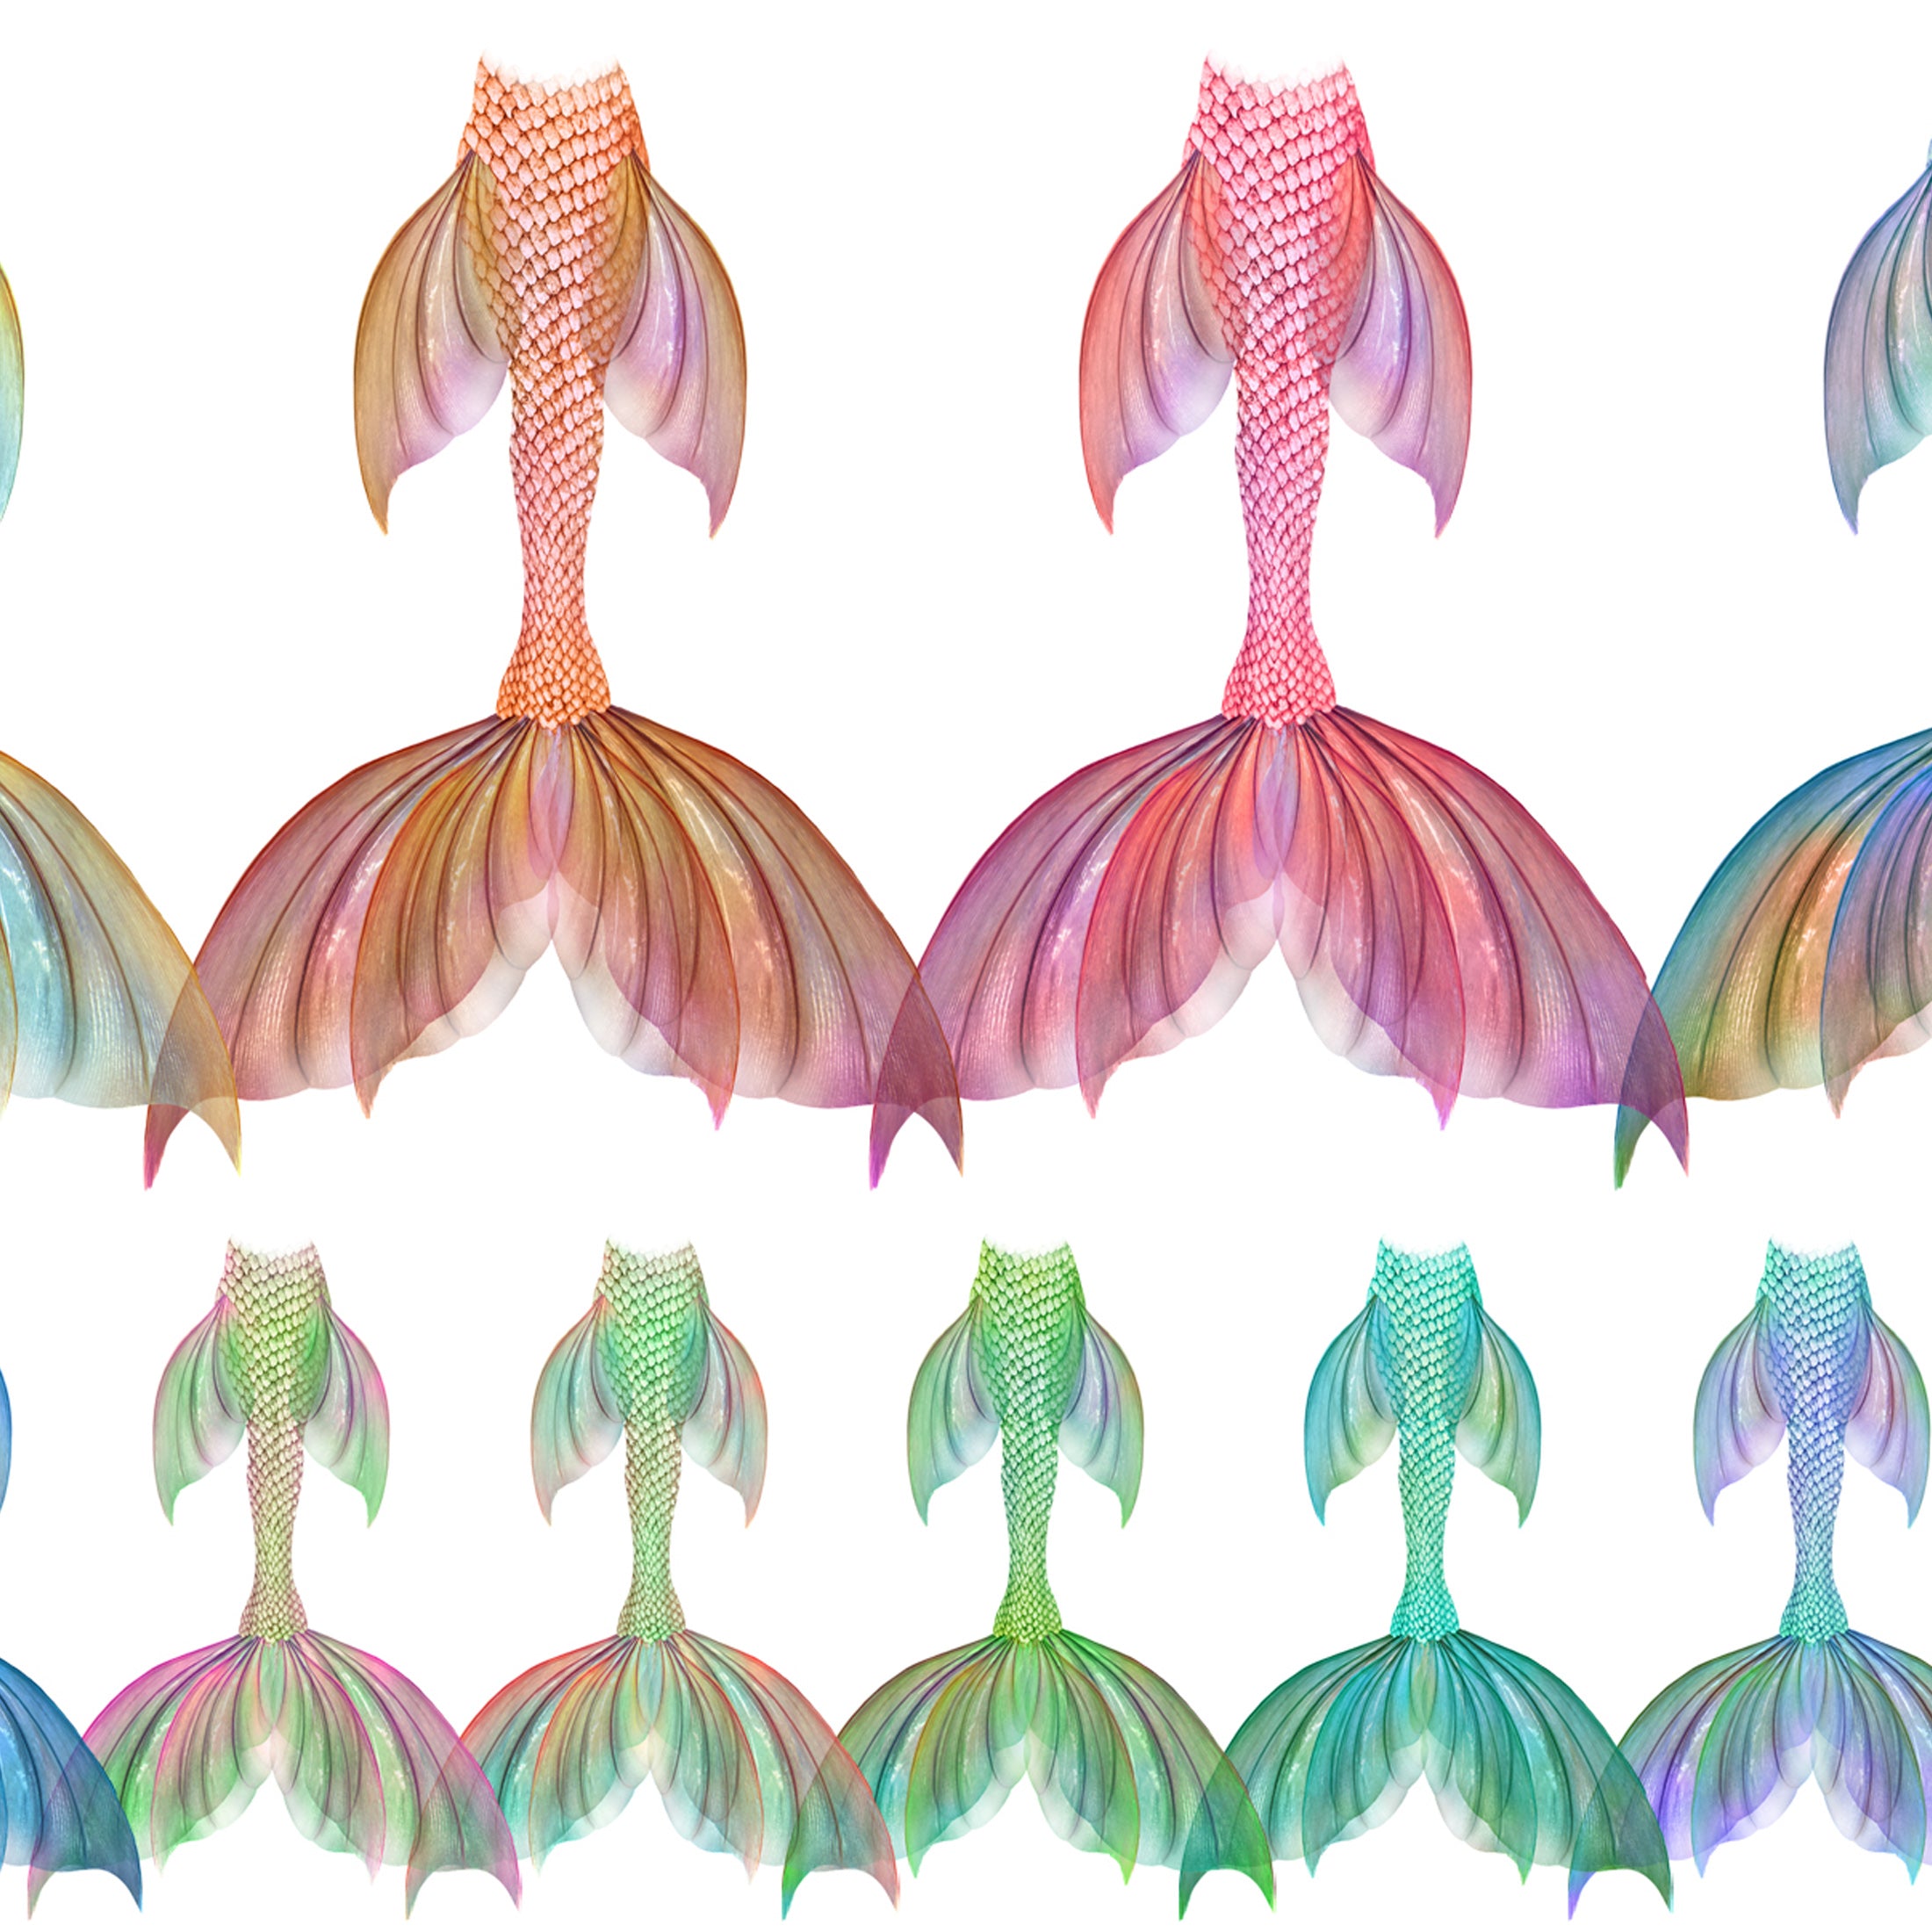
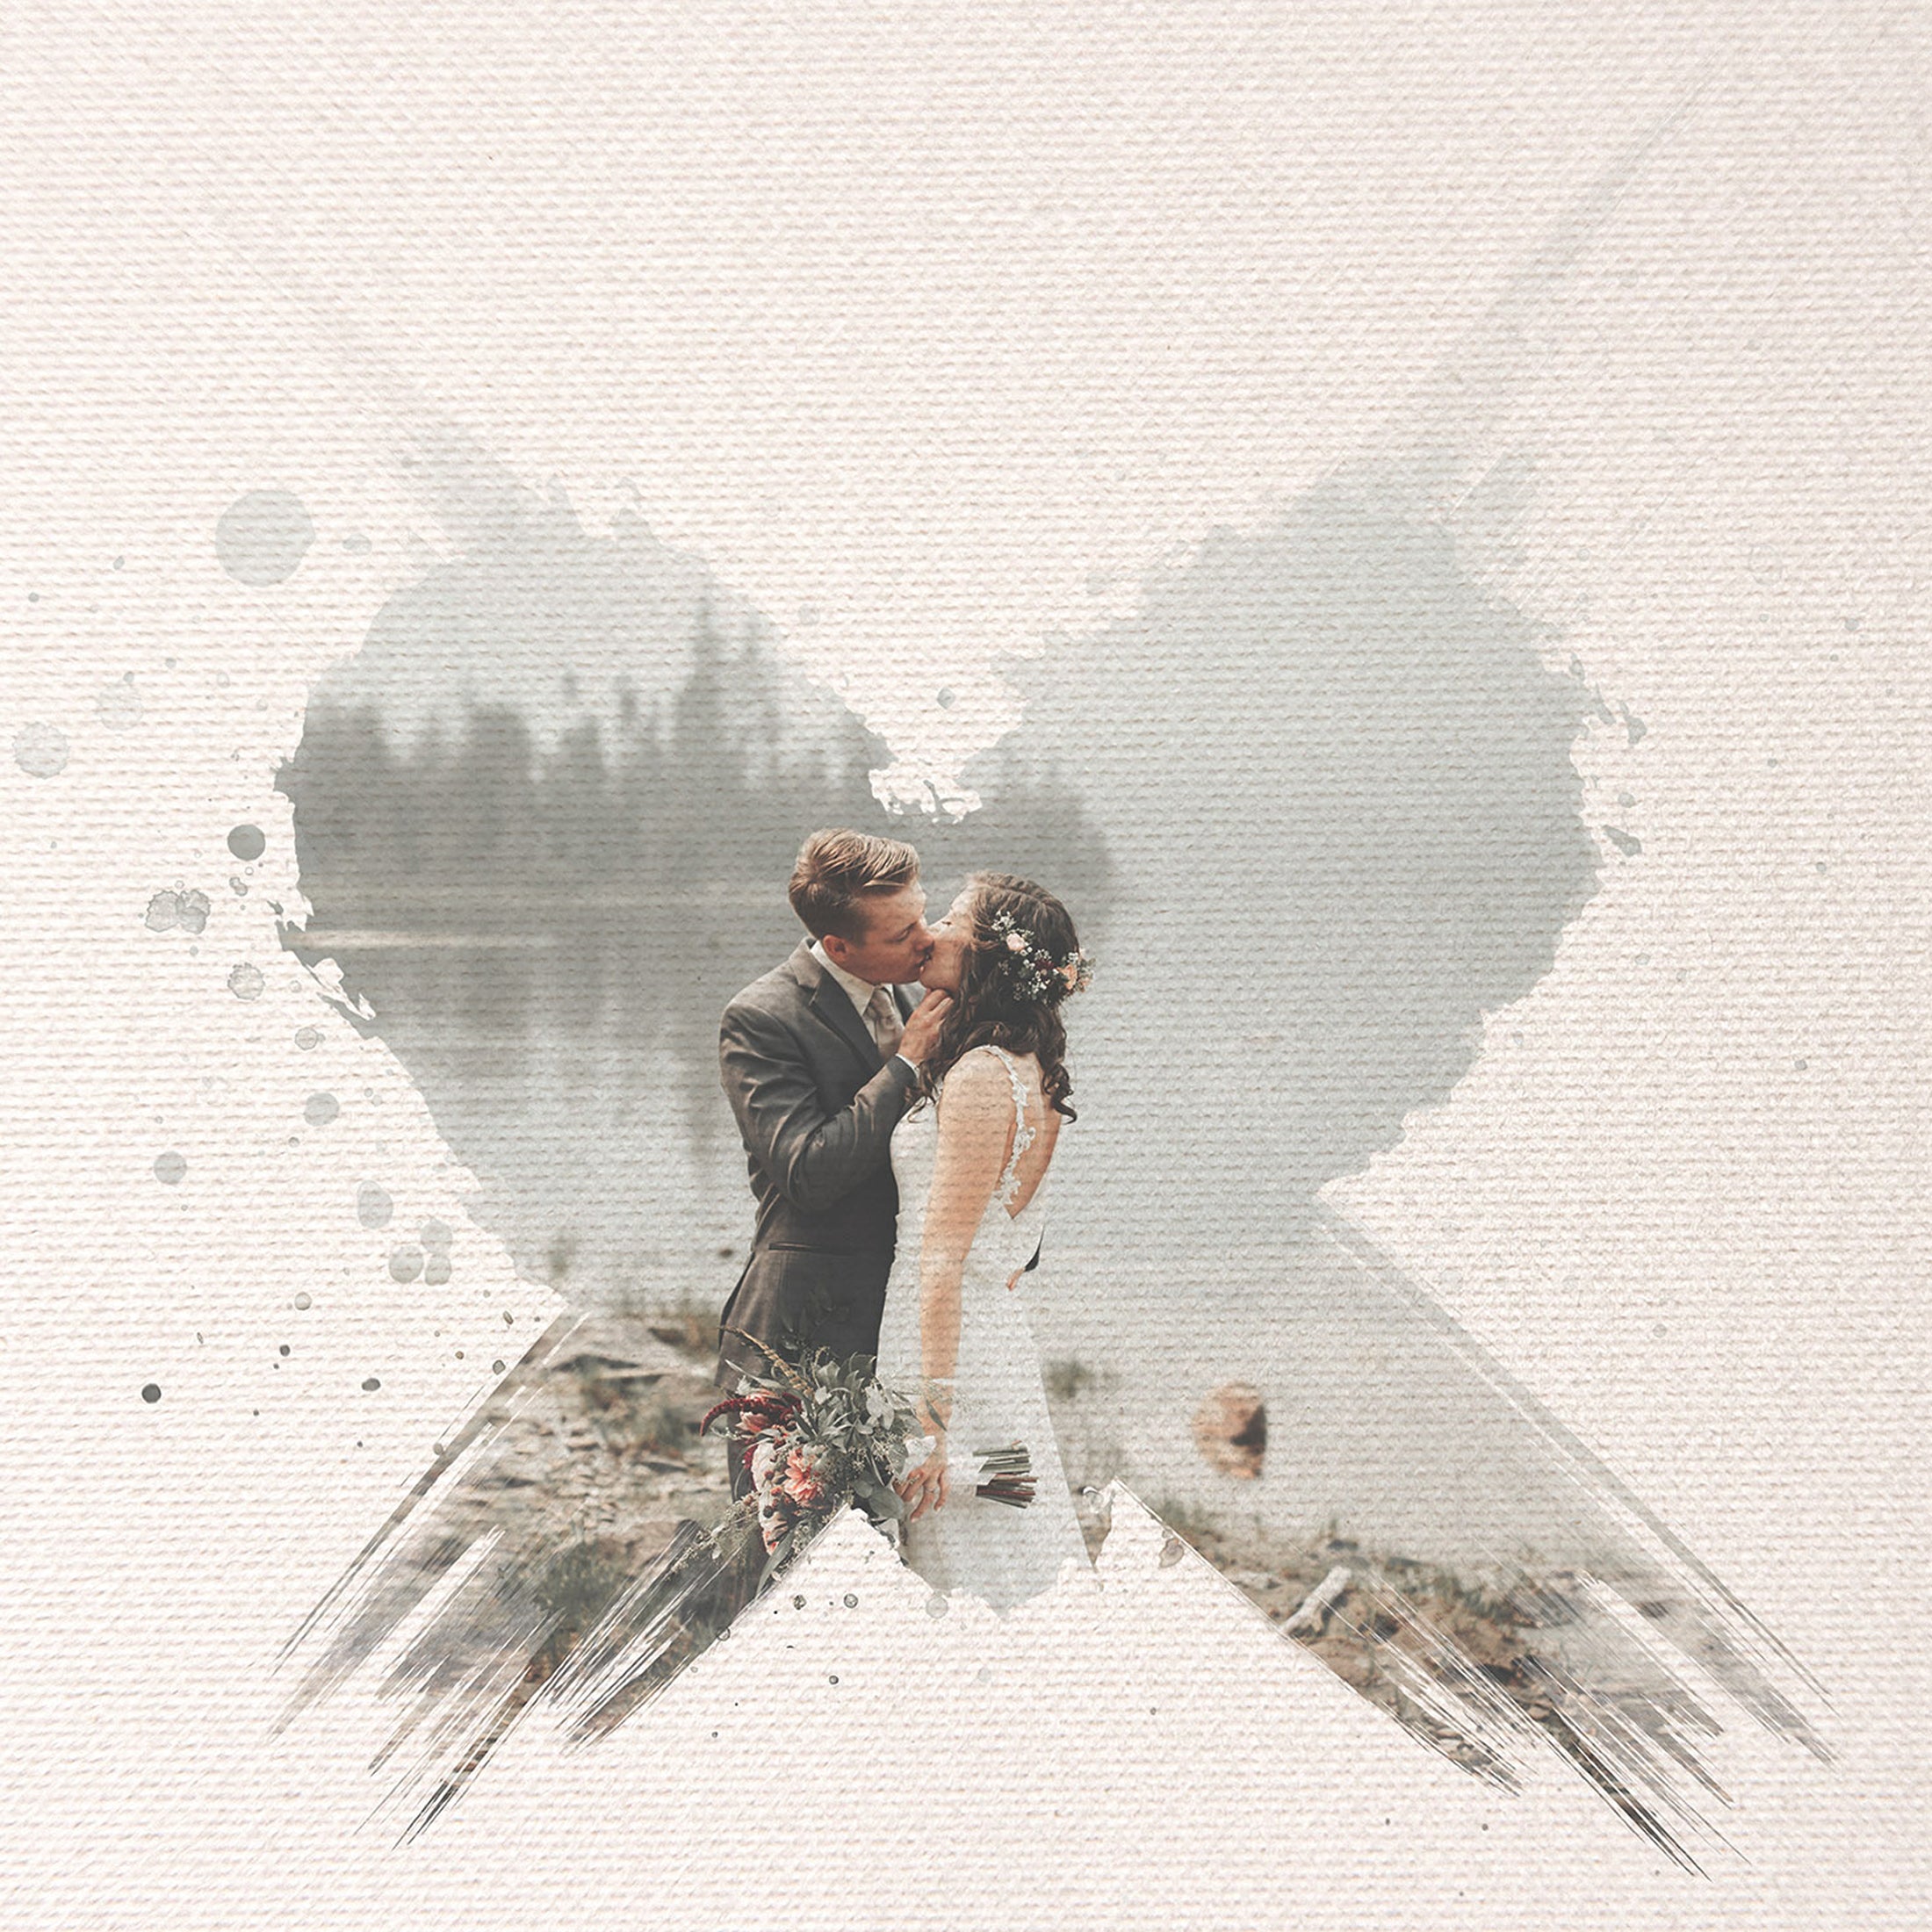
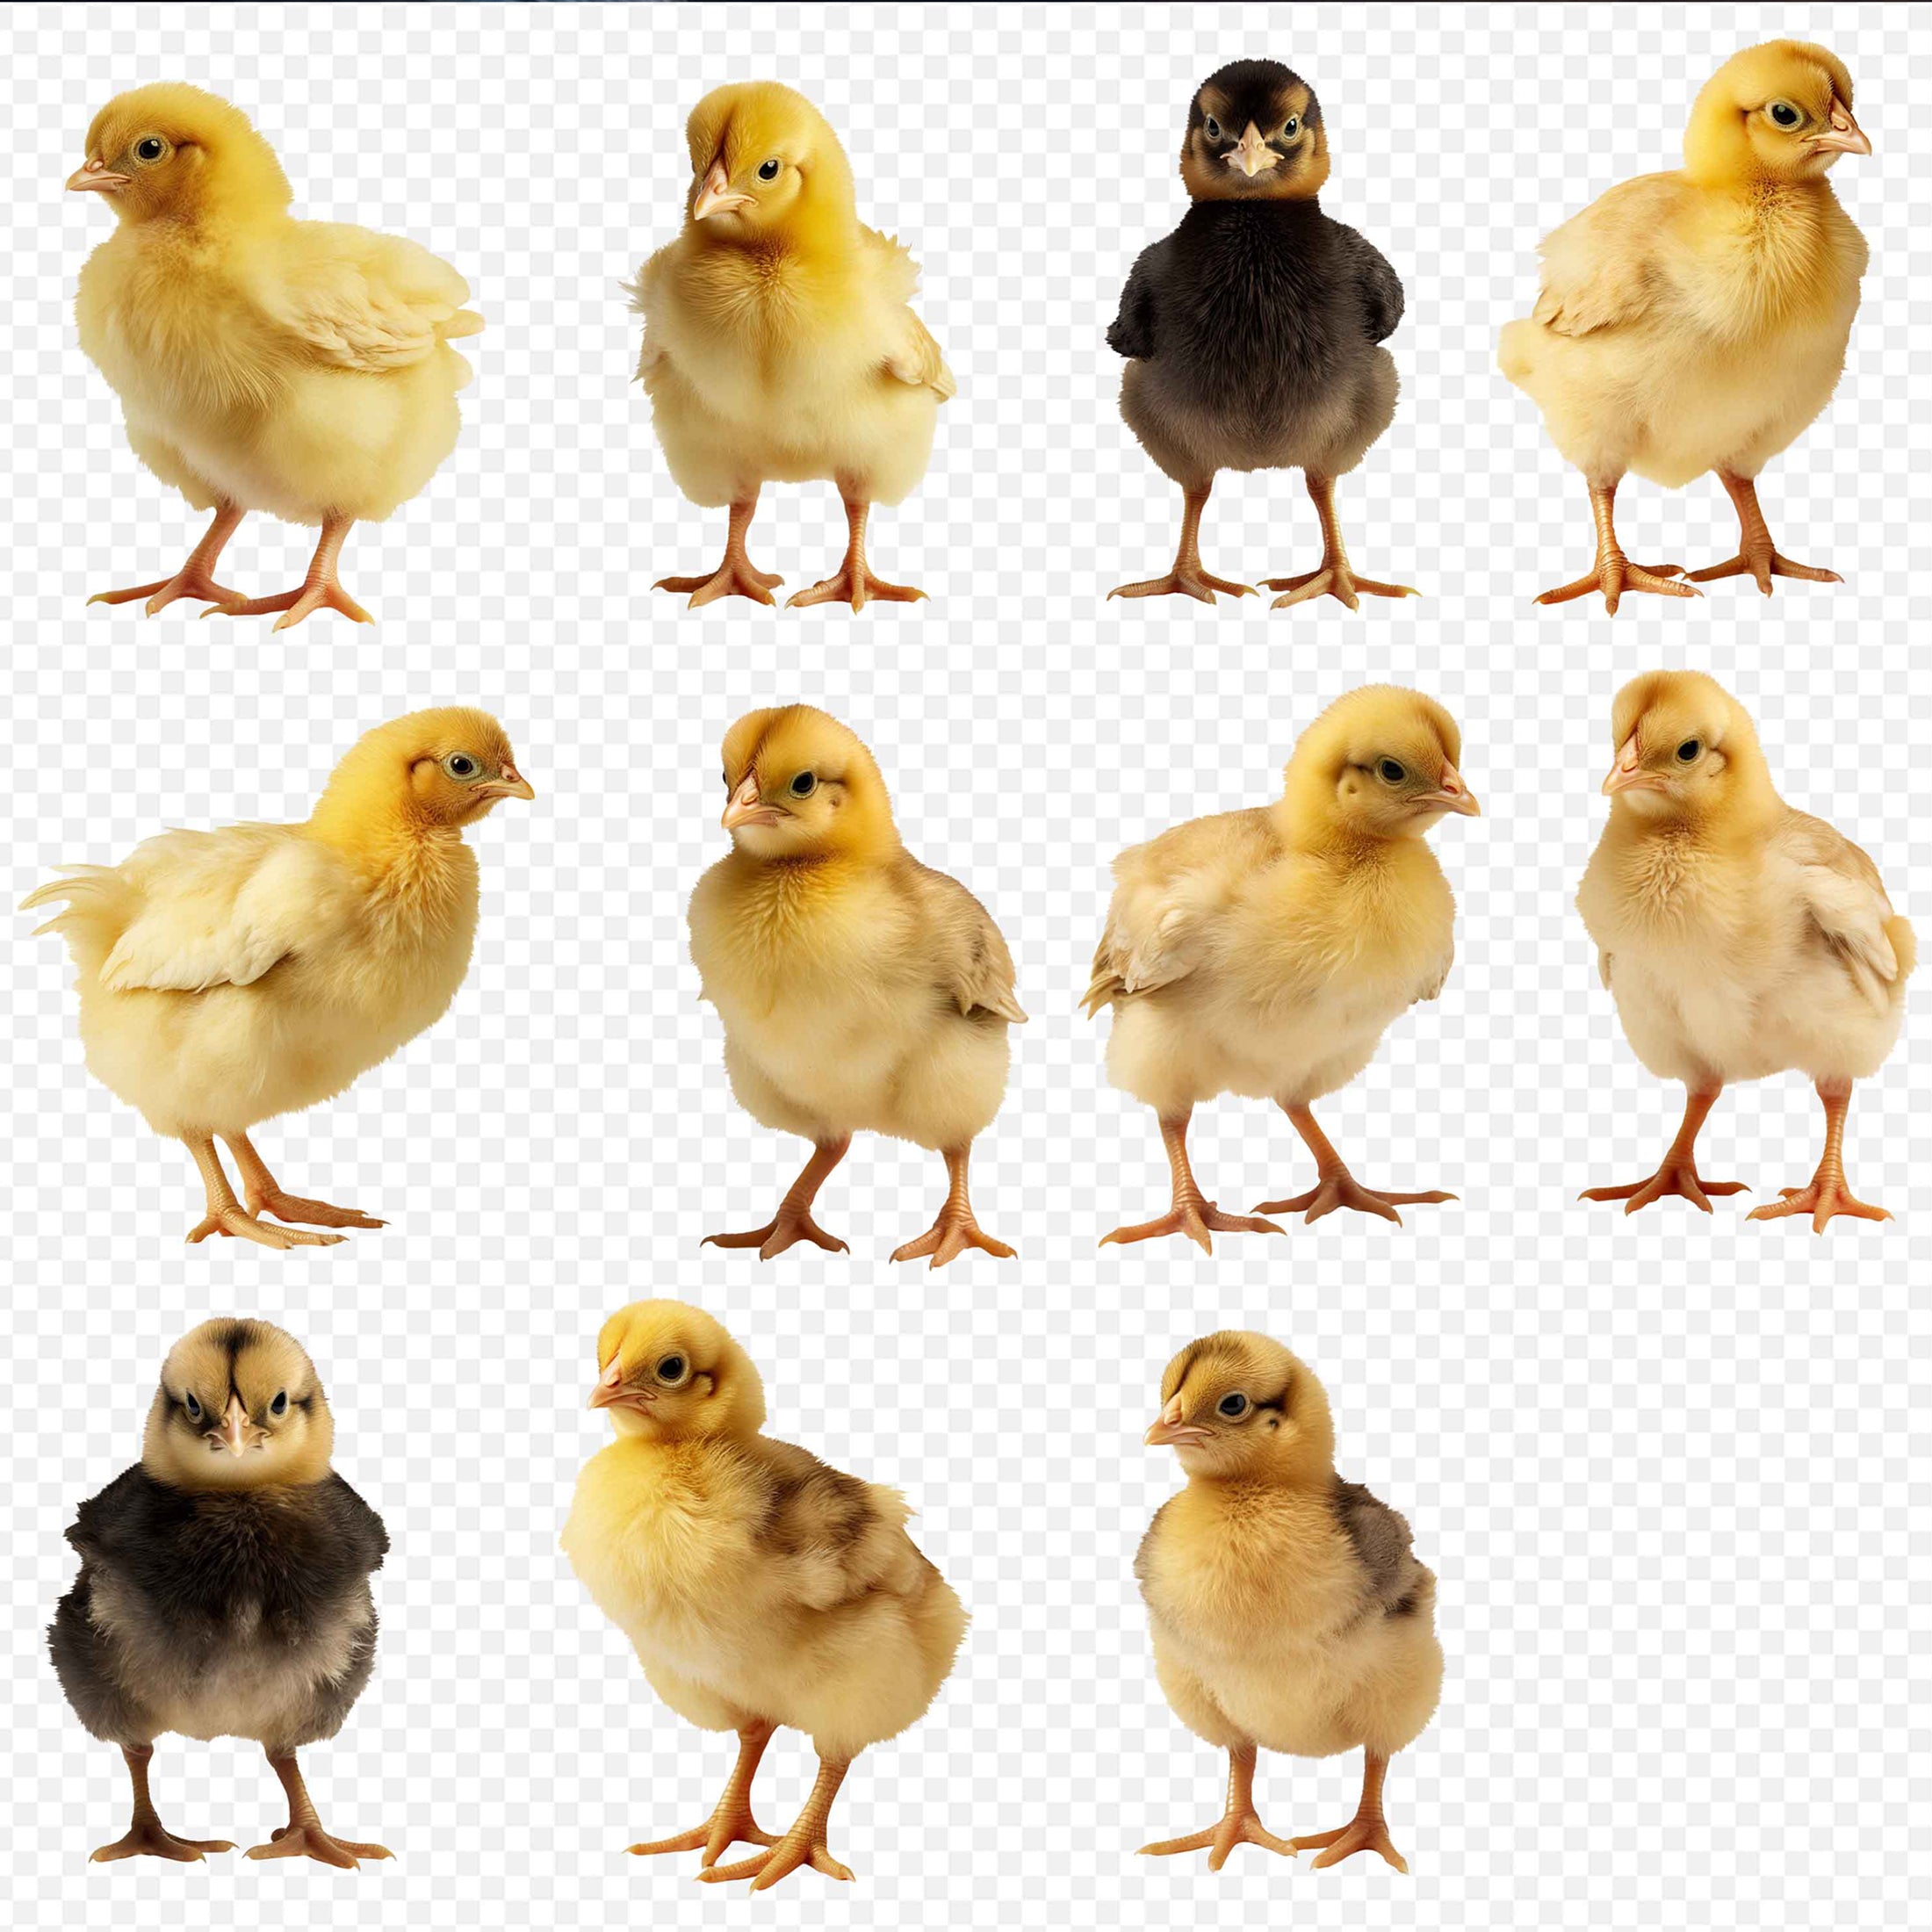
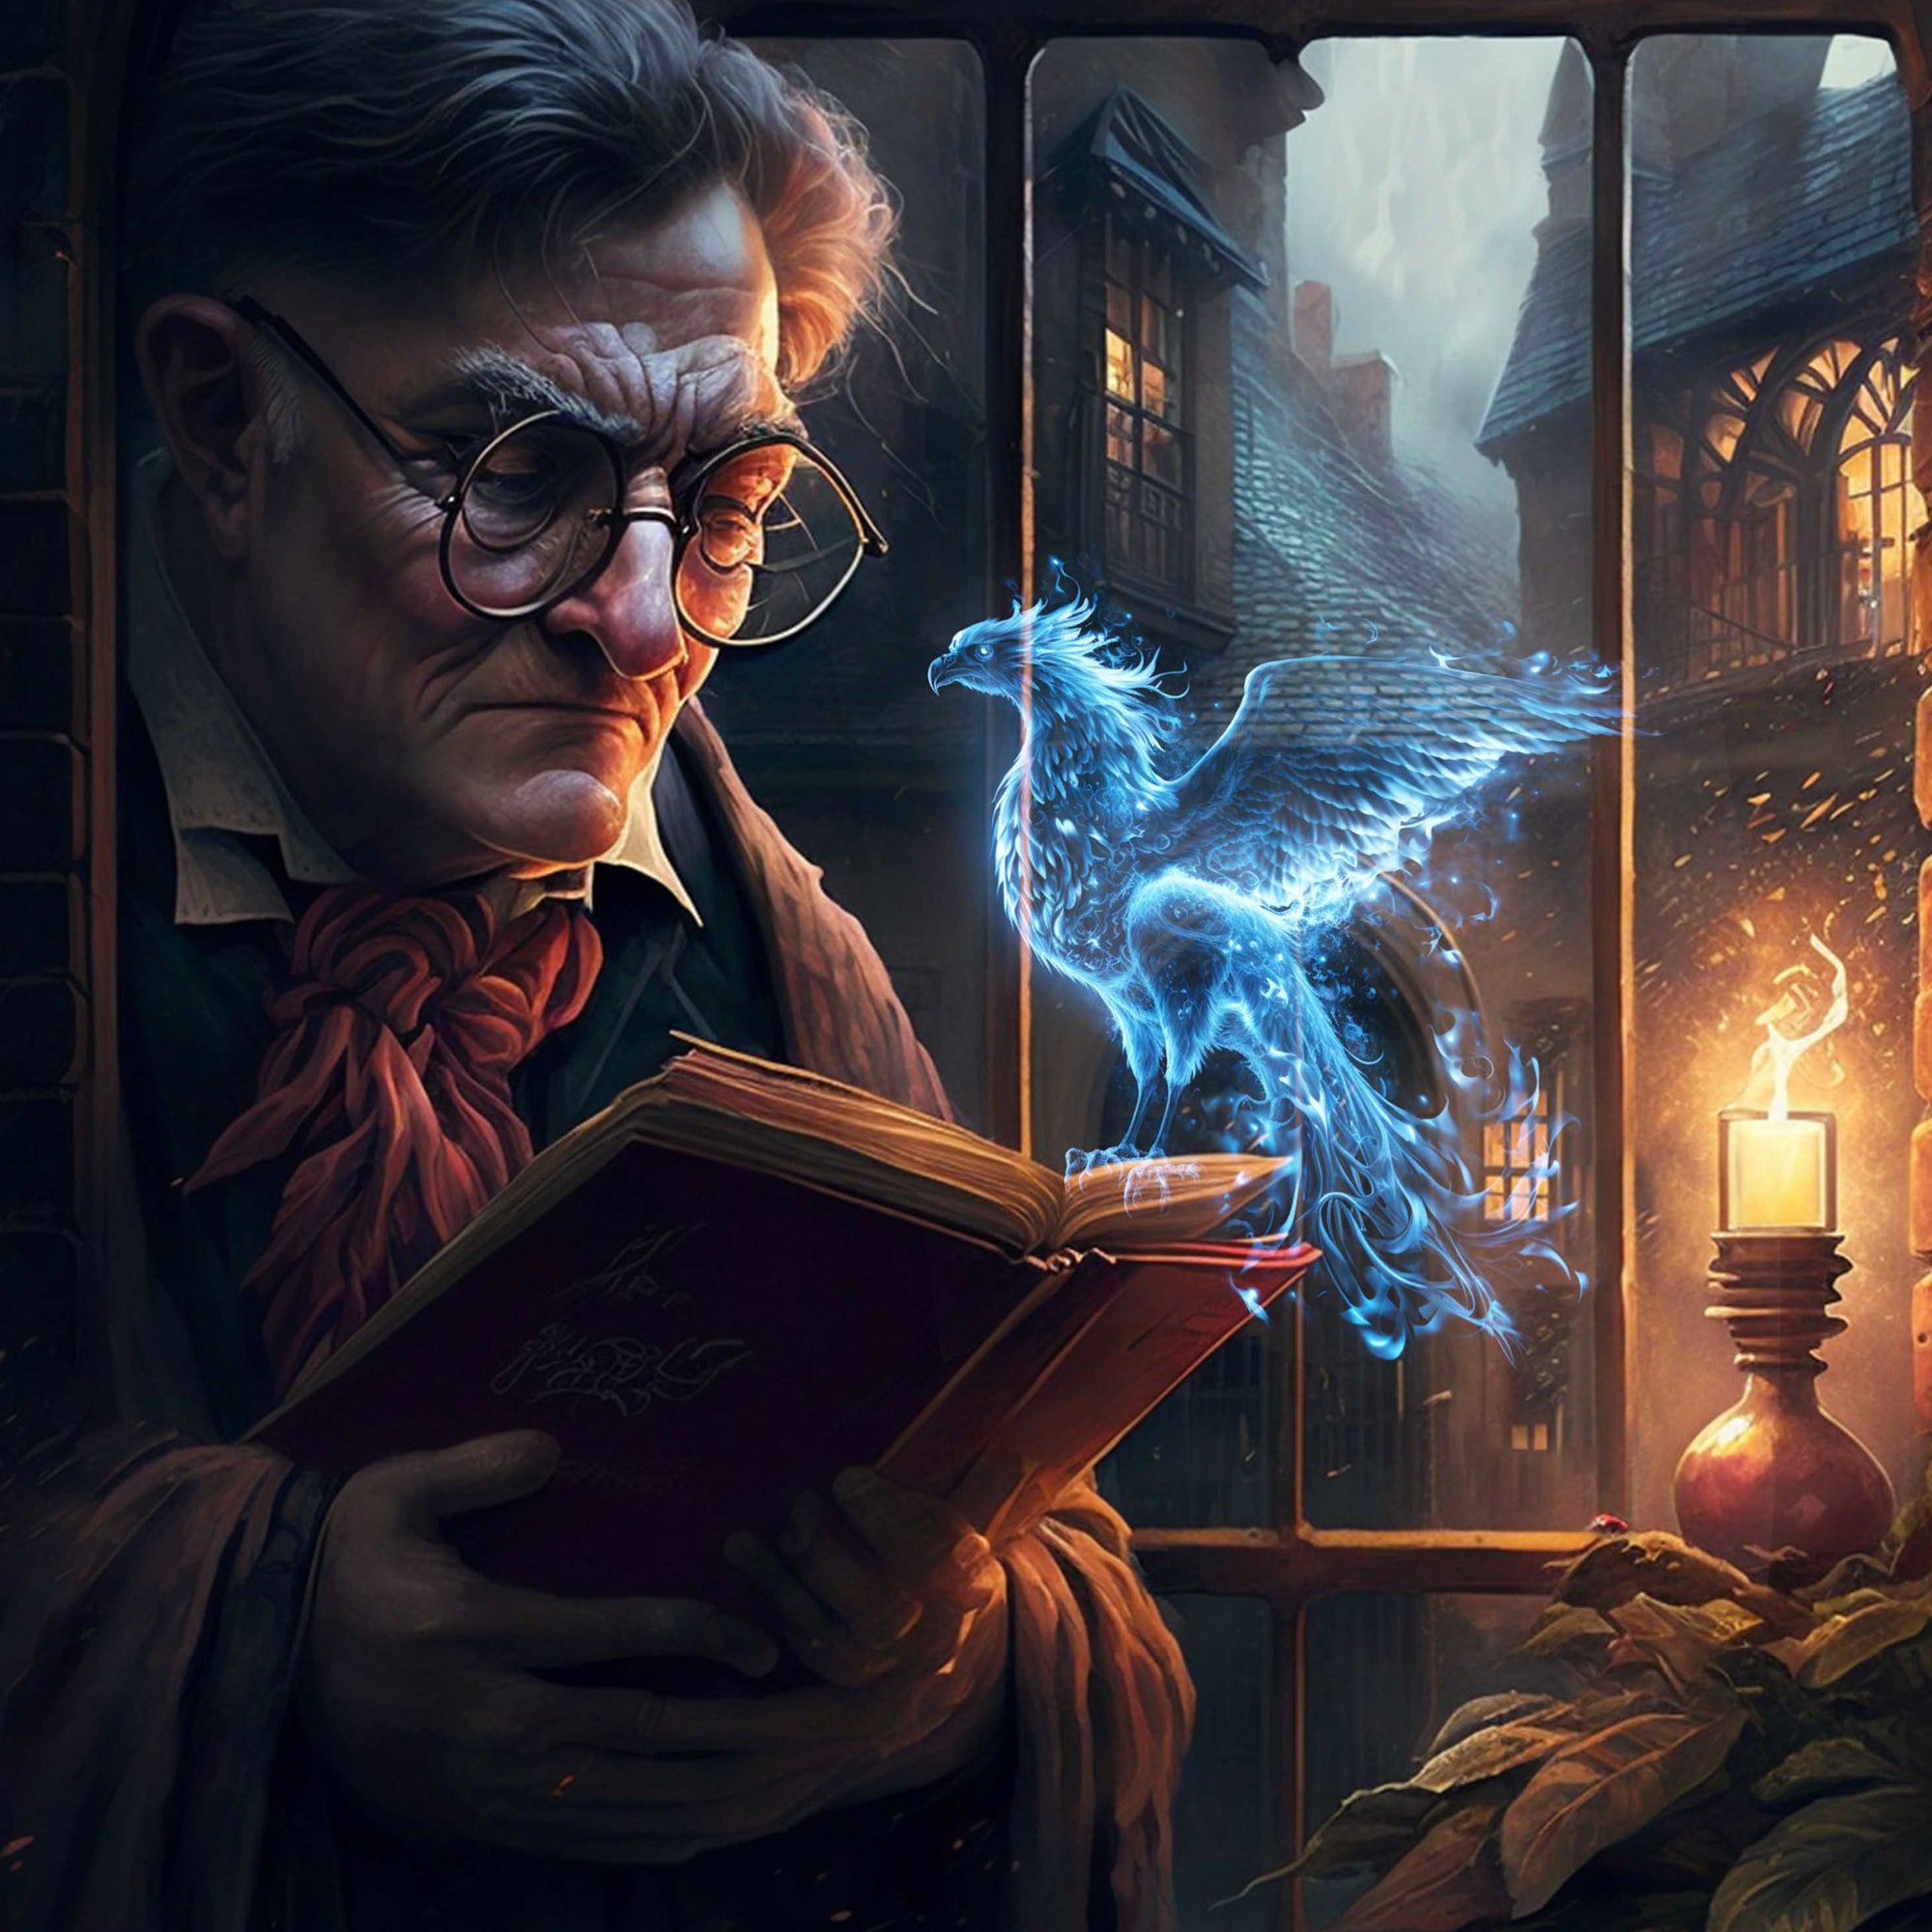
You will be using transform a lot if you are going to add Textures and Overlays to your digital art.
- To Transform an overlay, which you have already placed on top of your selected image go to Image > Free Transform > and select any one of the below.
- Remember, in Photoshop CC transform keeps the scale of the image unless you hold down the SHIFT key, which enables you to manipulate the Overlay a bit more. This does, however, alter the appearance of some overlays, like wings and mushrooms, so be very careful!
The transform submenu commands are as follows...
- Scale Enlarges or reduces an item relative to its reference point, the fixed point around which transformations are performed. You can scale horizontally, vertically, or both horizontally and vertically
- Rotate Turns an item around a reference point. By default, this point is at the centre of the object; however, you can move it to another location.
- Skew Slants an item vertically and horizontally.
- Distort Stretches an item in all directions. I find this to be the most useful for adding fairy wing overlays and getting the perspective looking right.
- Perspective Changes the perspective of the overlay.
- Warp Manipulates the shape of an item. This one is also a well used ( and loved ) tool which I use with many of my overlays.
- Rotate 180, Rotate 90 CW, Rotate 90 CCW. Rotates the item by the specified number of degrees, either clockwise or counterclockwise.
- Flip Flips the item vertically or horizontally.
Getting comfortable with using the transform tool is essential to getting great results with your textures, overlays and digital art.
Play around, make mistakes! There is no right or wrong! Learning and time is the key to every good edit.
Video Tutorial


